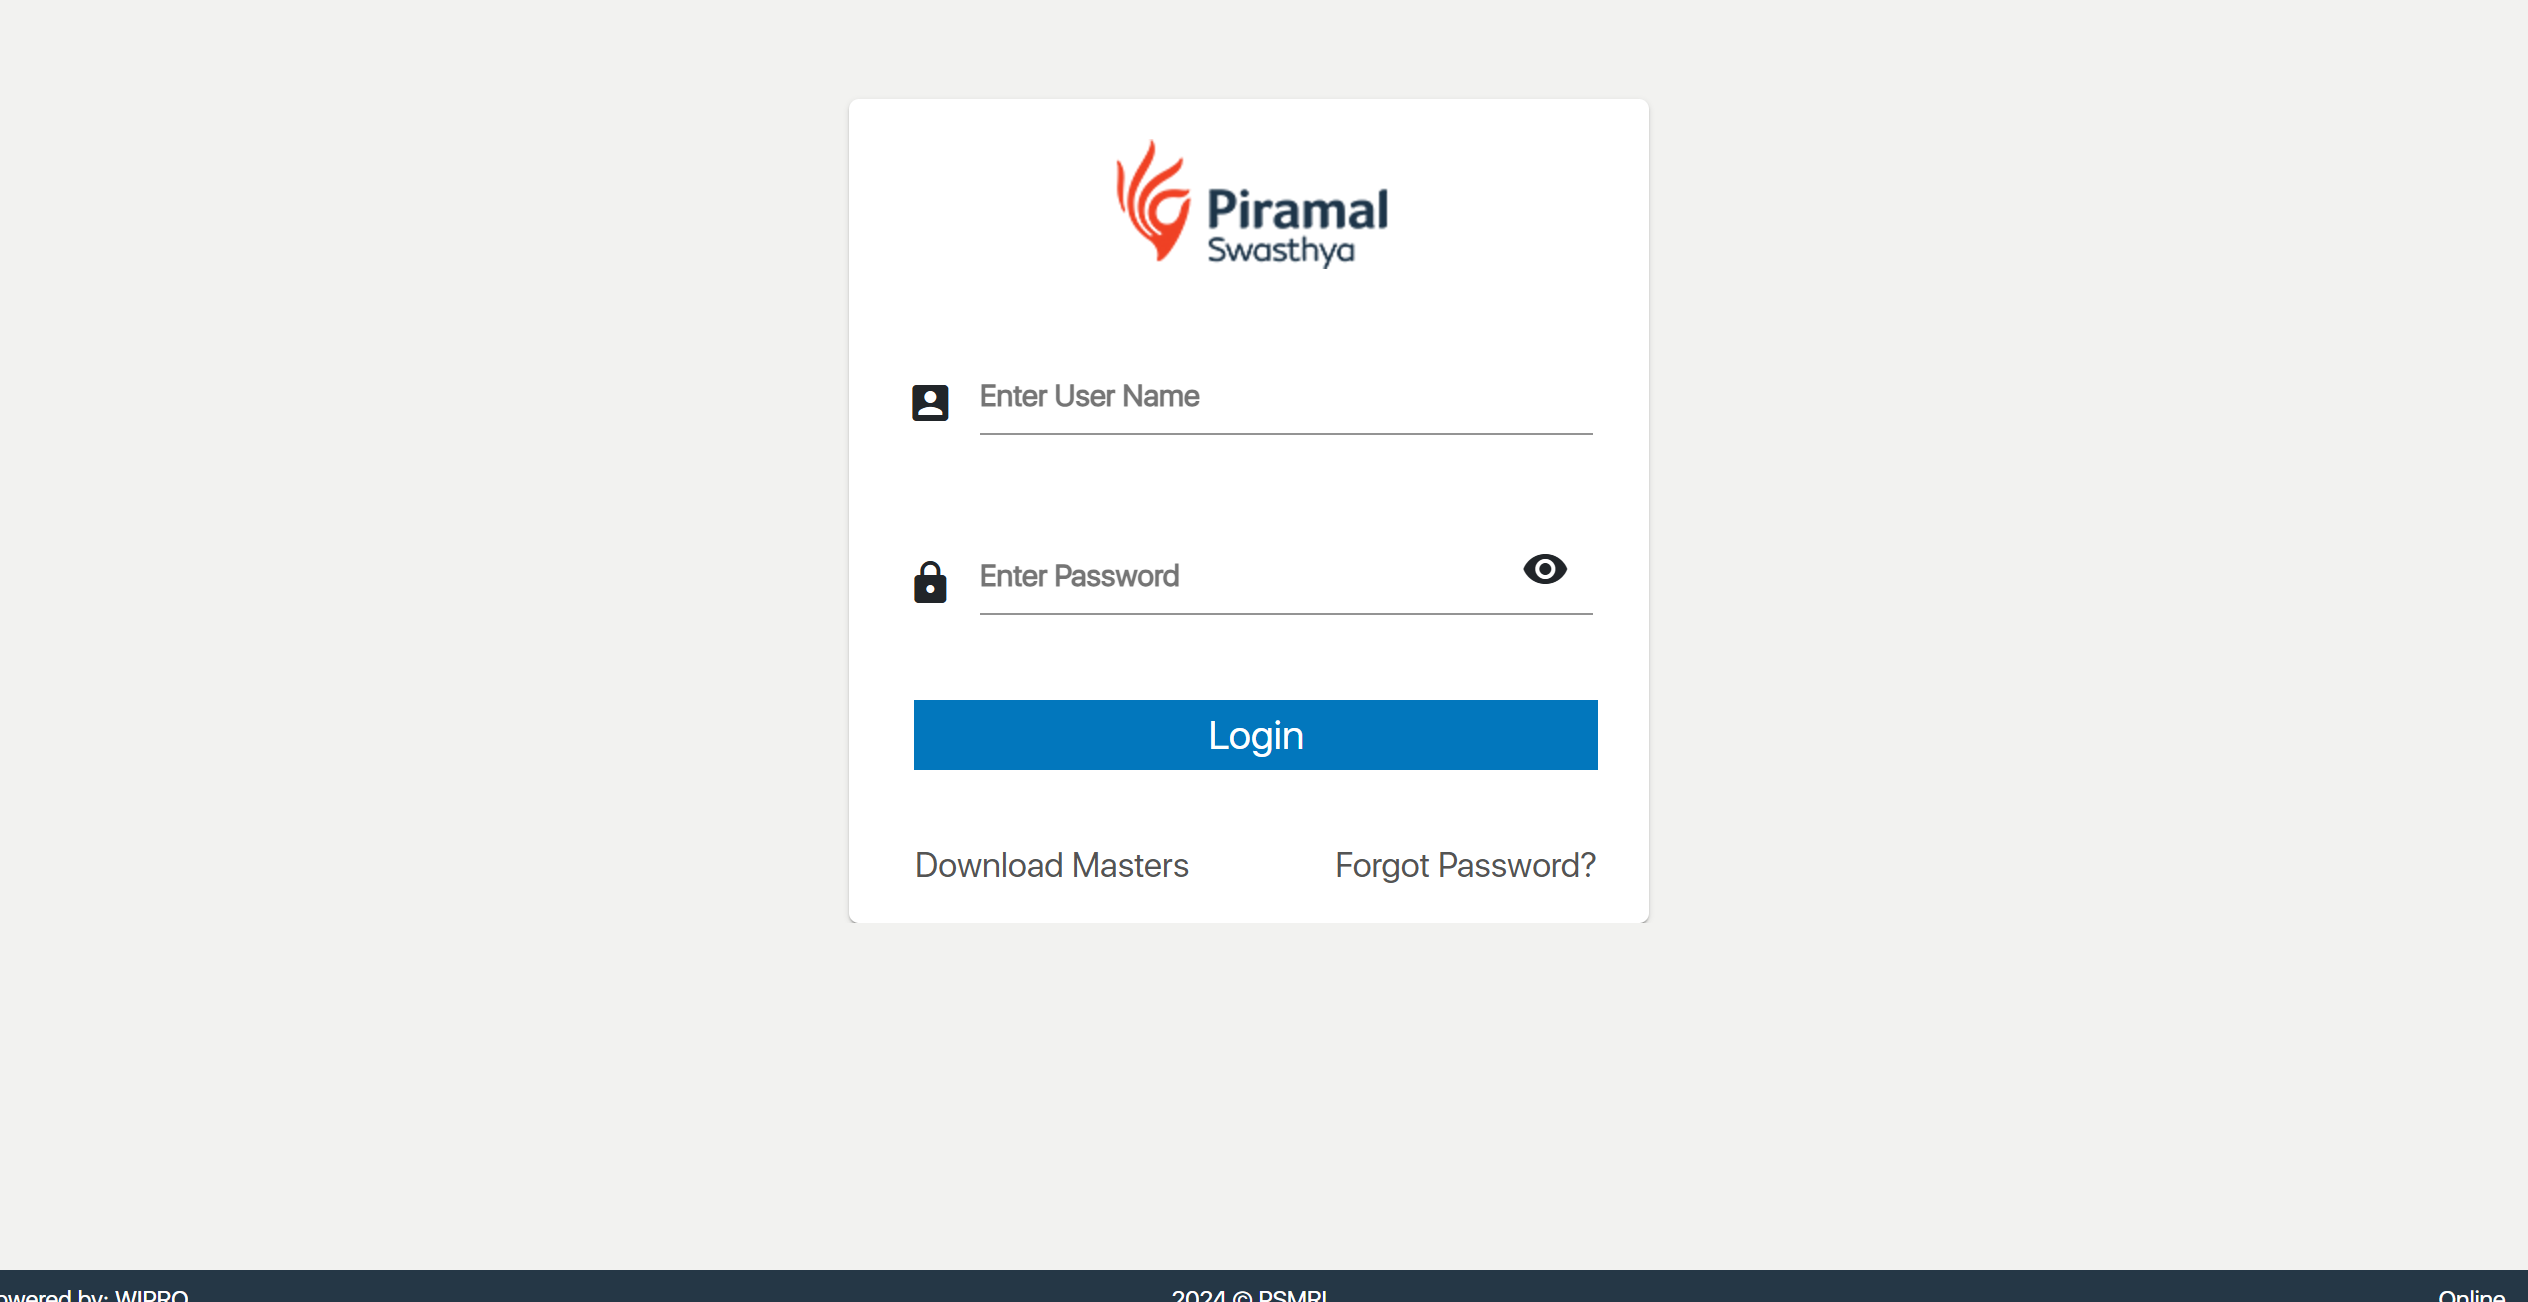
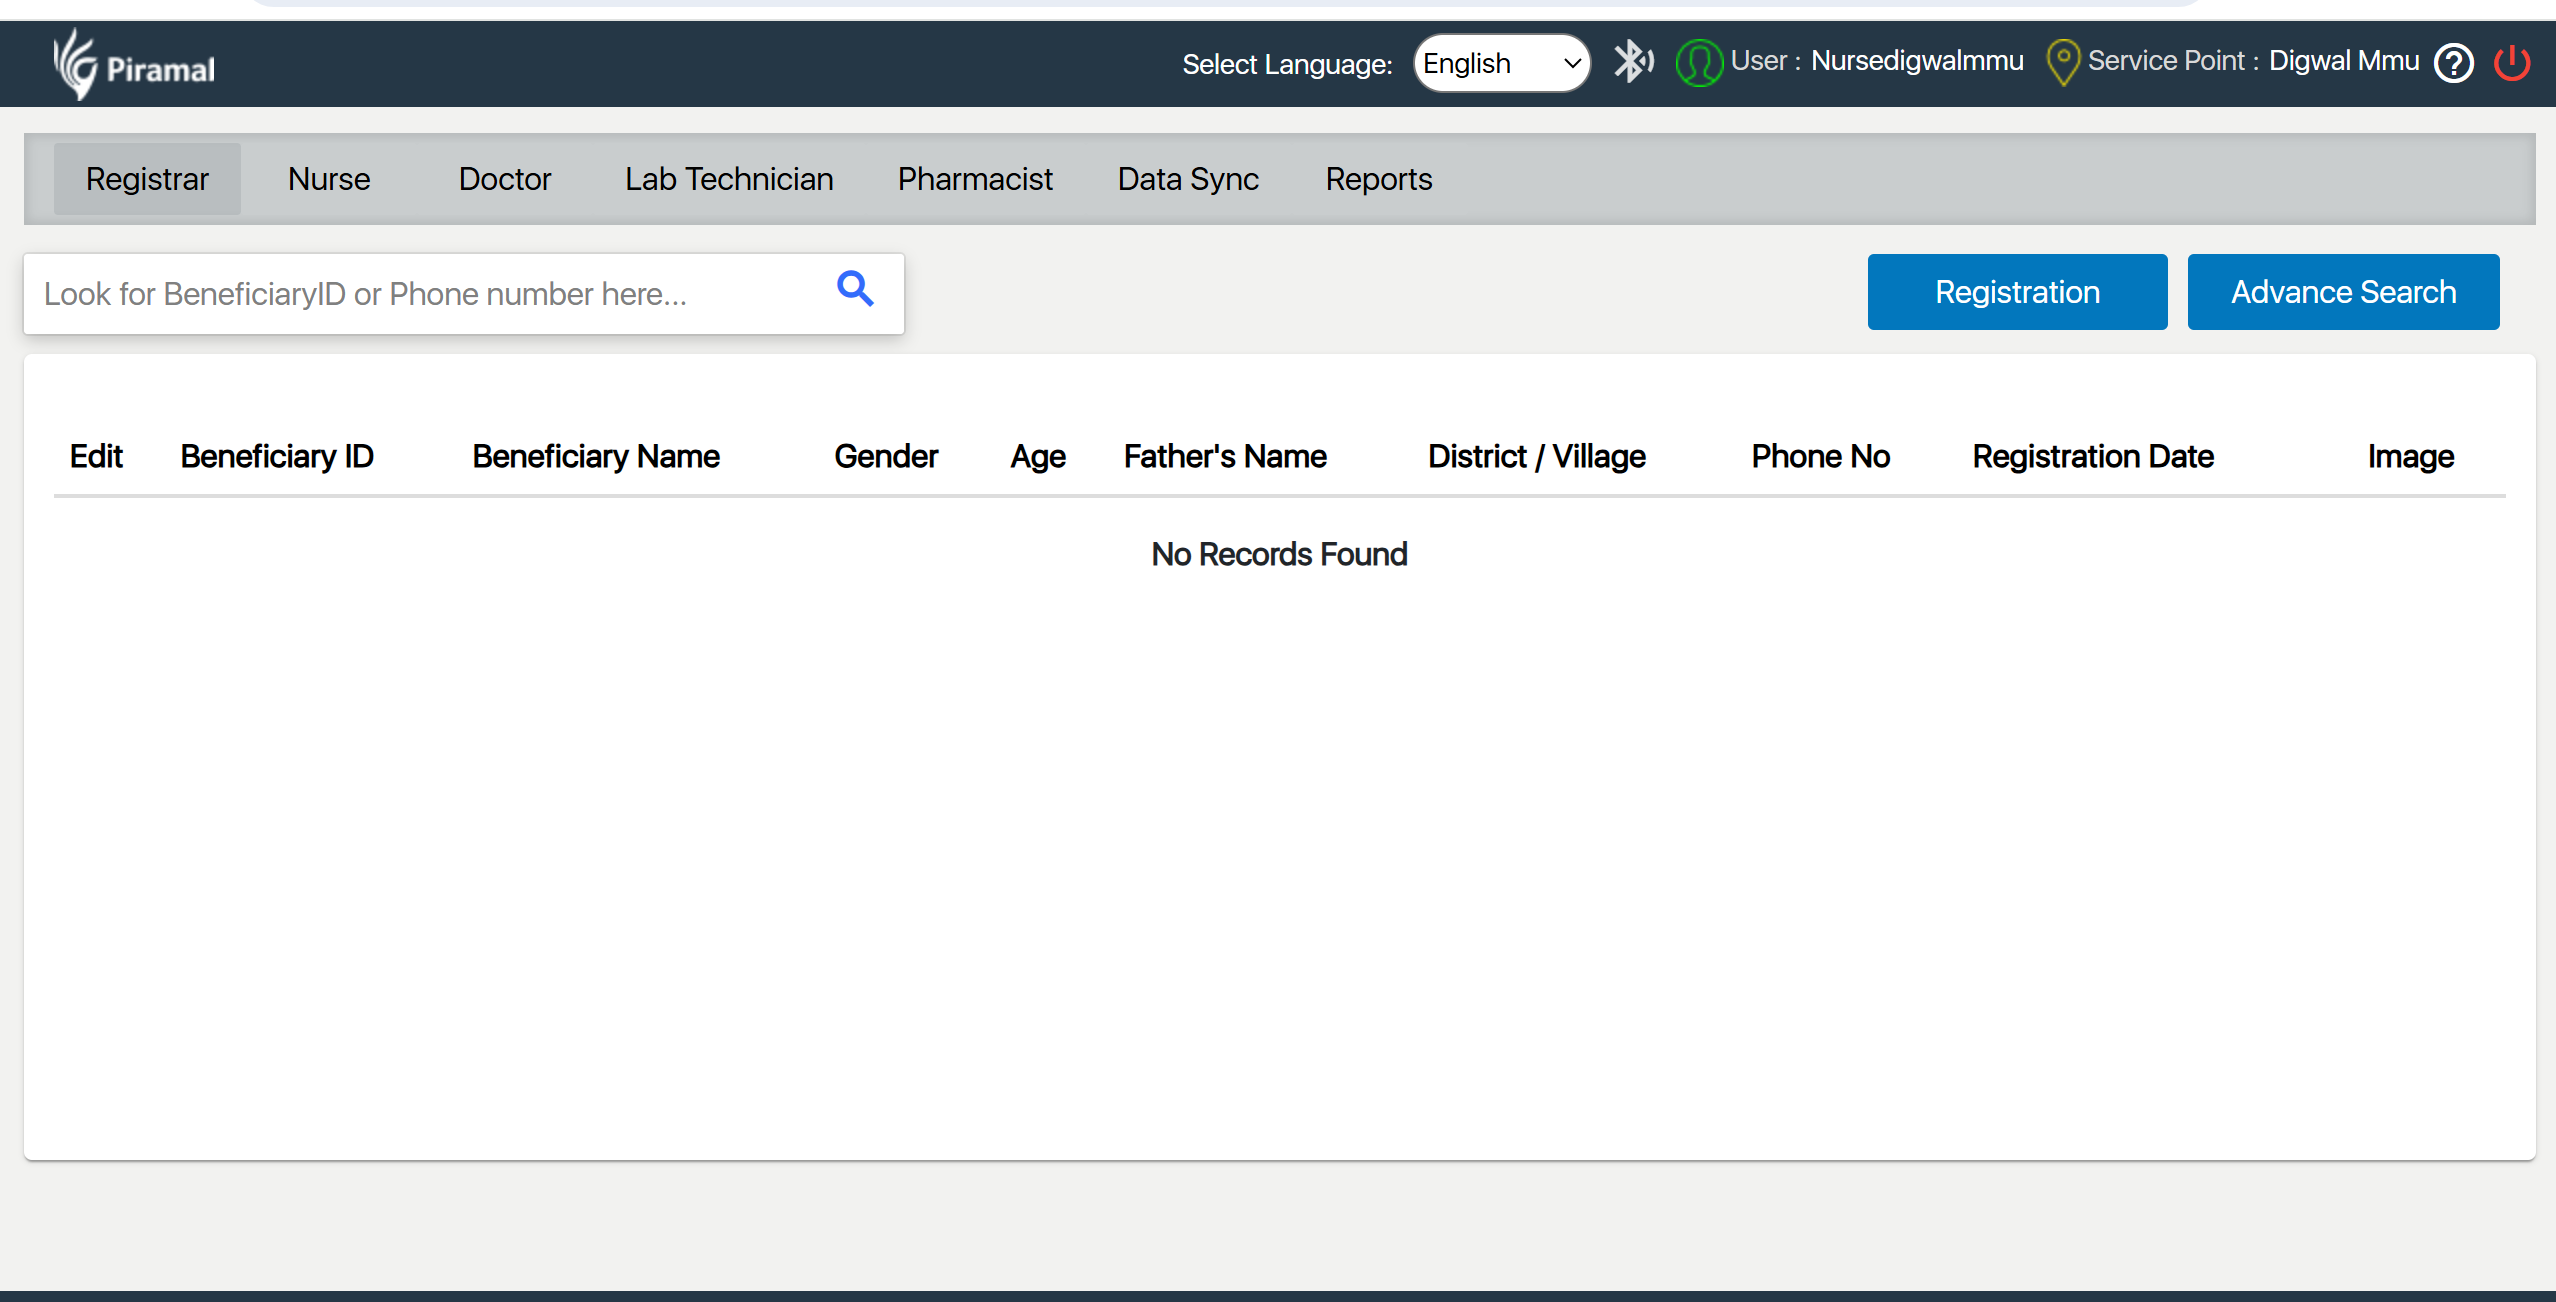
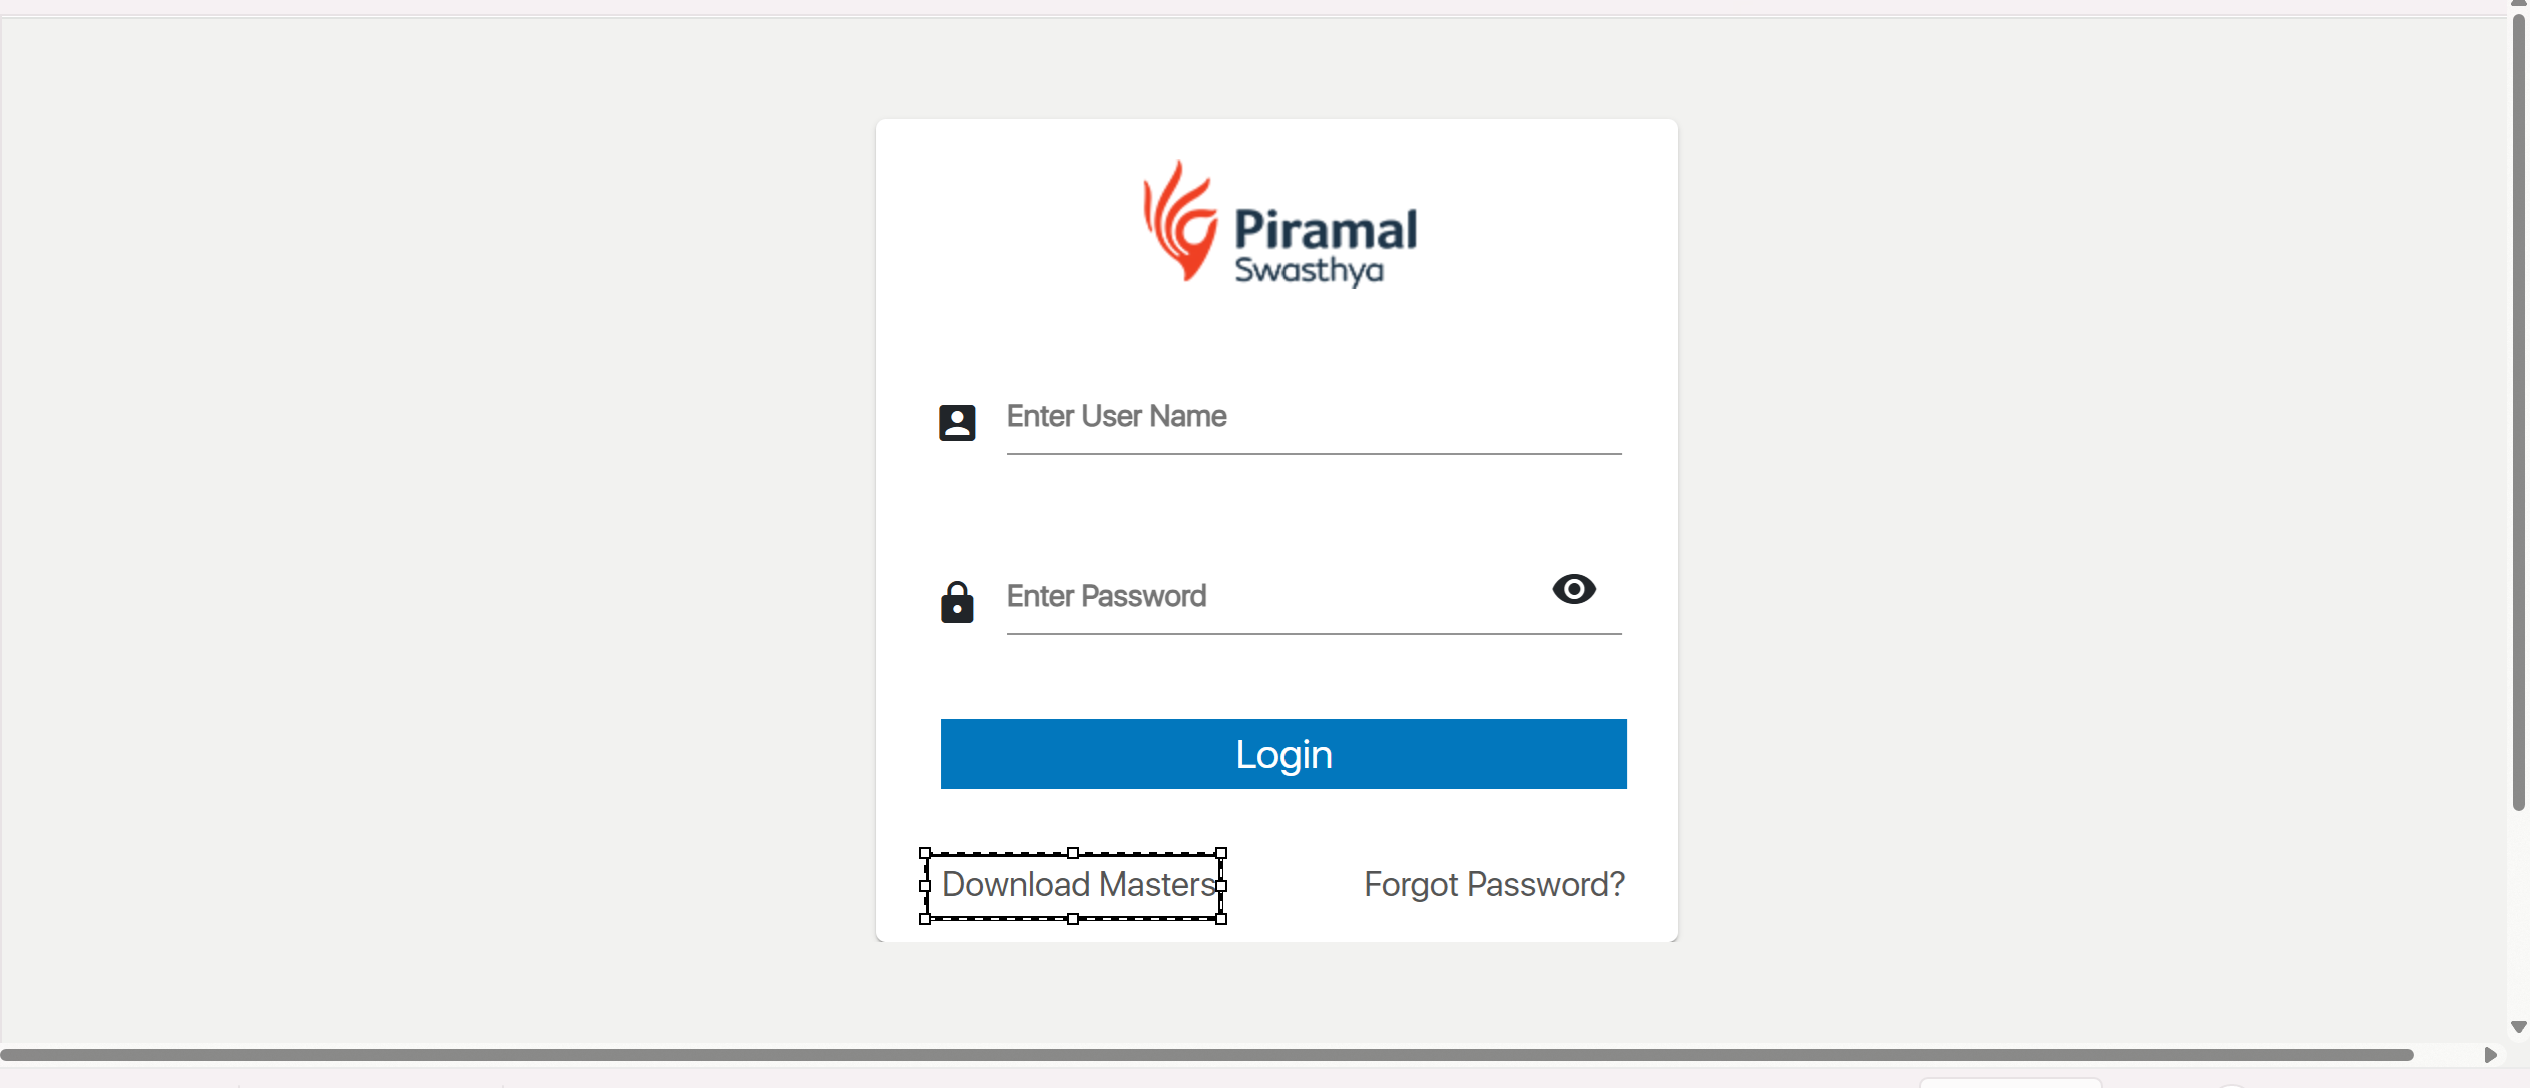
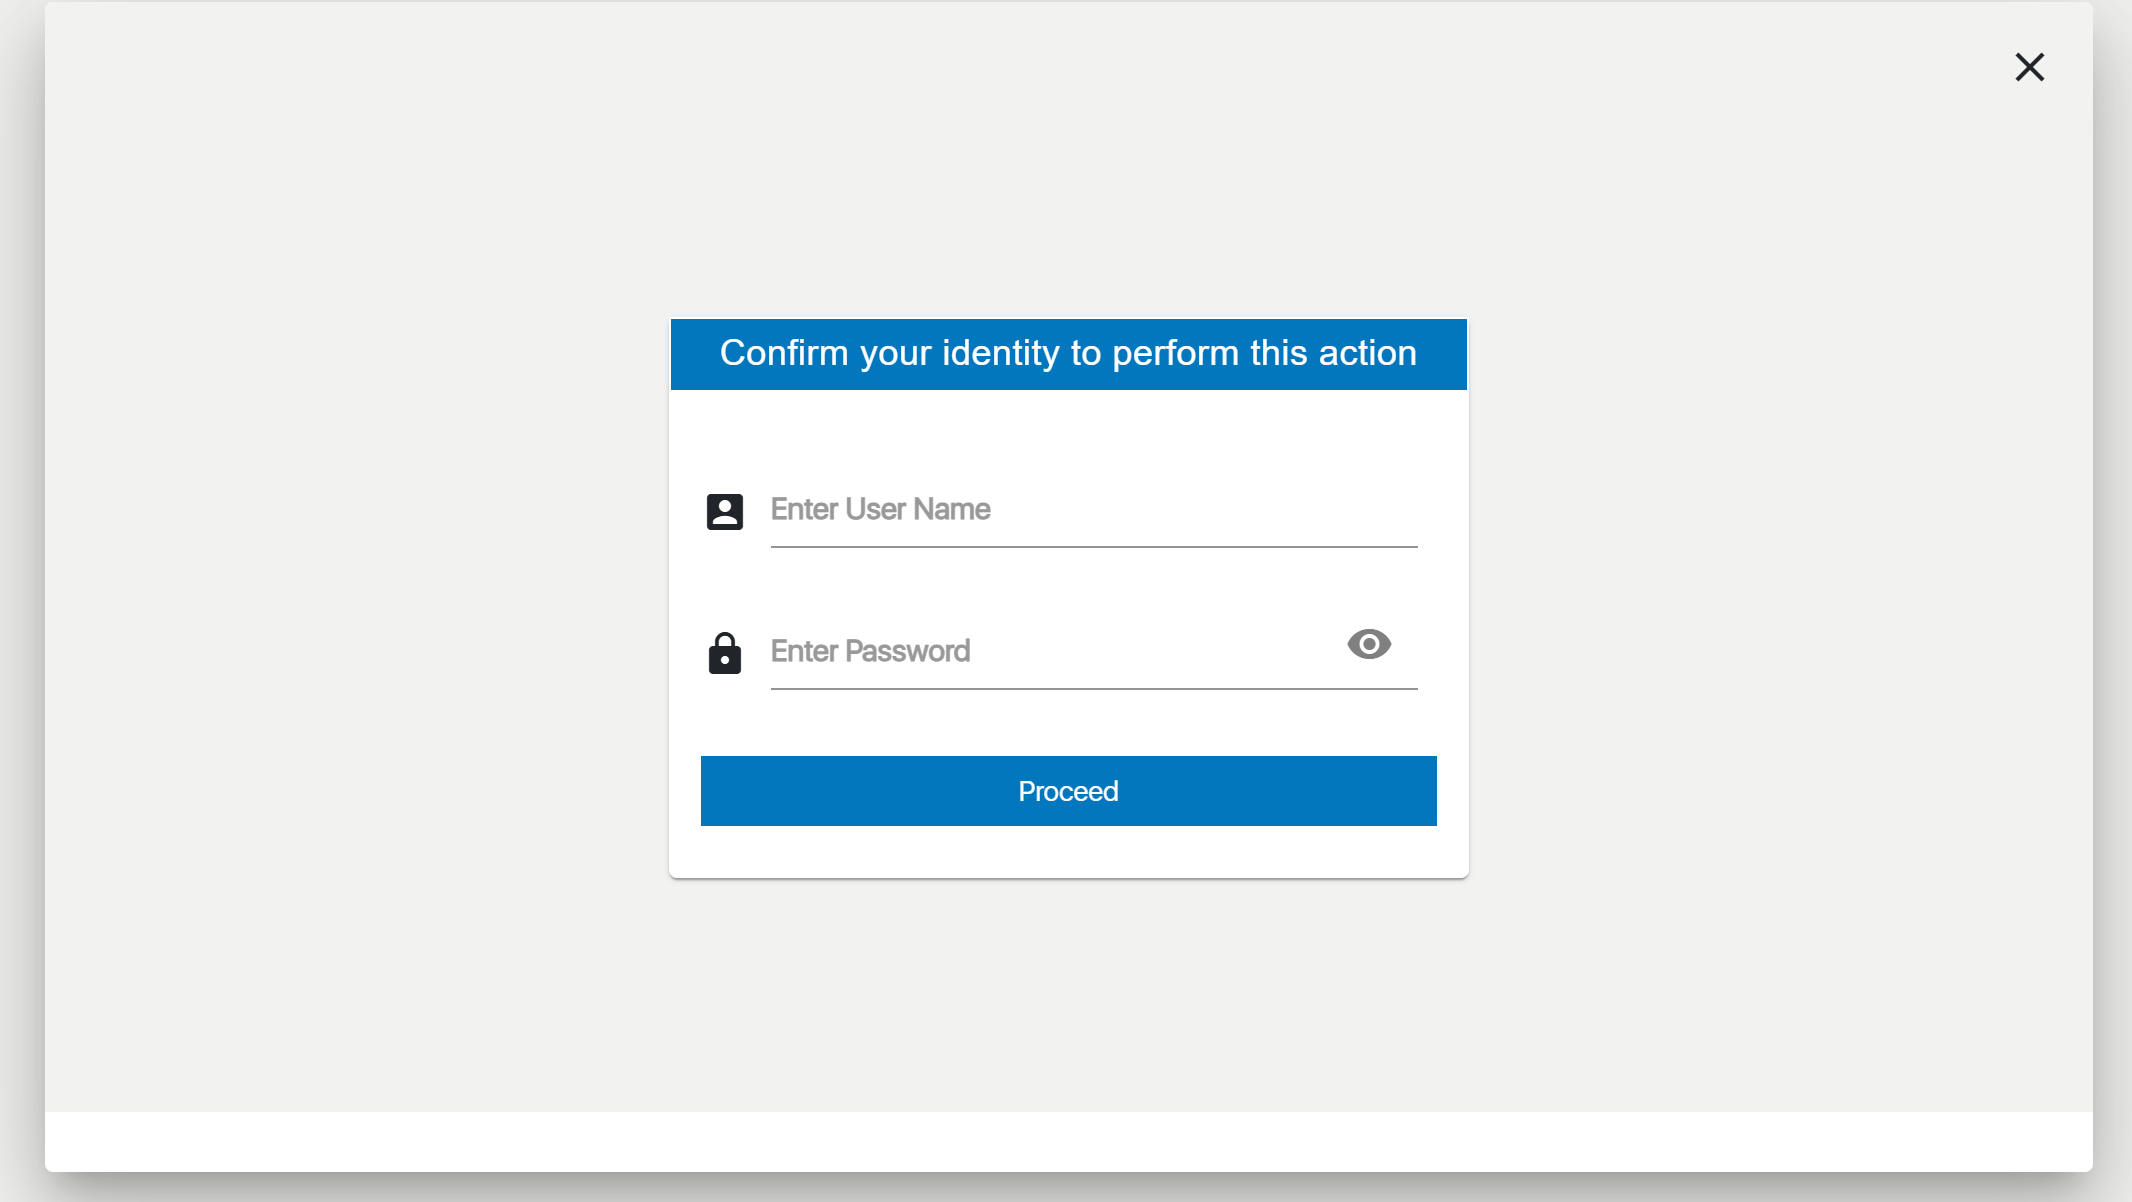
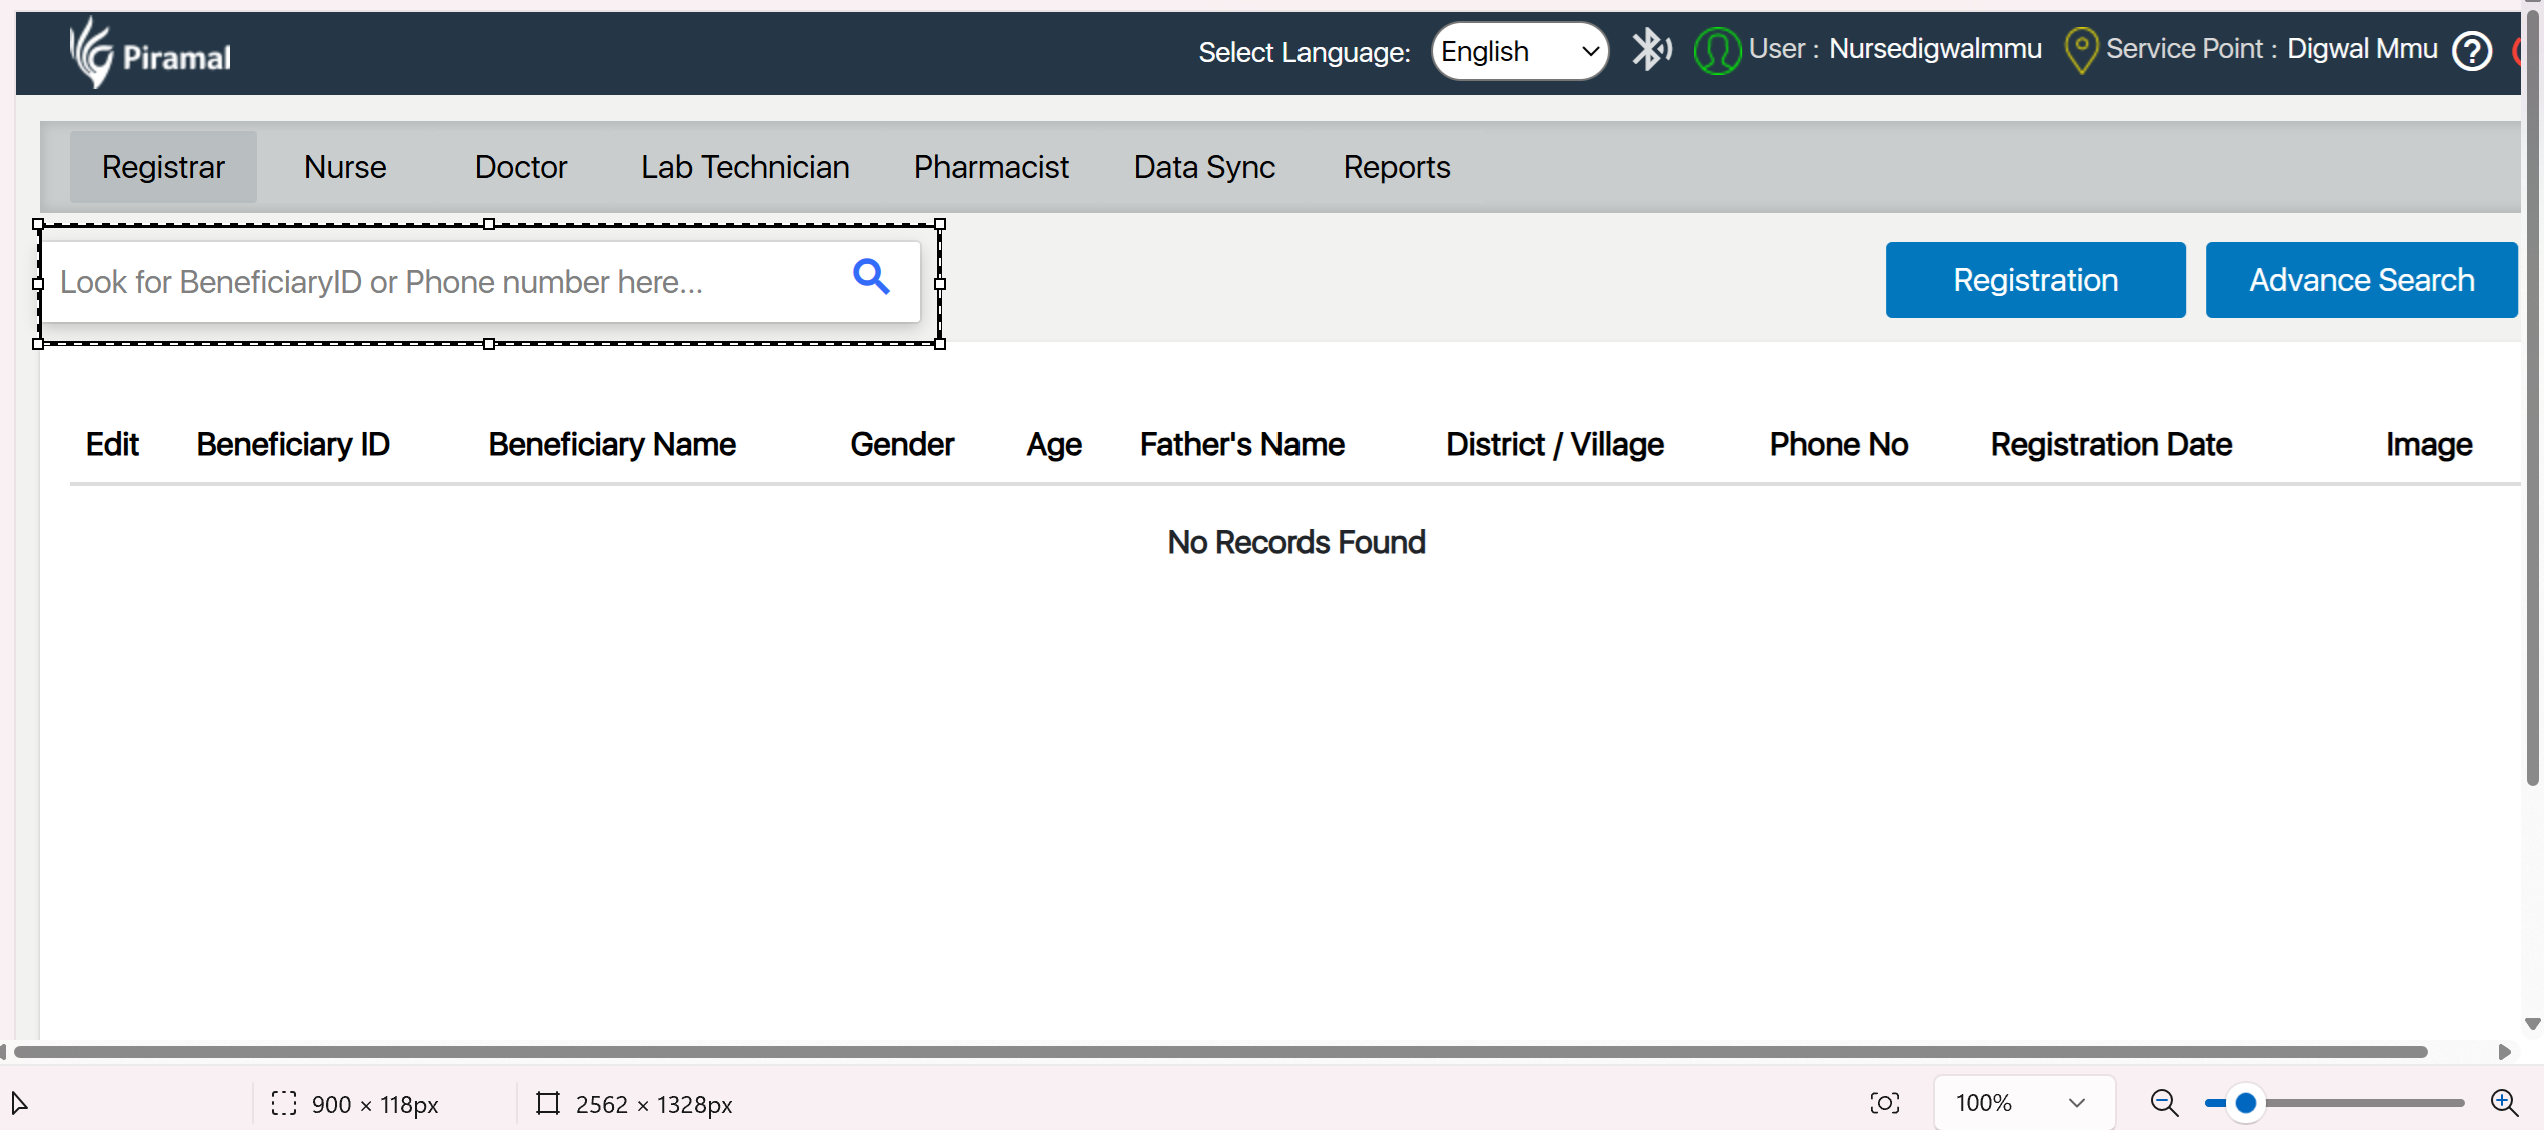
Login Screen
Logging In:
- Open the Login screen
- Launch the MMU application or navigate to the login page in your web browser.
2.Enter Credentials:
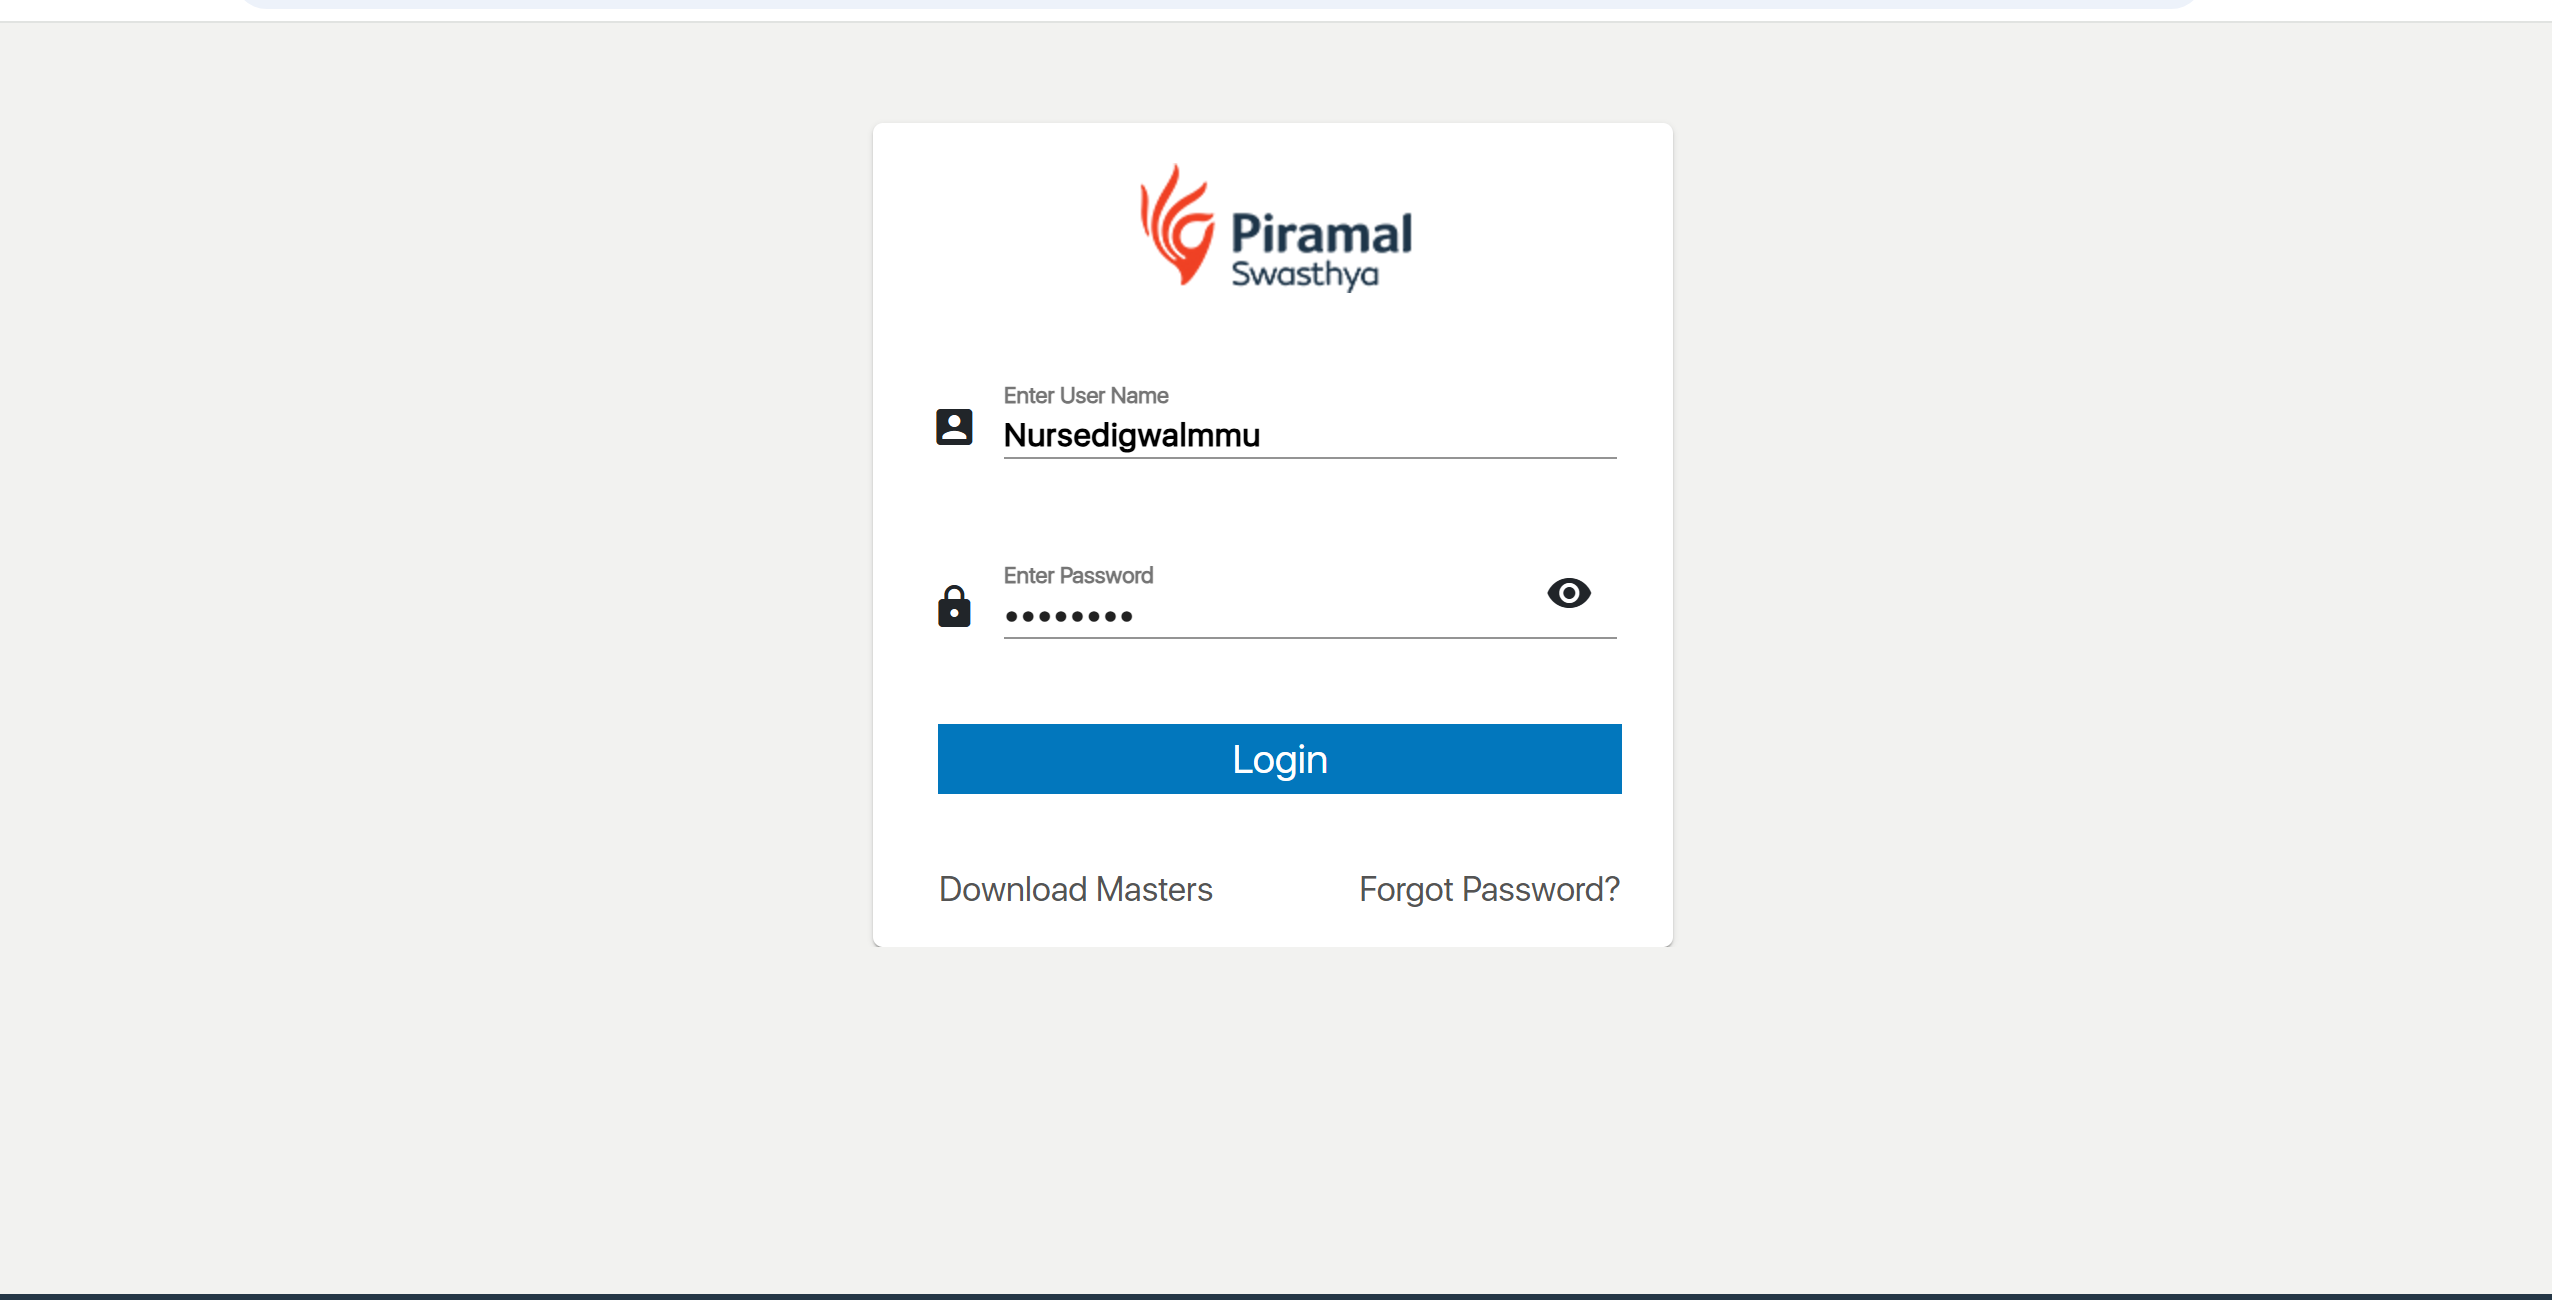
- Username: Enter the User Name.
- Password: Enter the password given by the admin
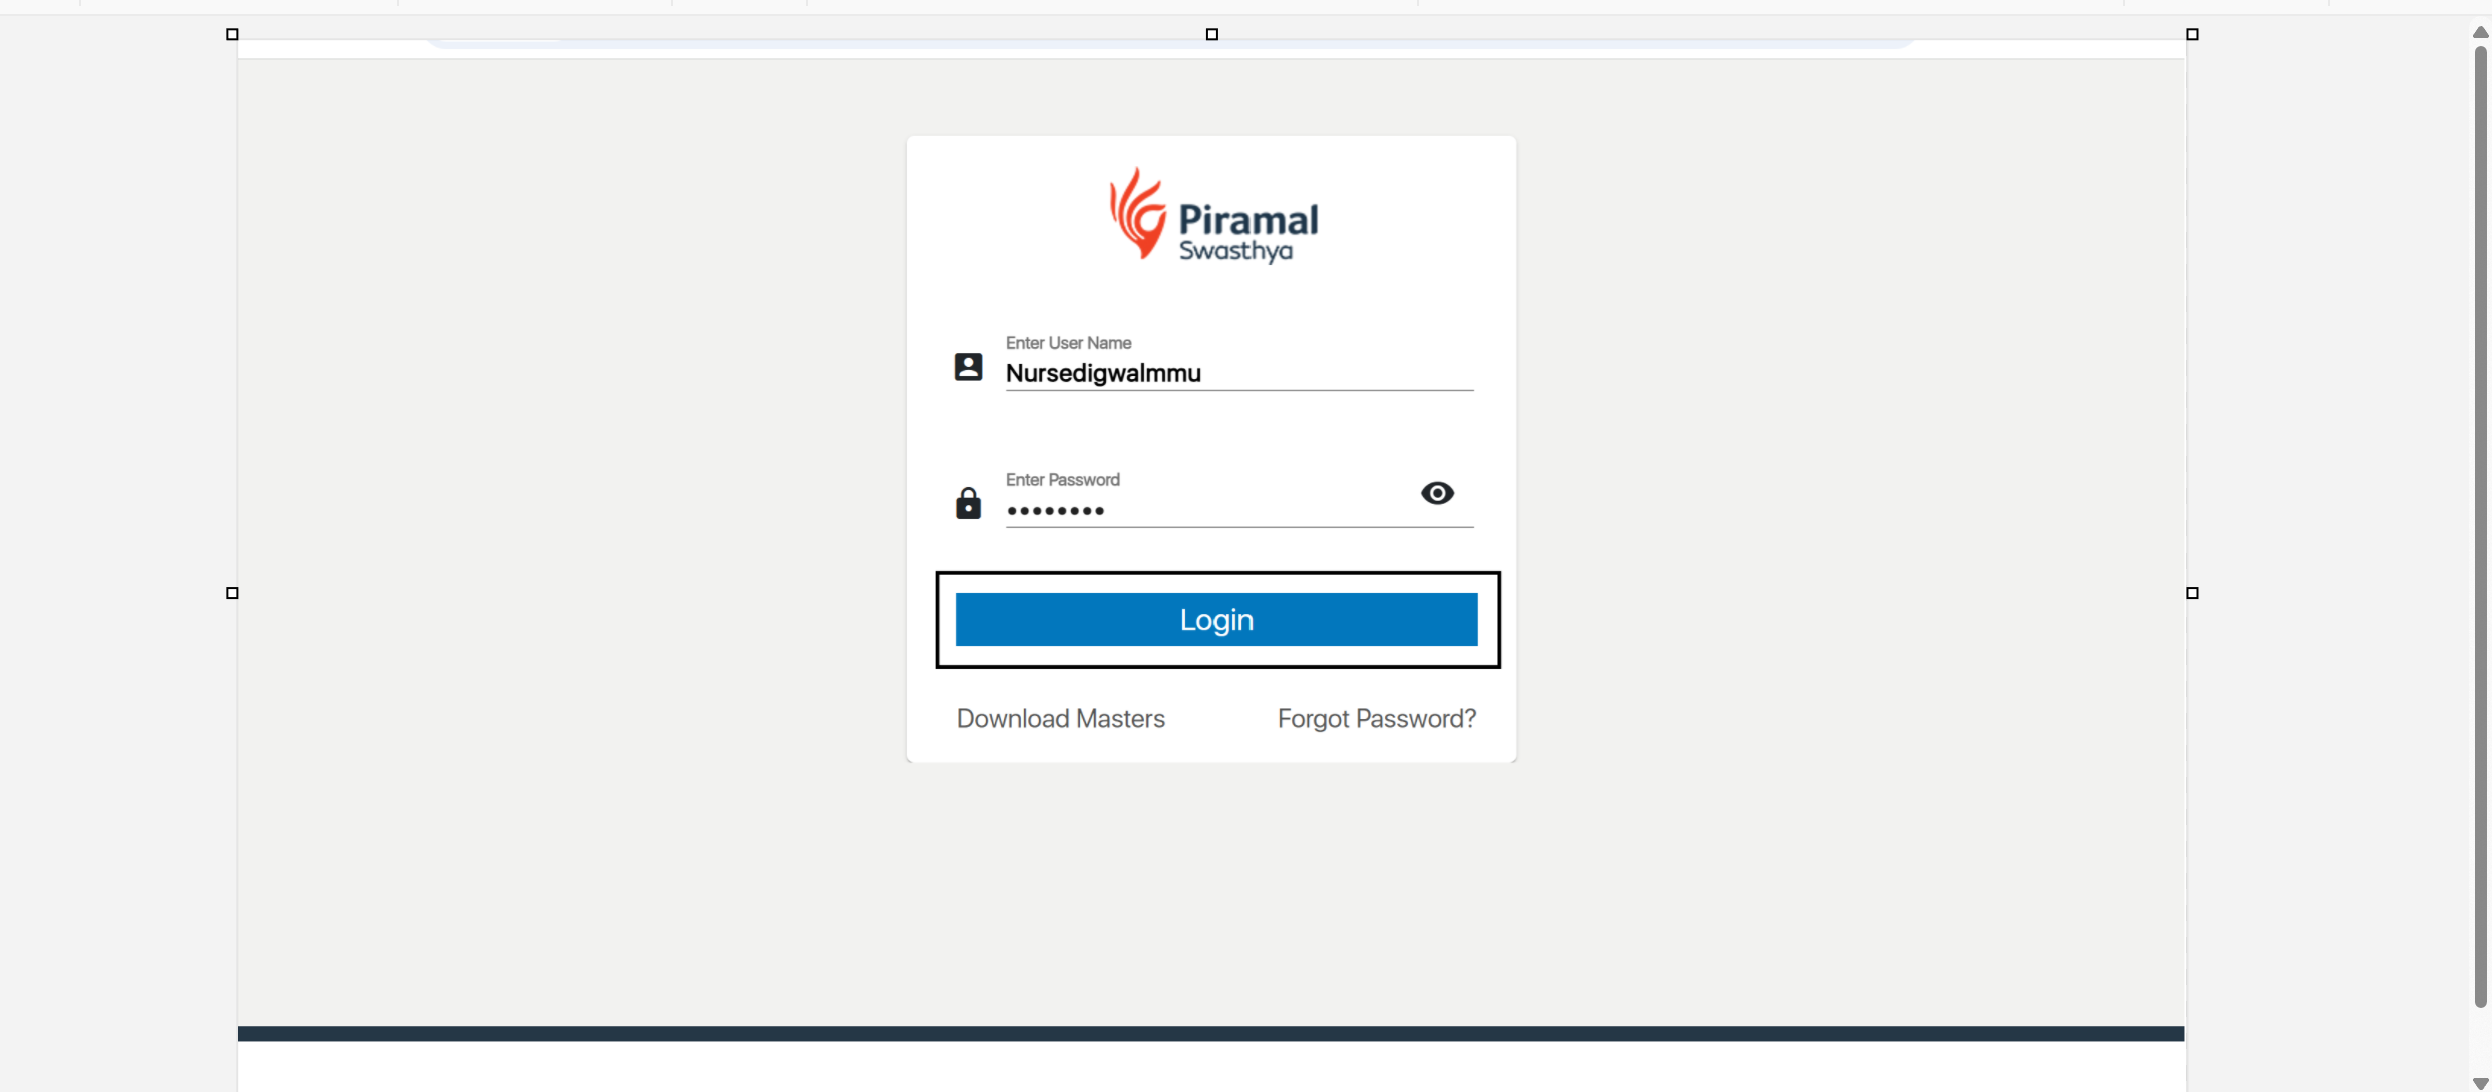
3. Login:
Click on the Login Button
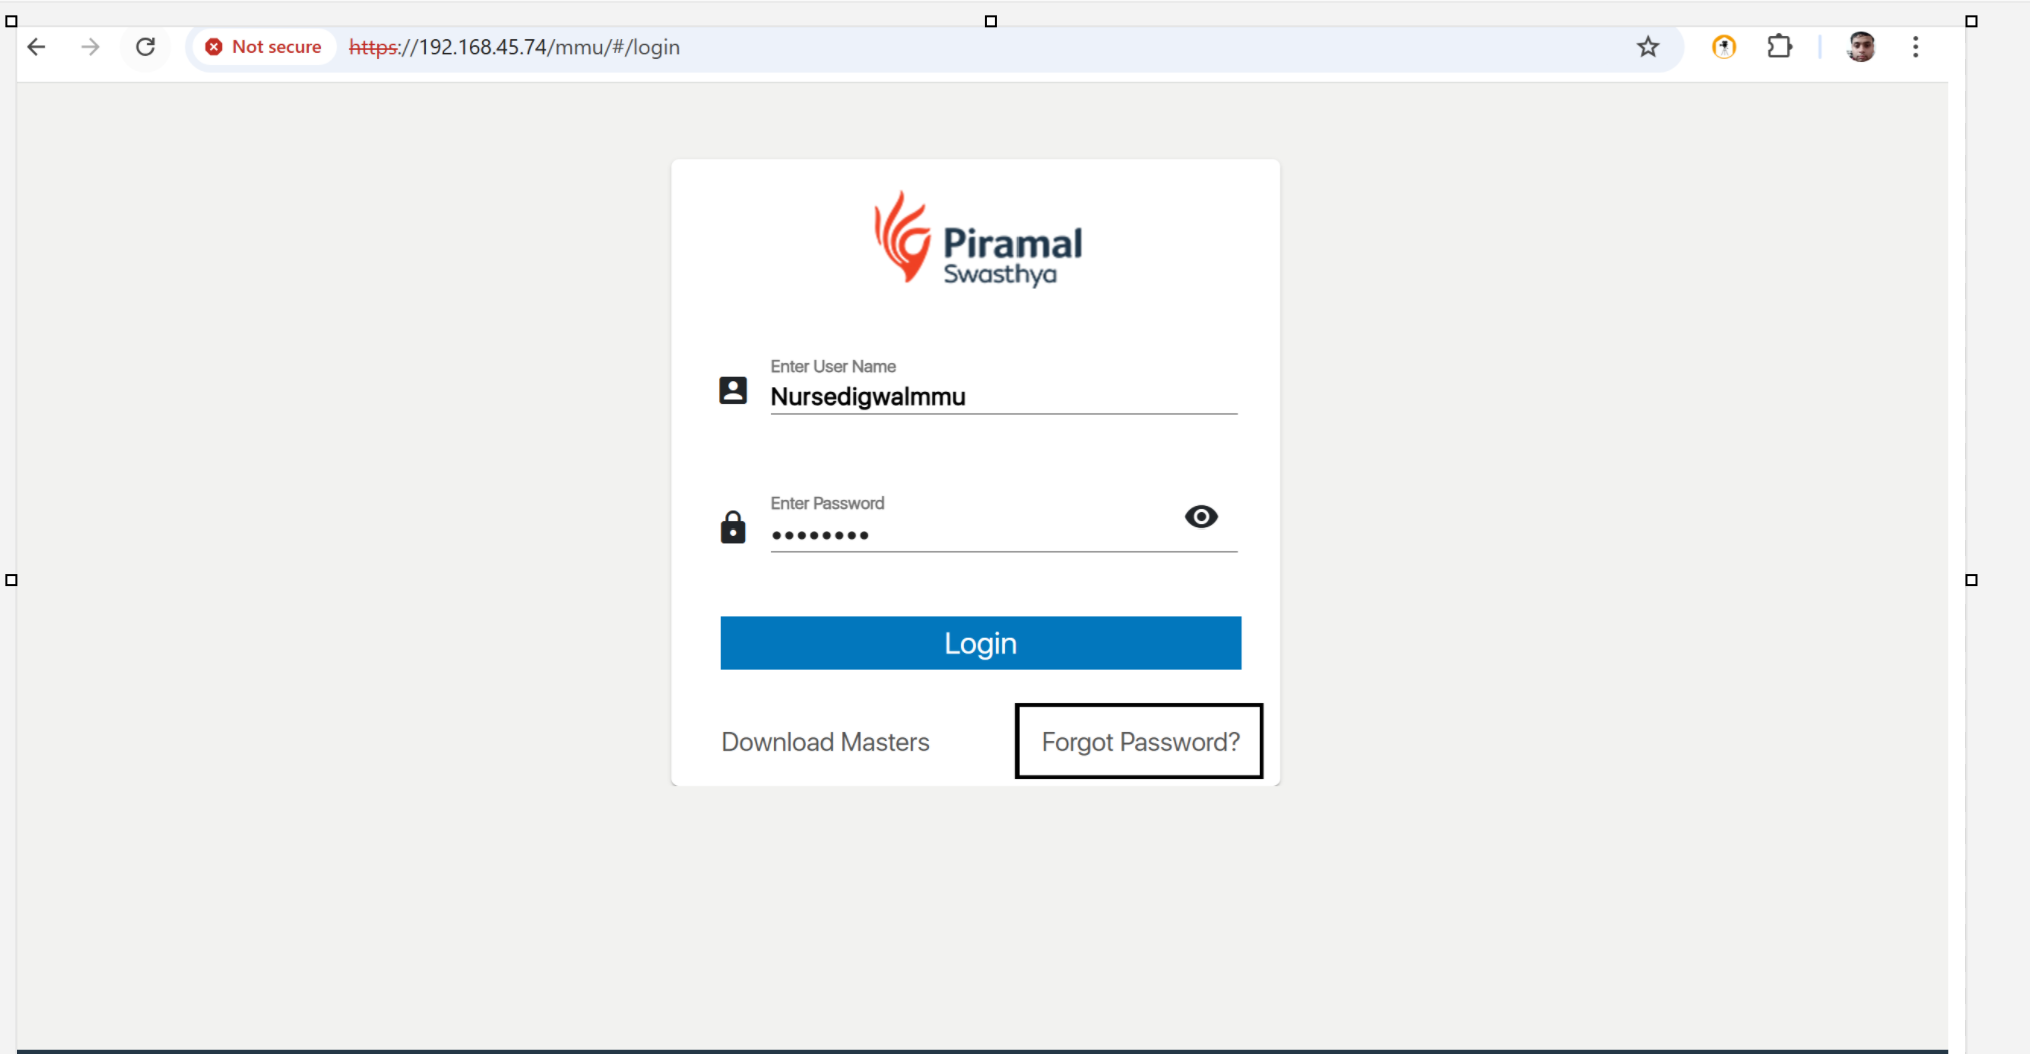
4. Changing the password
Click on the Forgot password to change the password of the application
5.Navigate to the Home Dashboard:
After logging in, you will be directed to the home dashboard of MMU Application
6.Access the Change Password Option:
- Locate and click on the "Change Password" option available on the home dashboard.
Change Password Page:
- You will be automatically redirected to the Change Password page
Update Your Password:
- Enter your current password.
- Input your new password and confirm it.
- Click the "Save" or "Submit" button to update your password
Return to Home dashboard
After successfully changing your password, click the home icon to return to the home dashboard
Download Masters
On clicking the download Masters button initiate the download of the relevant file
7.Logout Button
. Click on the "Logout" menu item. This action will end your current session
Access the Registration Module:
Registration Module is the one where Registrar does the Registration of the Beneficiaries
- Open the MMU application and navigate to the Patient Registration module from the front desk interface.
Search for Existing Patients:
- Use the search functionality to find if the patient is already in the system. This helps in managing existing patient records efficiently.
Register New Patients:
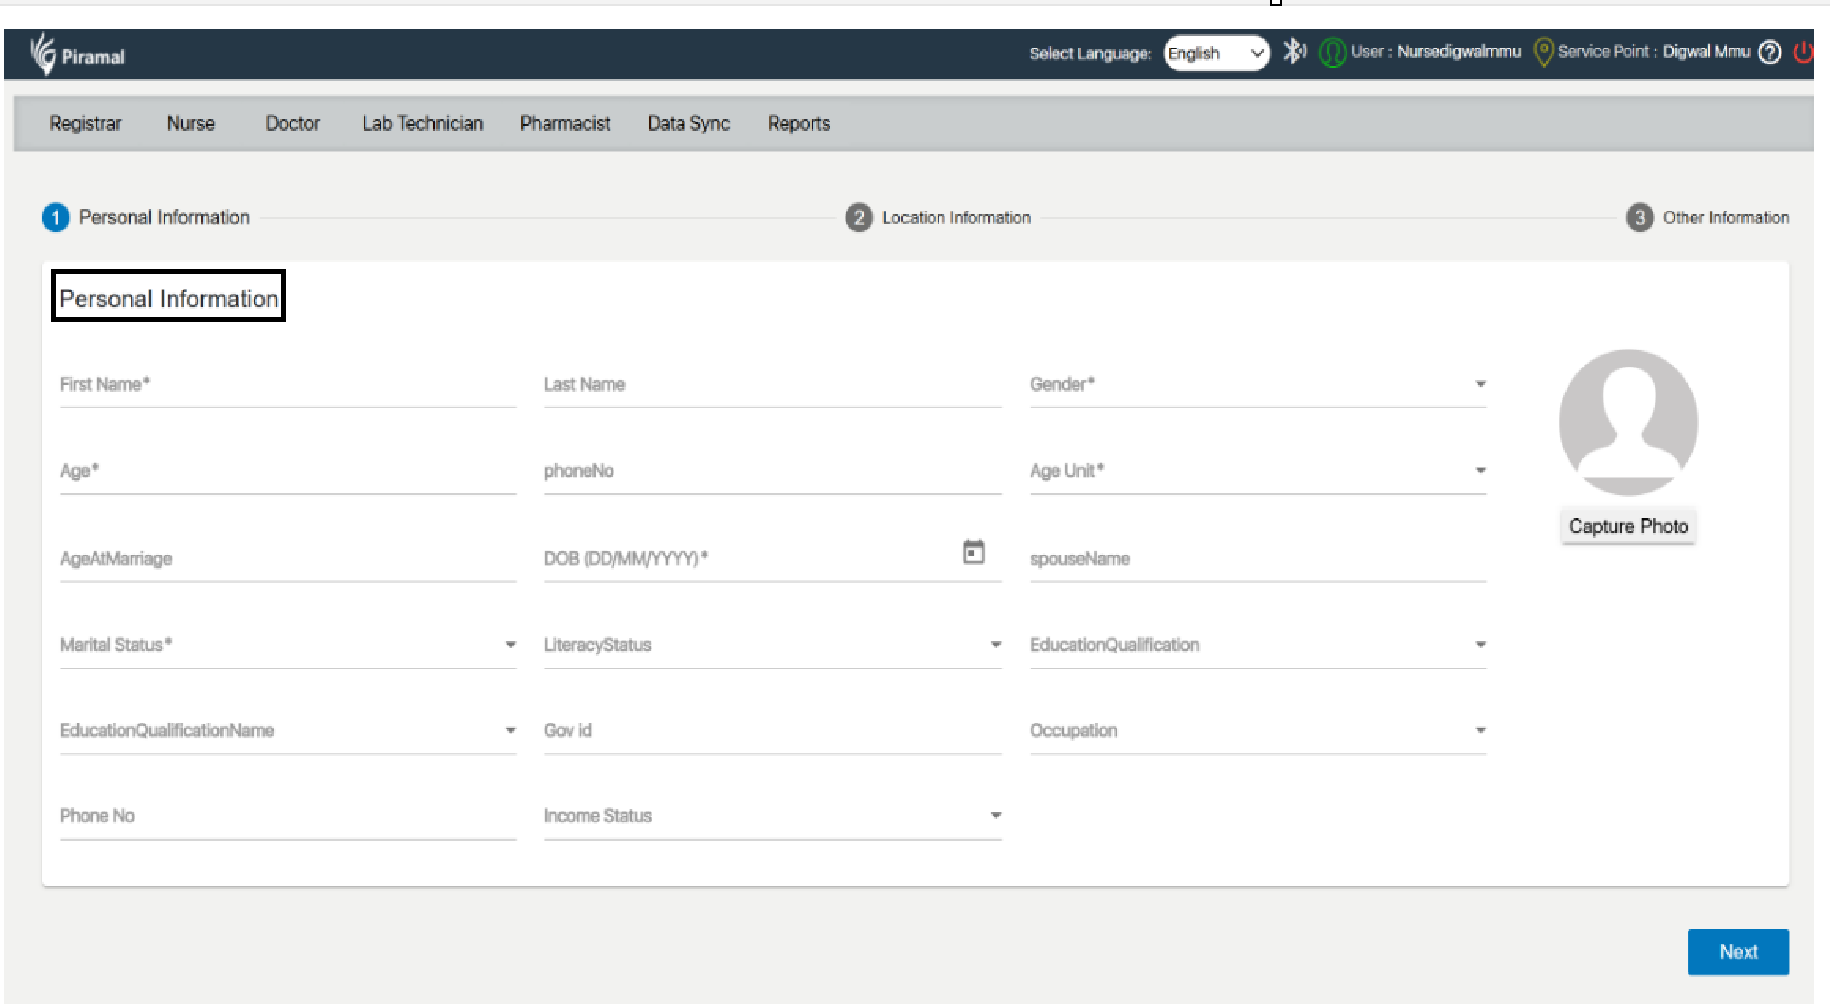
1.Personal Information
- Click on the option to add a new patient. Fill out the required fields such as First Name, Date of Birth, gender, age, address, and contact details,
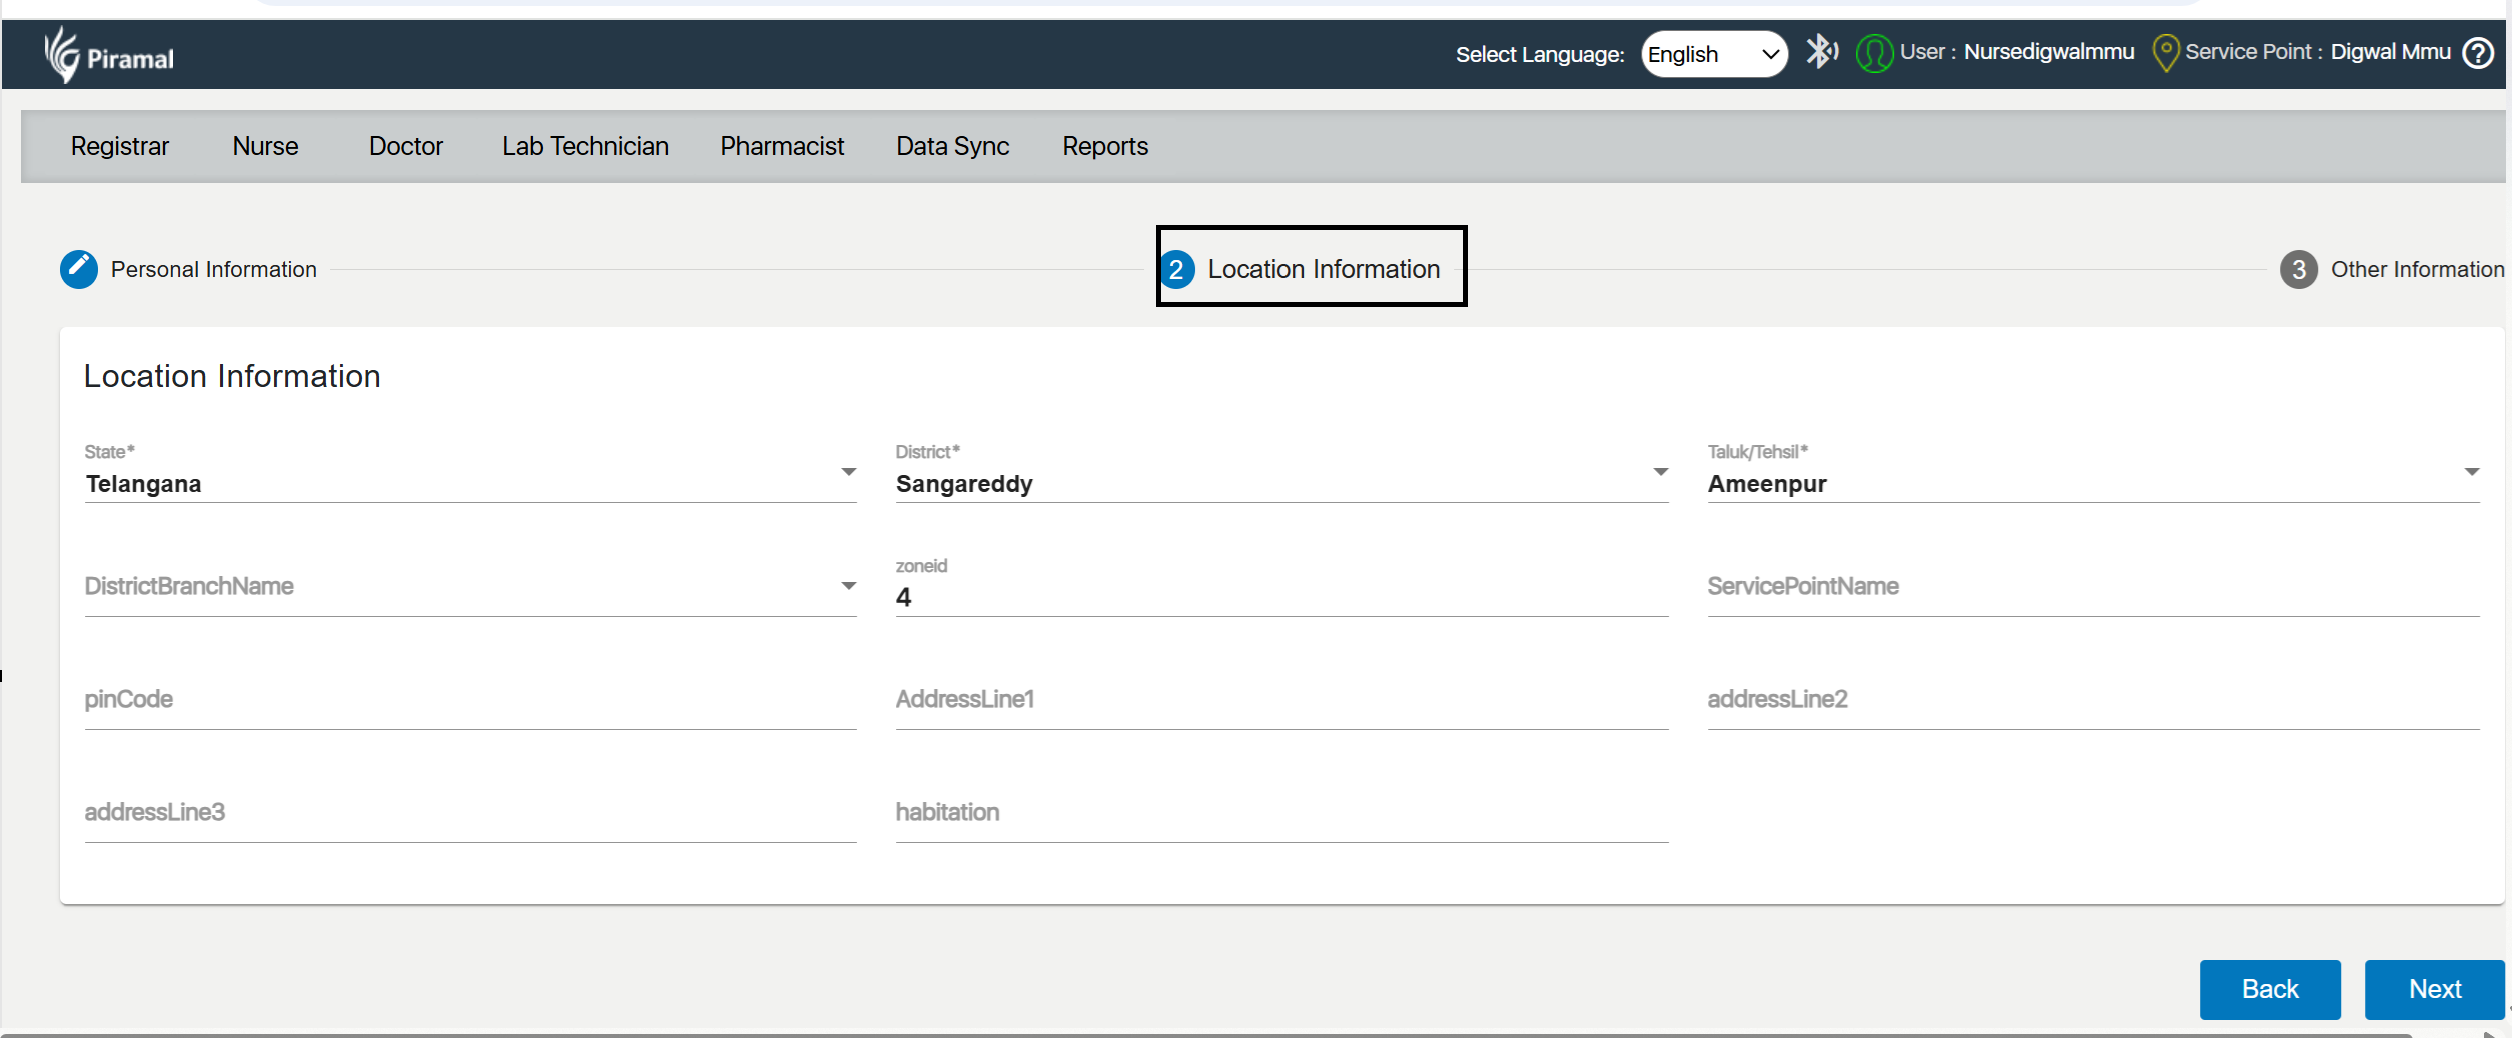
2. Location Information
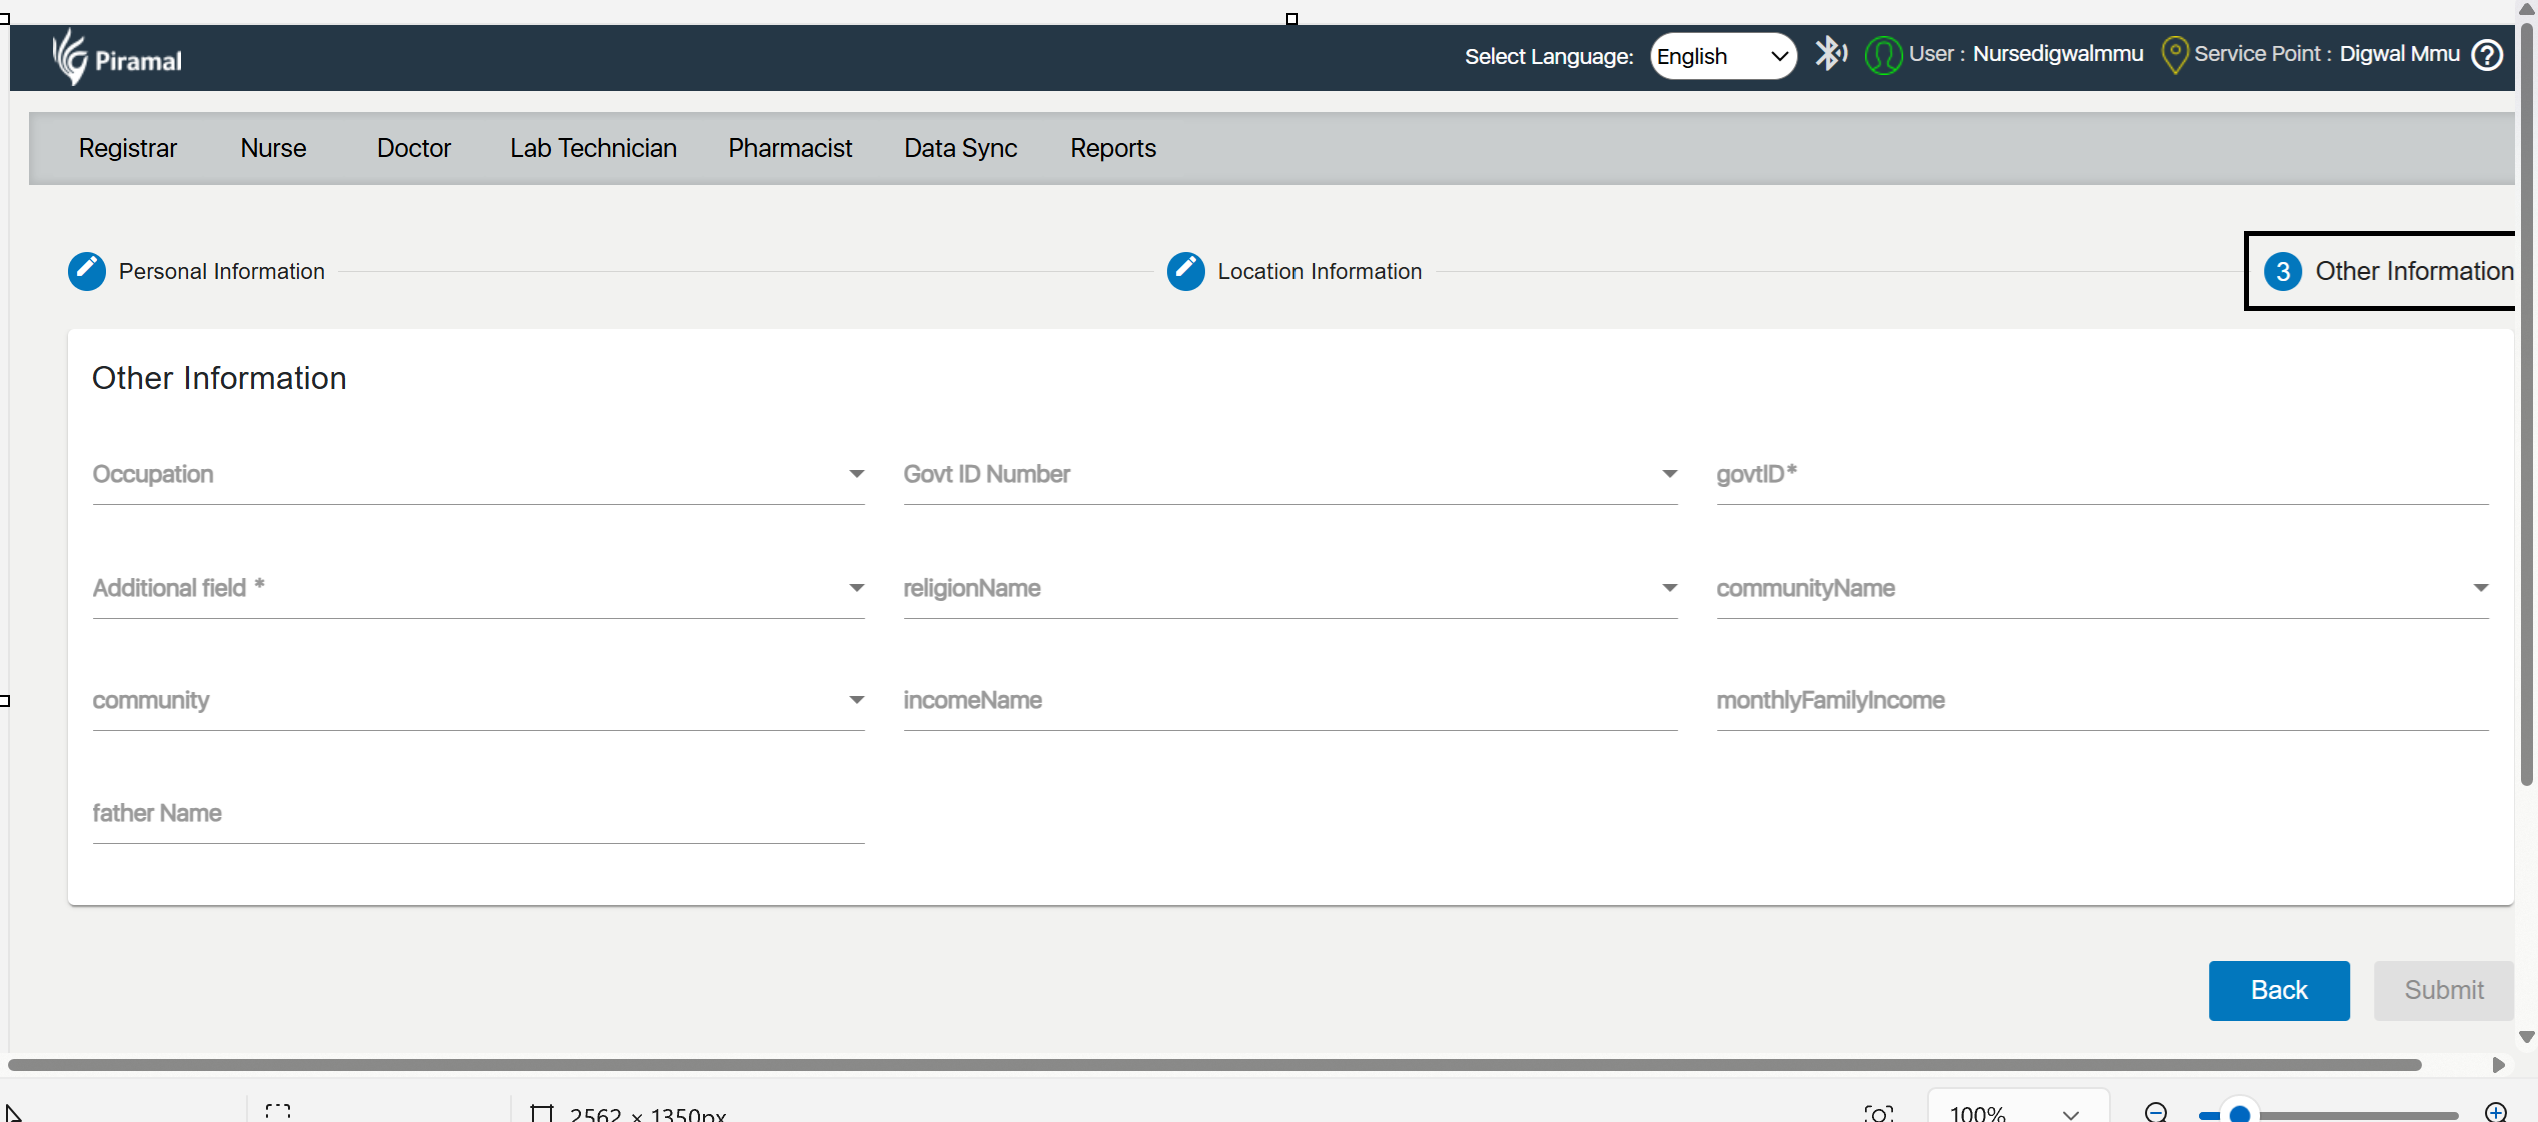
3. Other Information: Fill out the required fields such as Fathers Name, Mothers Name, Email id, Community, Bank details
Nurse Module
The Nurse Module in the healthcare system is designed to assist nursing staff in capturing and managing essential patient information during visits. This module helps streamline patient care by recording visit details, tracking vaccination status, documenting chief complaints, uploading relevant files, and confirming disease statuses.
Visit Details
a) New Chief Complaint
Enter the primary health issue reported by the patient. This complaint will guide the rest of the consultation process.
b) Visit Category Dropdown Values
Select the appropriate category from the dropdown based on the patient’s needs and the nature of the visit.
- Options:
- NCD Screening
- ANC
- PNC
- Family Planning (FP) and Contraceptive Services
- Childhood and Adolescent
- Neonatal and Infant Health Services
- Genral OPD
NCD Screening
Validation - Beneficiary Age >= 30 years
Non-Communicable Diseases (NCDs) are chronic health conditions, such as cardiovascular diseases, diabetes, cancer, and respiratory illnesses, that are not transmitted from person to person and are often the result of lifestyle factors and genetics.
A) COVID Vaccination Status
Age Group
Select the patient’s age group from predefined options.
Is Applicable for Vaccination: Mark this field if the patient falls into the eligible age category and presents no contraindications for vaccination.
Vaccination Status
- Options:
- Not Vaccinated
- Partially Vaccinated
- Fully Vaccinated
- Select the correct vaccination status based on the patient’s vaccination history.
3. Chief Complaints
a) Chief Complaints
- Usage: Enter the main complaints or symptoms the patient is experiencing.
b) Duration
- Usage: Enter the duration in days, weeks, months, etc., depending on the patient’s report.
c) Unit of Duration
- Options:
- Days
- Weeks
- Months
Select the appropriate unit of time for the duration entered.
4. Upload Files
a) Select Files
Click on the "Select Files" button to browse and select the files you want to upload.
b) Upload Files
After selecting the files, click on "Upload Files" to add them to the patient’s file.
5. Disease Confirmation
a) Diabetes
Check this box if the patient has diabetes.
b) Epilepsy
Check this box if the patient has epilepsy.
c) Asthma
Check this box if the patient has asthma.
d) Vision Screening
Check this box if the patient has had vision issues or needs screening.
e) Tuberculosis Screening
Check this box if the patient has undergone tuberculosis screening.
f) Malaria Screening
Check this box if the patient has undergone malaria screening.
g) Hypertension :
Check this box if the patient has hypertension.
Family history
Select any Disease condition from the following options
- Drop-Down Menu
- Asthma
- Diabetes Mellitus
- Epilepsy (Convulsions)
- Hemiplegia
- Infant with congenital Anomaly
- Hypertension
- Ischemic Heart Disease
- Multiple Pregnancy
- Nill
- Other
- Sickle cell disease
- Thalassemia
- Tuberculosis
Family Members:
- Click on the dropdown menu to reveal the list of family members.
- The dropdown includes the following options:
- Brother
- Daughter
- Father
- Mother
- Sister
- Son
- You can select multiple family members by checking the boxes next to the names.
- Physical Activity History Section:
- Navigate to the Physical Activity History section of the application.
- Select Physical Activity Type:
- Choose the physical activity type that best describes the individual’s usual activity level. You have two options:
- Sedentary: Refers to a lifestyle with minimal physical activity, often associated with prolonged periods of sitting or lying down.
- Active: Refers to a lifestyle with regular engagement in physical activities and exercise.
- Choose the physical activity type that best describes the individual’s usual activity level. You have two options:
- Answer Physical Activity Questions:
- For a detailed assessment, answer the following questions based on your regular activities:
a) Regular vigorous exercise or strenuous (manual) activities at home/work:- Indicate if you engage in activities that require significant effort, such as intense workouts or demanding manual labor.
- Indicate if you participate in moderate-intensity activities, such as brisk walking or light manual tasks.
- Indicate if you perform light activities, like casual walking or gentle exercises.
- Indicate if you do not engage in regular exercise or if your activities are minimal and secondary to other tasks.
- For a detailed assessment, answer the following questions based on your regular activities:
b) Regular moderate exercise or moderate activities at home/work:
- Indicate if you participate in moderate-intensity activities, such as brisk walking or light manual tasks.
c) Regular mild exercise or mild activities at home/work:
- Indicate if you perform light activities, like casual walking or gentle exercises.
d) No exercise and/or Secondary activities at home/work:
- Indicate if you do not engage in regular exercise or if your activities are minimal and secondary to other tasks.
Personal History :
1. Previous Tobacco History
Indicates whether the user has a history of tobacco use.
2. Previous Alcohol History
Indicates whether the user has a history of alcohol use.
3. Previous Allergy History
Indicates whether the user has a history of allergies.
4. Physical Activity Type
- Type: Radio Button
- Options:
- Sedentary
- Active
- Select the physical activity type that best describes the user's activity level.
5. Tobacco Use Status
- Type: Drop Down
- Options:
- Yes
- No
- Discontinued
- Select the current status of tobacco use.
- Tobacco Type
6. Alcohol Use Status
- Type: Drop Down
- Options:
- Yes
- No
- Discontinued
- Select the current status of alcohol use.
- Alcohol Type
7. Allergic Status
- Type: Drop Down
- Options:
- Yes
- No
- Don’t Know
- Select whether the user has allergies or not.
Allergy Type
If the user has allergies, select the type of allergy.
Vitals
Entering Anthropometry and Vitals Data
This guide provides step-by-step instructions for entering data in the Anthropometry and Vitals sections of the application, and how to submit this data for review by a healthcare professional.
Anthropometry Section
- Height (cm):
- Weight (kg)
- BMI (Body Mass Index):BMI=Weight (kg)(Height (m))2\text {BMI} = \frac{\text{Weight (kg)}}{(\text{Height (m)})^2}BMI=(Height (m))2Weight (kg).
- Waist Circumference (cm)
Vitals Section
- Temperature
- Pulse Rate (min)
- SPO2
- BP (mmHg) Systolic
- BP (mmHg) Diastolic
- RBS mg/dl
- RBS Remarks
Screening: NCD Screening
- IDRS Score: Evaluates the risk of developing diabetes.
- Confirmed For: Diagnosis confirmed for Diabetes, Epilepsy, Asthma, Vision Impairment, Tuberculosis (TB), and Malaria.
- Suspected For: Potential risk identified for Diabetes, Epilepsy, Asthma, Vision Impairment, Tuberculosis (TB), and Malaria.
Doctor Module
Show All Details: Doctor will be able to see Visit Details ,History ,Vitals ,Screening entered by Nurse
Allow Editing: Enable the doctor to review and make necessary edits to the details entered by the nurse.
1. Previous Visit Details
- Service Lines Table: Displays the summary of previous services provided to the patient.
2. Findings
- Clinical Findings: Document observations and findings during the patient's visit.
- Cross: To remove any clinical findings if necessary.
- Add: To include new clinical findings.
3.Diagnosis
- Provisional Diagnosis: Enter the initial diagnosis based on the current findings.
- Cross: Remove or edit the provisional diagnosis.
- Add: Include additional diagnoses.
- Final Diagnosis: Confirm specific diagnoses such as:
- Is DM (Diabetes Mellitus) confirmed?
- Is Hypertension confirmed?
- Is Oral Cancer confirmed?
- Is Cervical Cancer confirmed?
- Is Breast Cancer confirmed?
4. Investigation
- Test Name: List and manage the diagnostic tests conducted.
- Radiology & Investigation: Document radiology and imaging tests.
- Radiology and Imaging: Specific section for imaging-related investigations.
- External Investigations: Record any tests conducted outside the facility.
5.Prescription
- Form: Structure the prescription format.
- Medicine: List the medications prescribed to the patient.
- Dosage: Specify the amount of medication to be taken.
- Frequency: Indicate how often the medication should be taken.
- Duration: Define the duration for which the medication should be taken.
- Unit: Specify the unit of measurement (e.g., mg, ml).
- Route: Indicate the route of administration (e.g., oral, intravenous).
- Instructions: Provide any special instructions for taking the medication.
- Counseling Provided: Record whether the patient received counseling regarding their medication or condition.
6. Reports
- Lab Test Reports: Upload and manage reports from laboratory tests.
- Radiology Report: Upload and manage radiology reports.
- Archived: Store past reports that are no longer active but are retained for record purposes.
Lab Investigation:
Record and submit the results and any remarks related to laboratory test findings.
Result
- Field Description: Enter the result of the laboratory tests conducted.
- Instructions: Ensure that the result is accurately recorded and clearly reflects the findings from the laboratory test.
Remarks
- Field Description: Enter any additional remarks or comments related to the laboratory result.
- Instructions: Use this section to provide context or important notes about the result. For example, if there are any special considerations or follow-up actions required.
Buttons
- Reset: Click this button to clear all the fields and reset the form to its initial state. This action will remove any data entered in the Result and Remarks fields.
- Submit: Click this button to finalize and submit the laboratory information. Ensure that all fields are correctly filled before submitting.
2. Radiology & Investigation
X-ray
- Select File: Click this button to choose the X-ray file from your device.
- Upload File: Click this button to upload the selected X-ray file to the system.
- Instructions: Ensure the X-ray file is in the supported format and size before uploading. The file should be clear and readable.
Buttons
- Reset: Click this button to clear the selected file and reset the form. This action will remove any file selected for upload.
- Submit: Click this button to finalize and submit the X-ray file. Ensure the file is correctly selected and ready for upload before submitting
