...
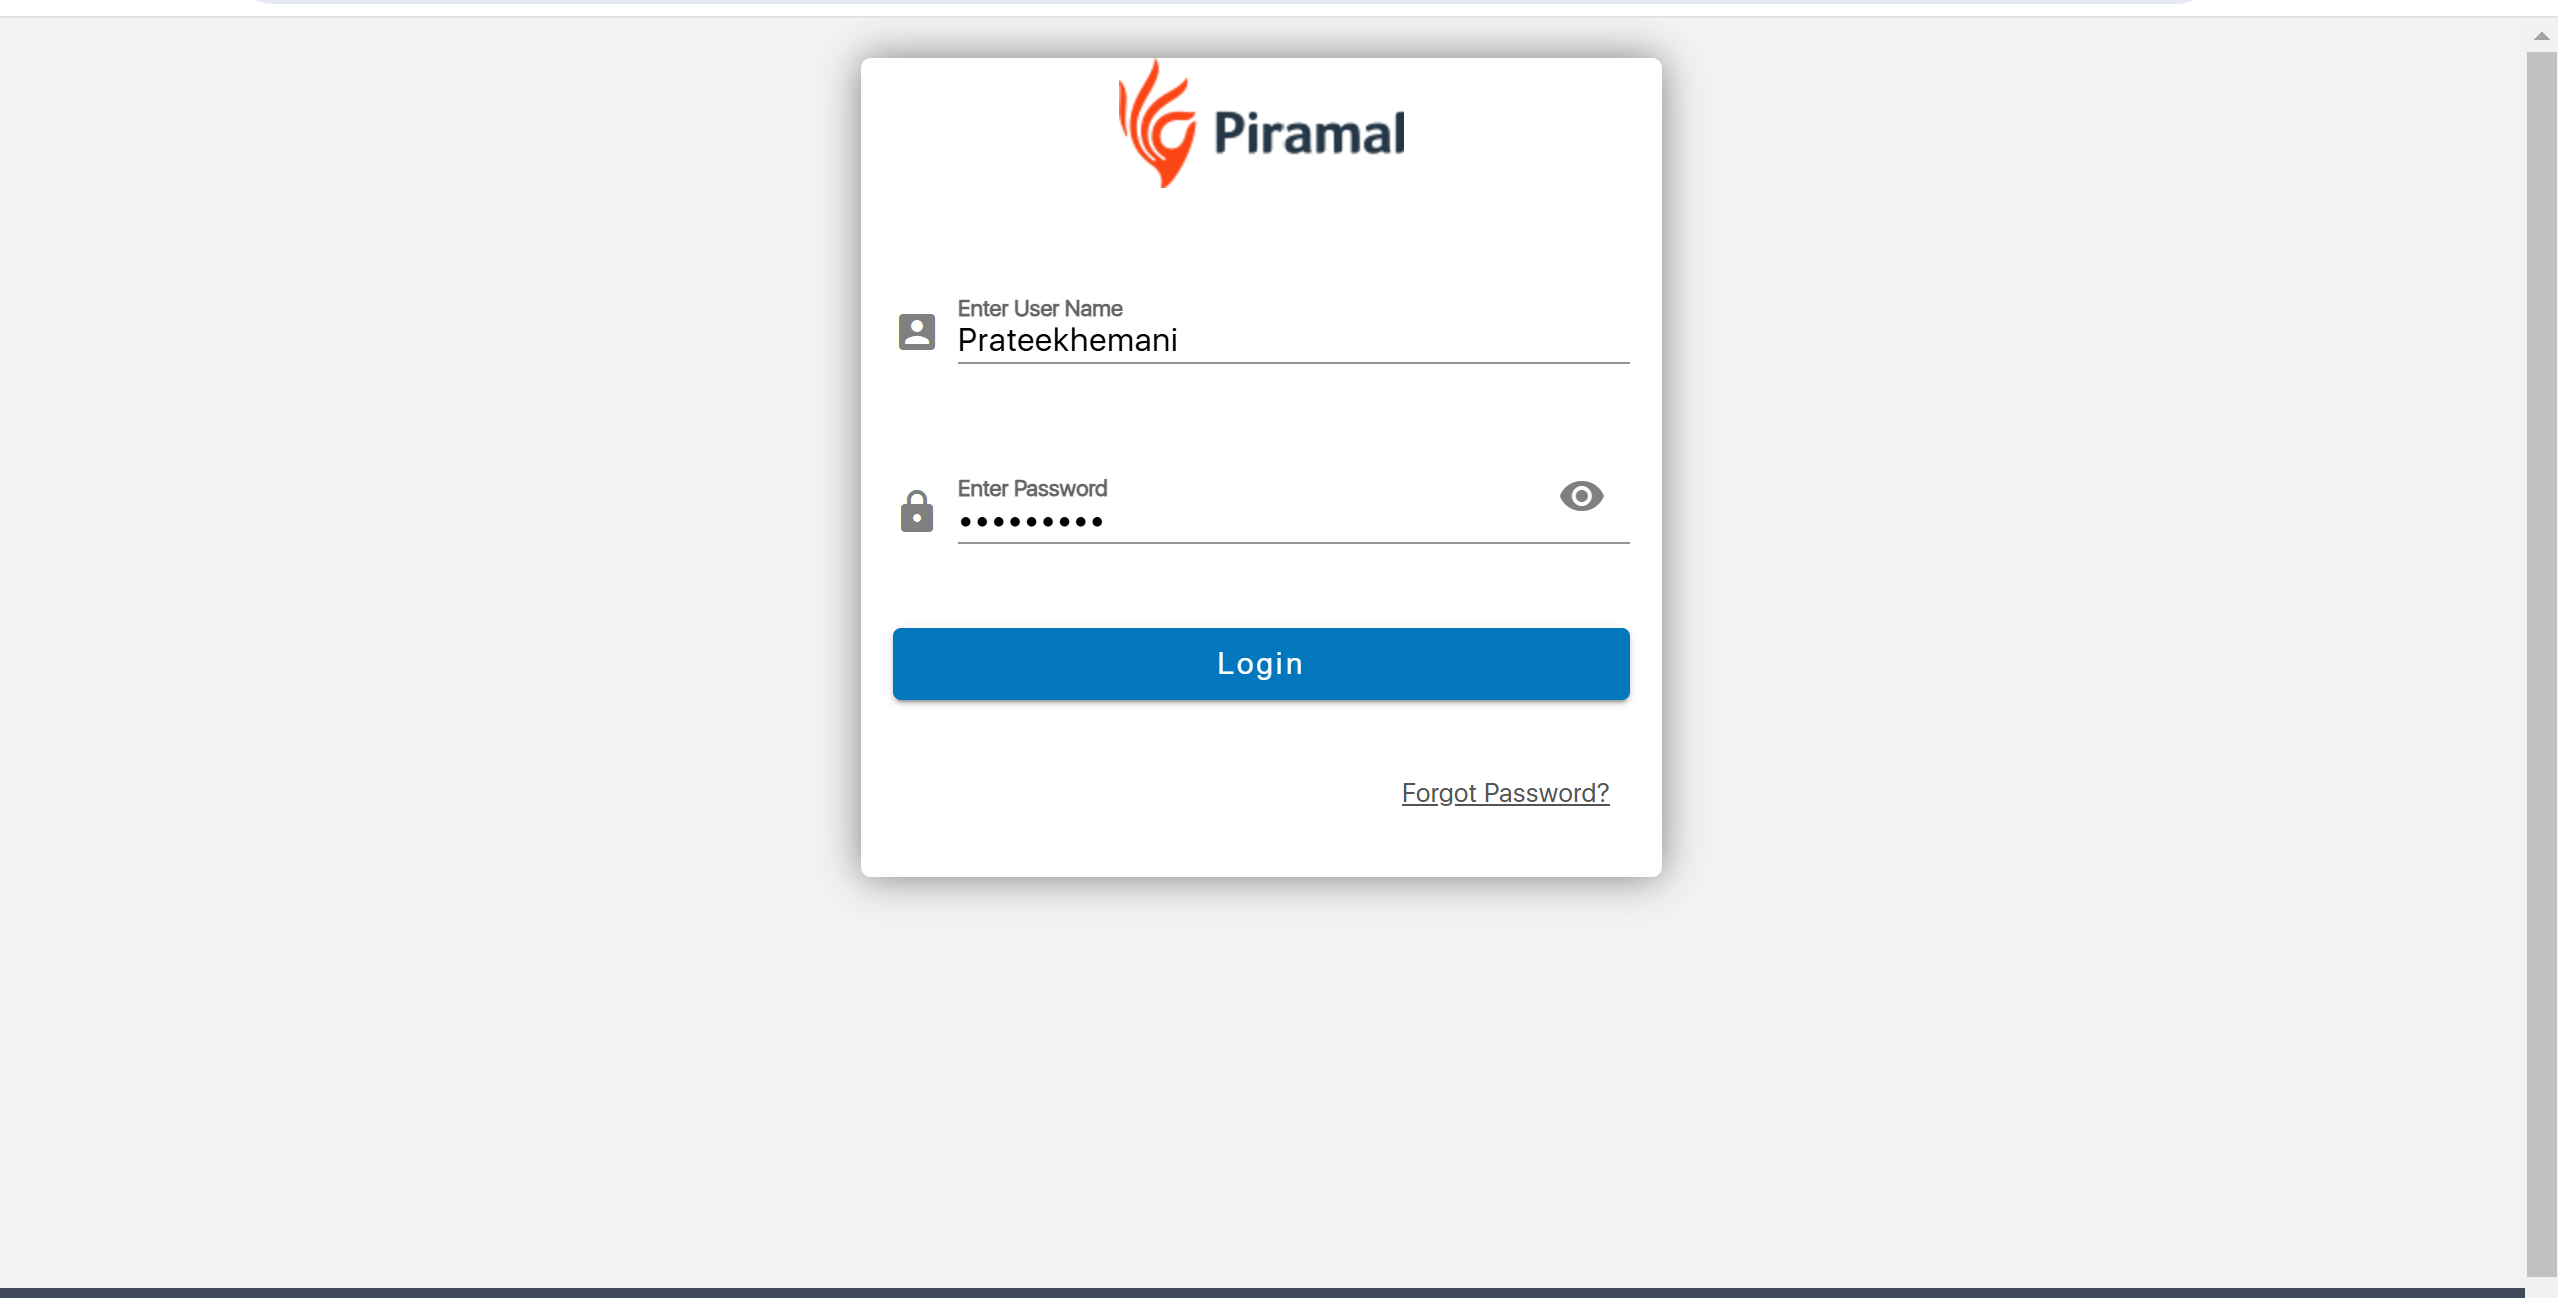
Open Login Page
- Navigate to the Super Admin login page using the provided URL.:- https://uatamrit.piramalswasthya.org/admin-ui-next/login
Enter Credentials
- Username: [Enter Username]
- Password: [Enter Password]
- Click on the Login button to access the Super Admin dashboard.
...
Creating a Provider Admin
...
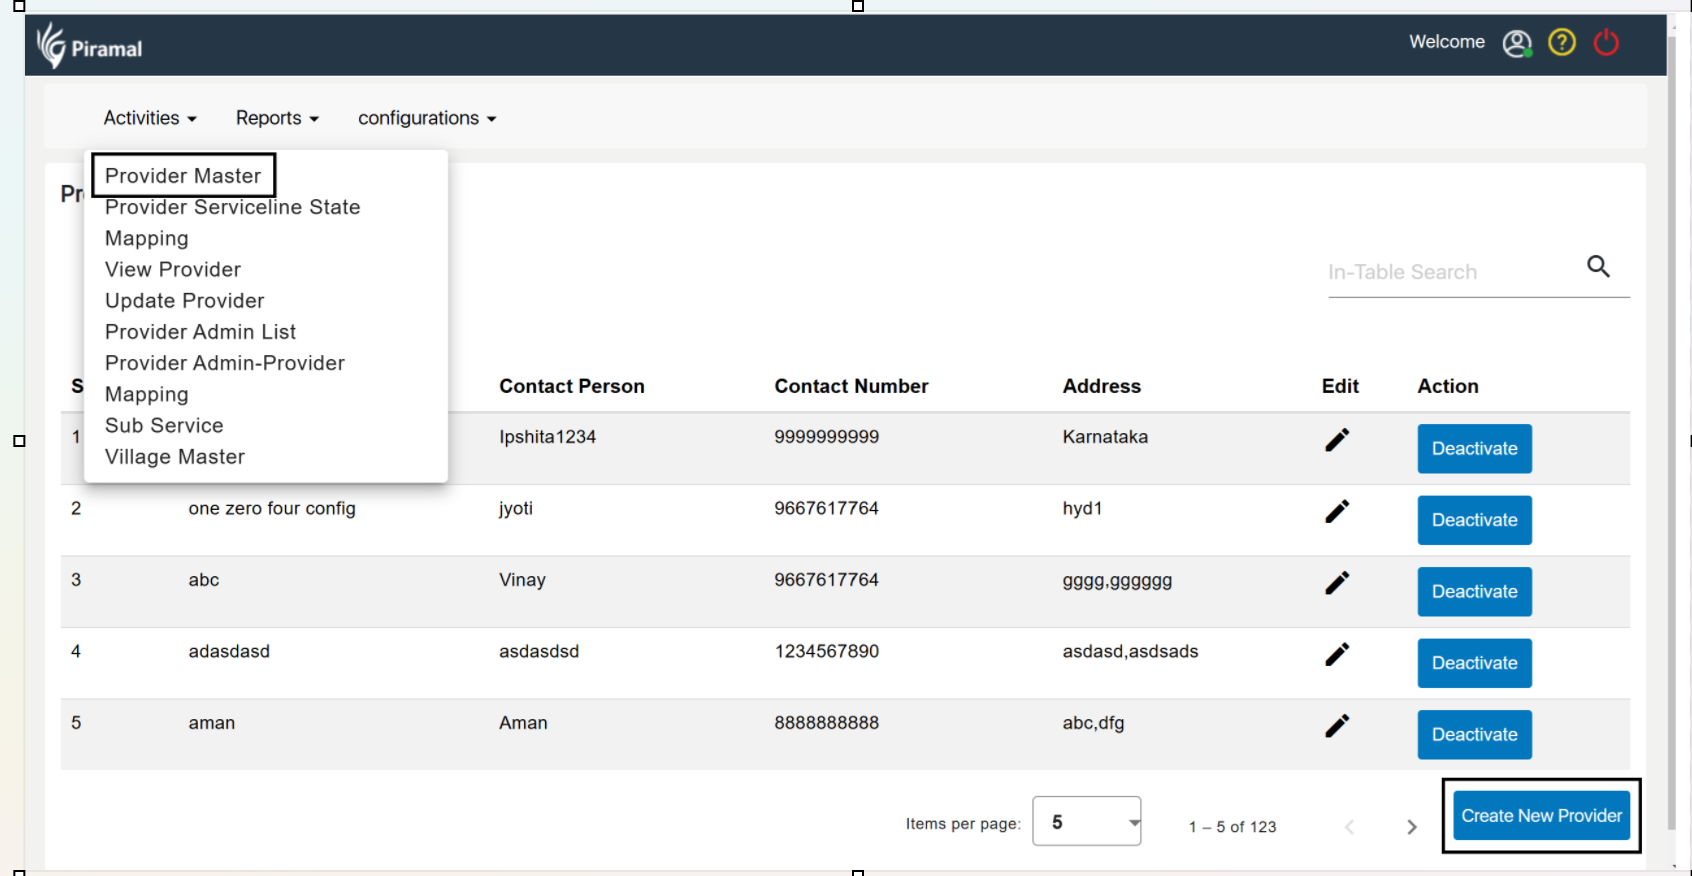
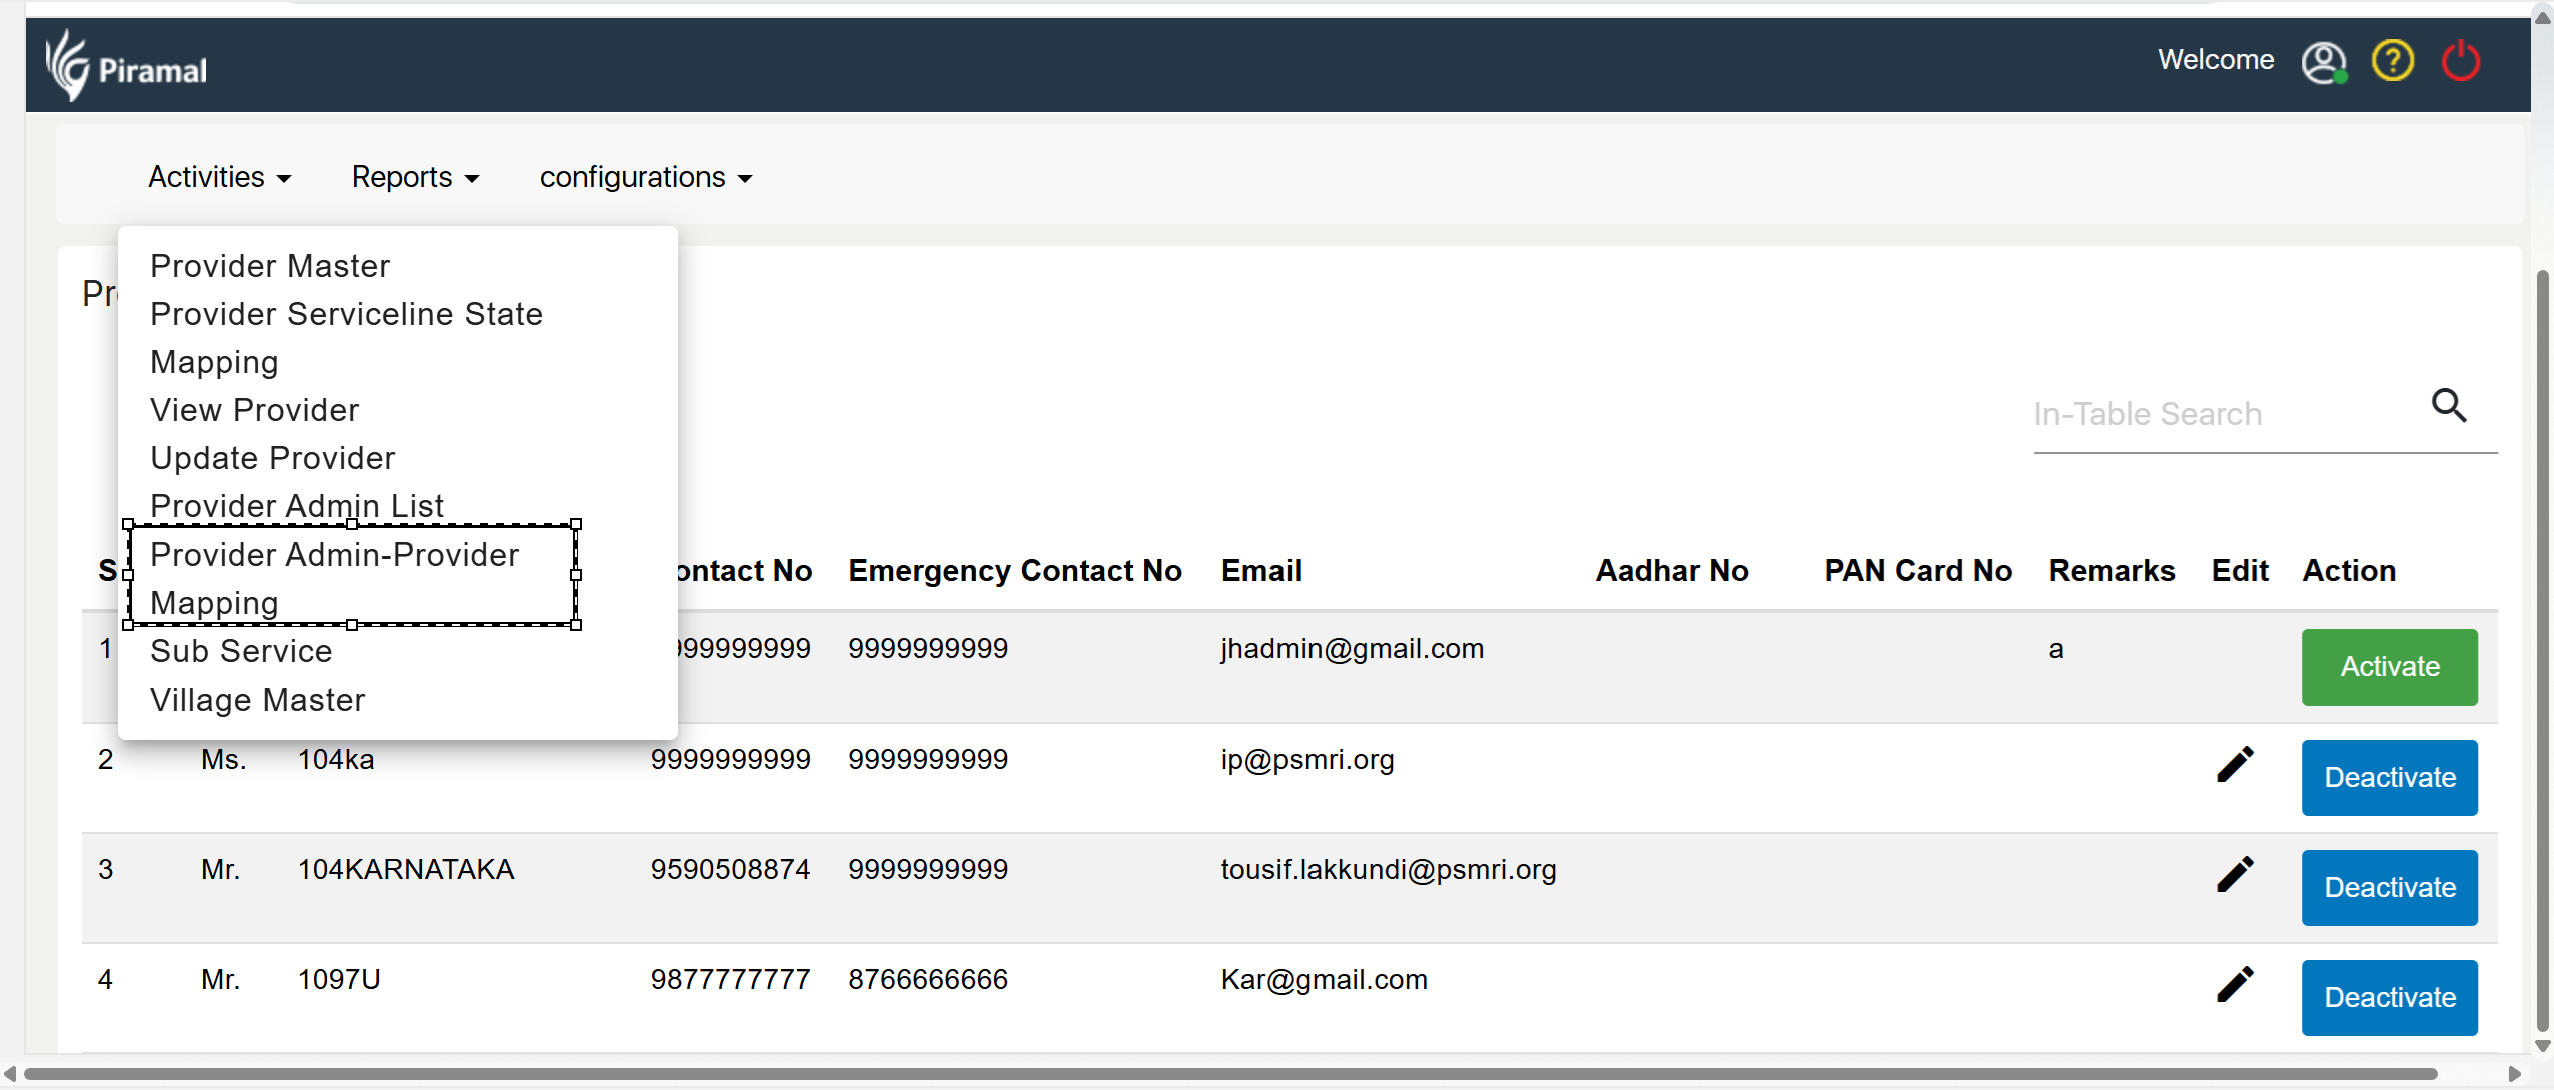
Navigate to Provider Master: Locate and click on the "Provider Master" option in the menu.
Add a New Provider: Click on the "Create Provider" button to open the new provider form.
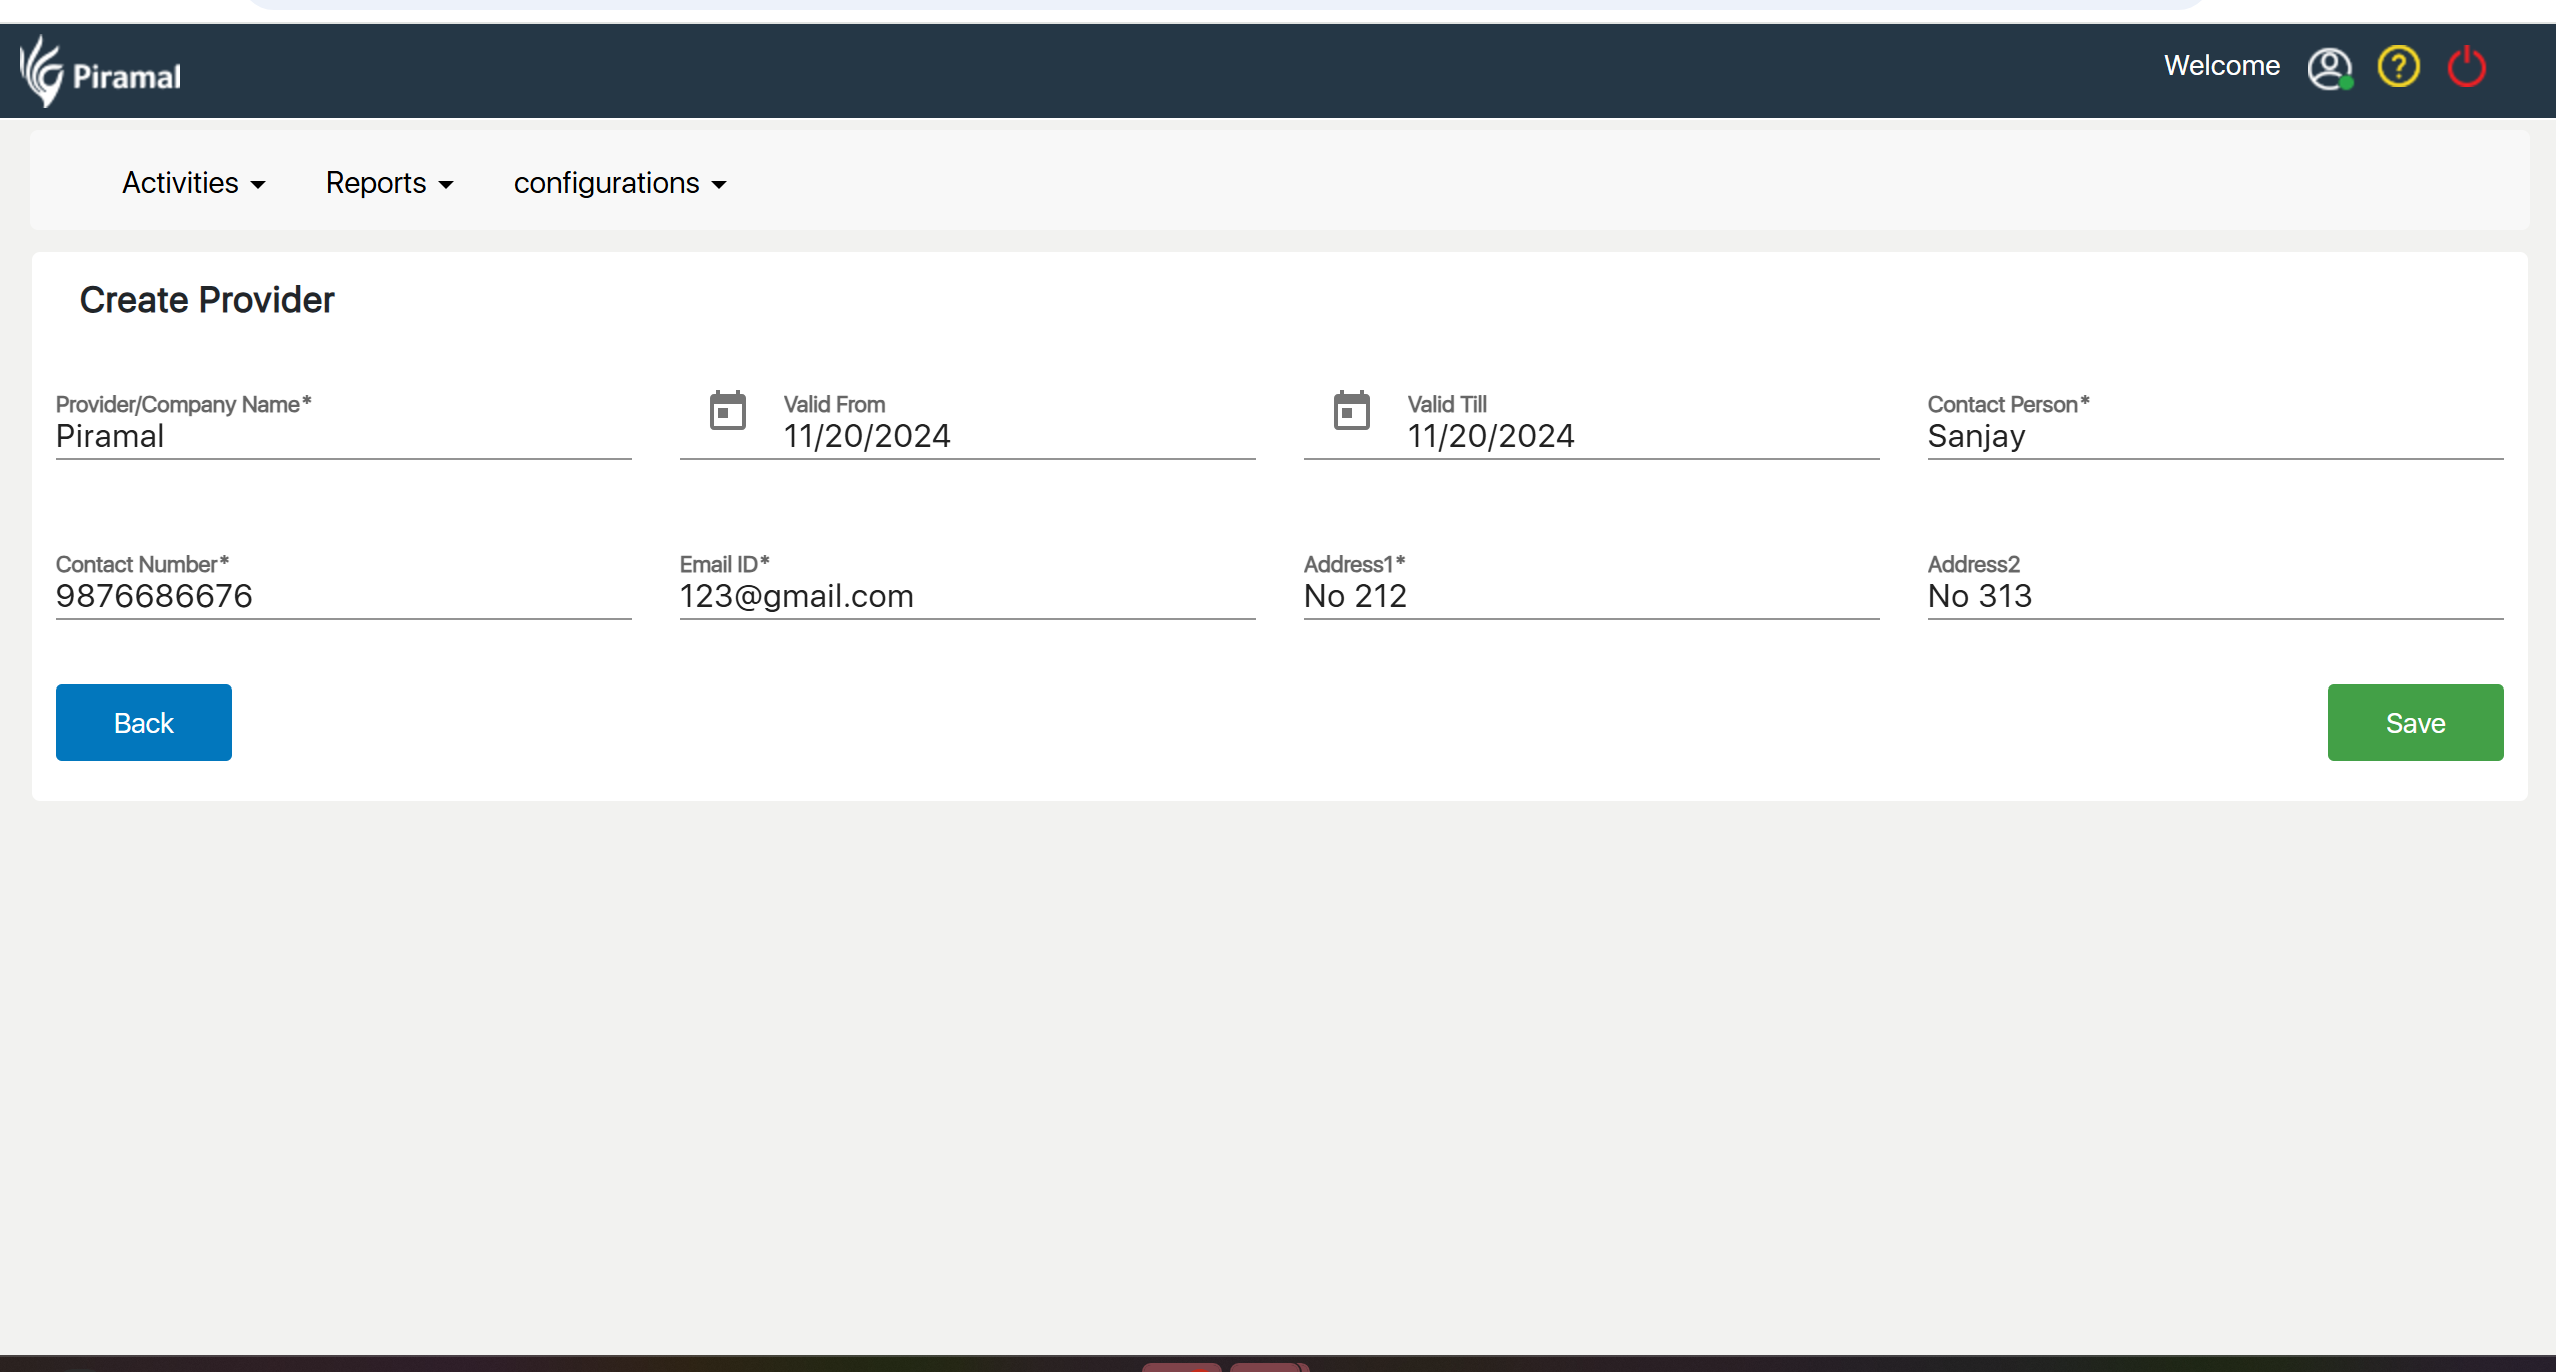
Enter Provider Details: Fill in the required information for the new provider in the provided fields.
Save the Provider: Once all necessary details have been entered, click the "Save" button to finalize and store the provider information.
Provider Service Line State Mapping
...
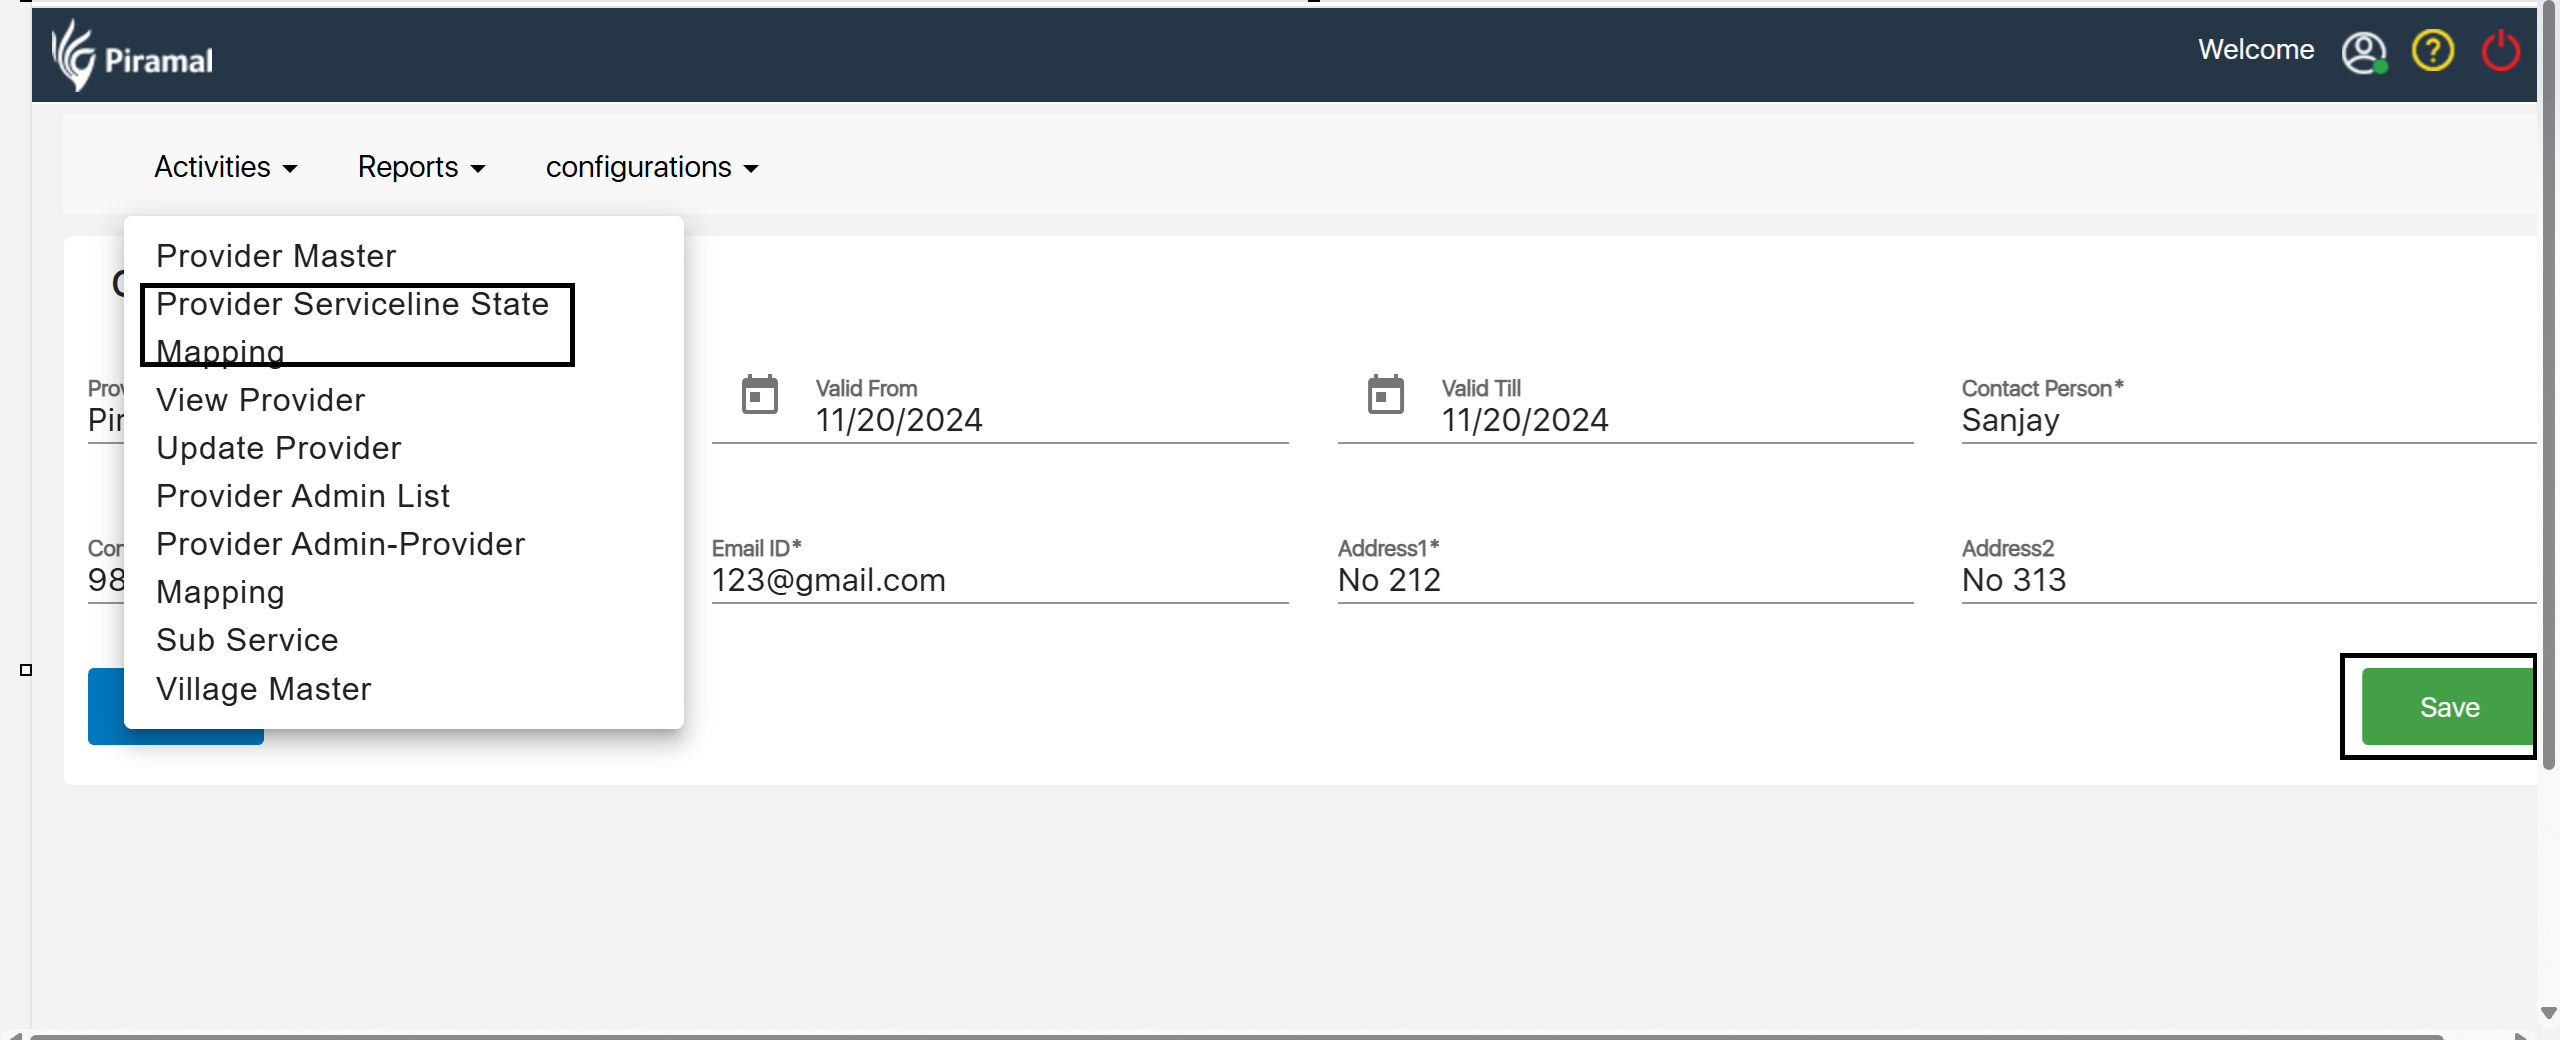
- Open Provider Service Line State Mapping from the menu.
- Click "Add New Mapping".
- Enter the required details (provider, service line, state).
- Click "Save" to finalize the mapping
Viewing Provider Details
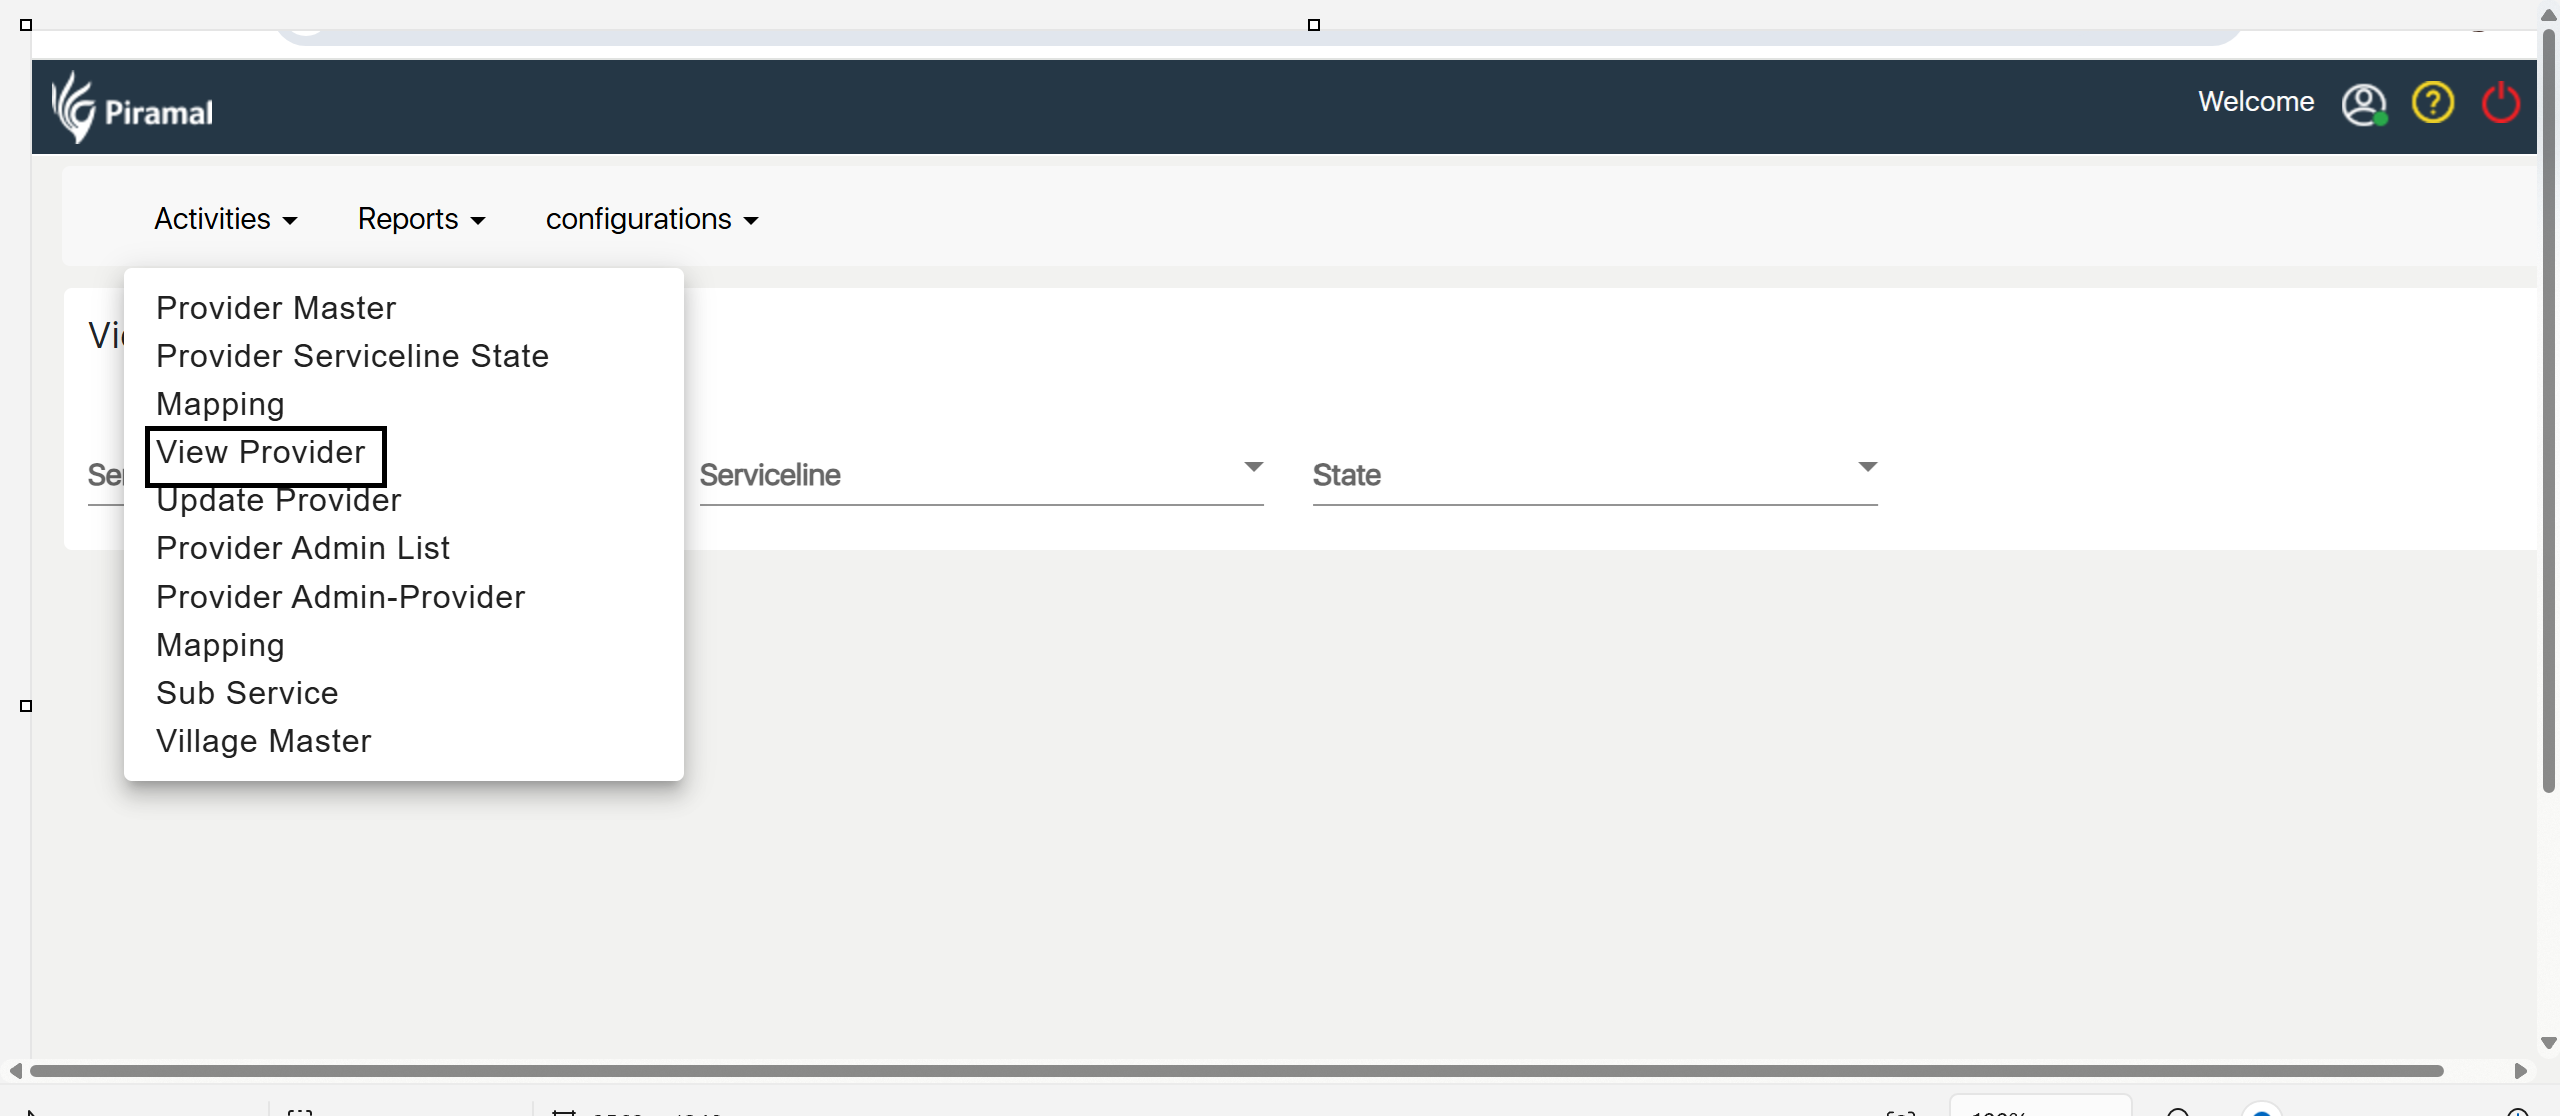
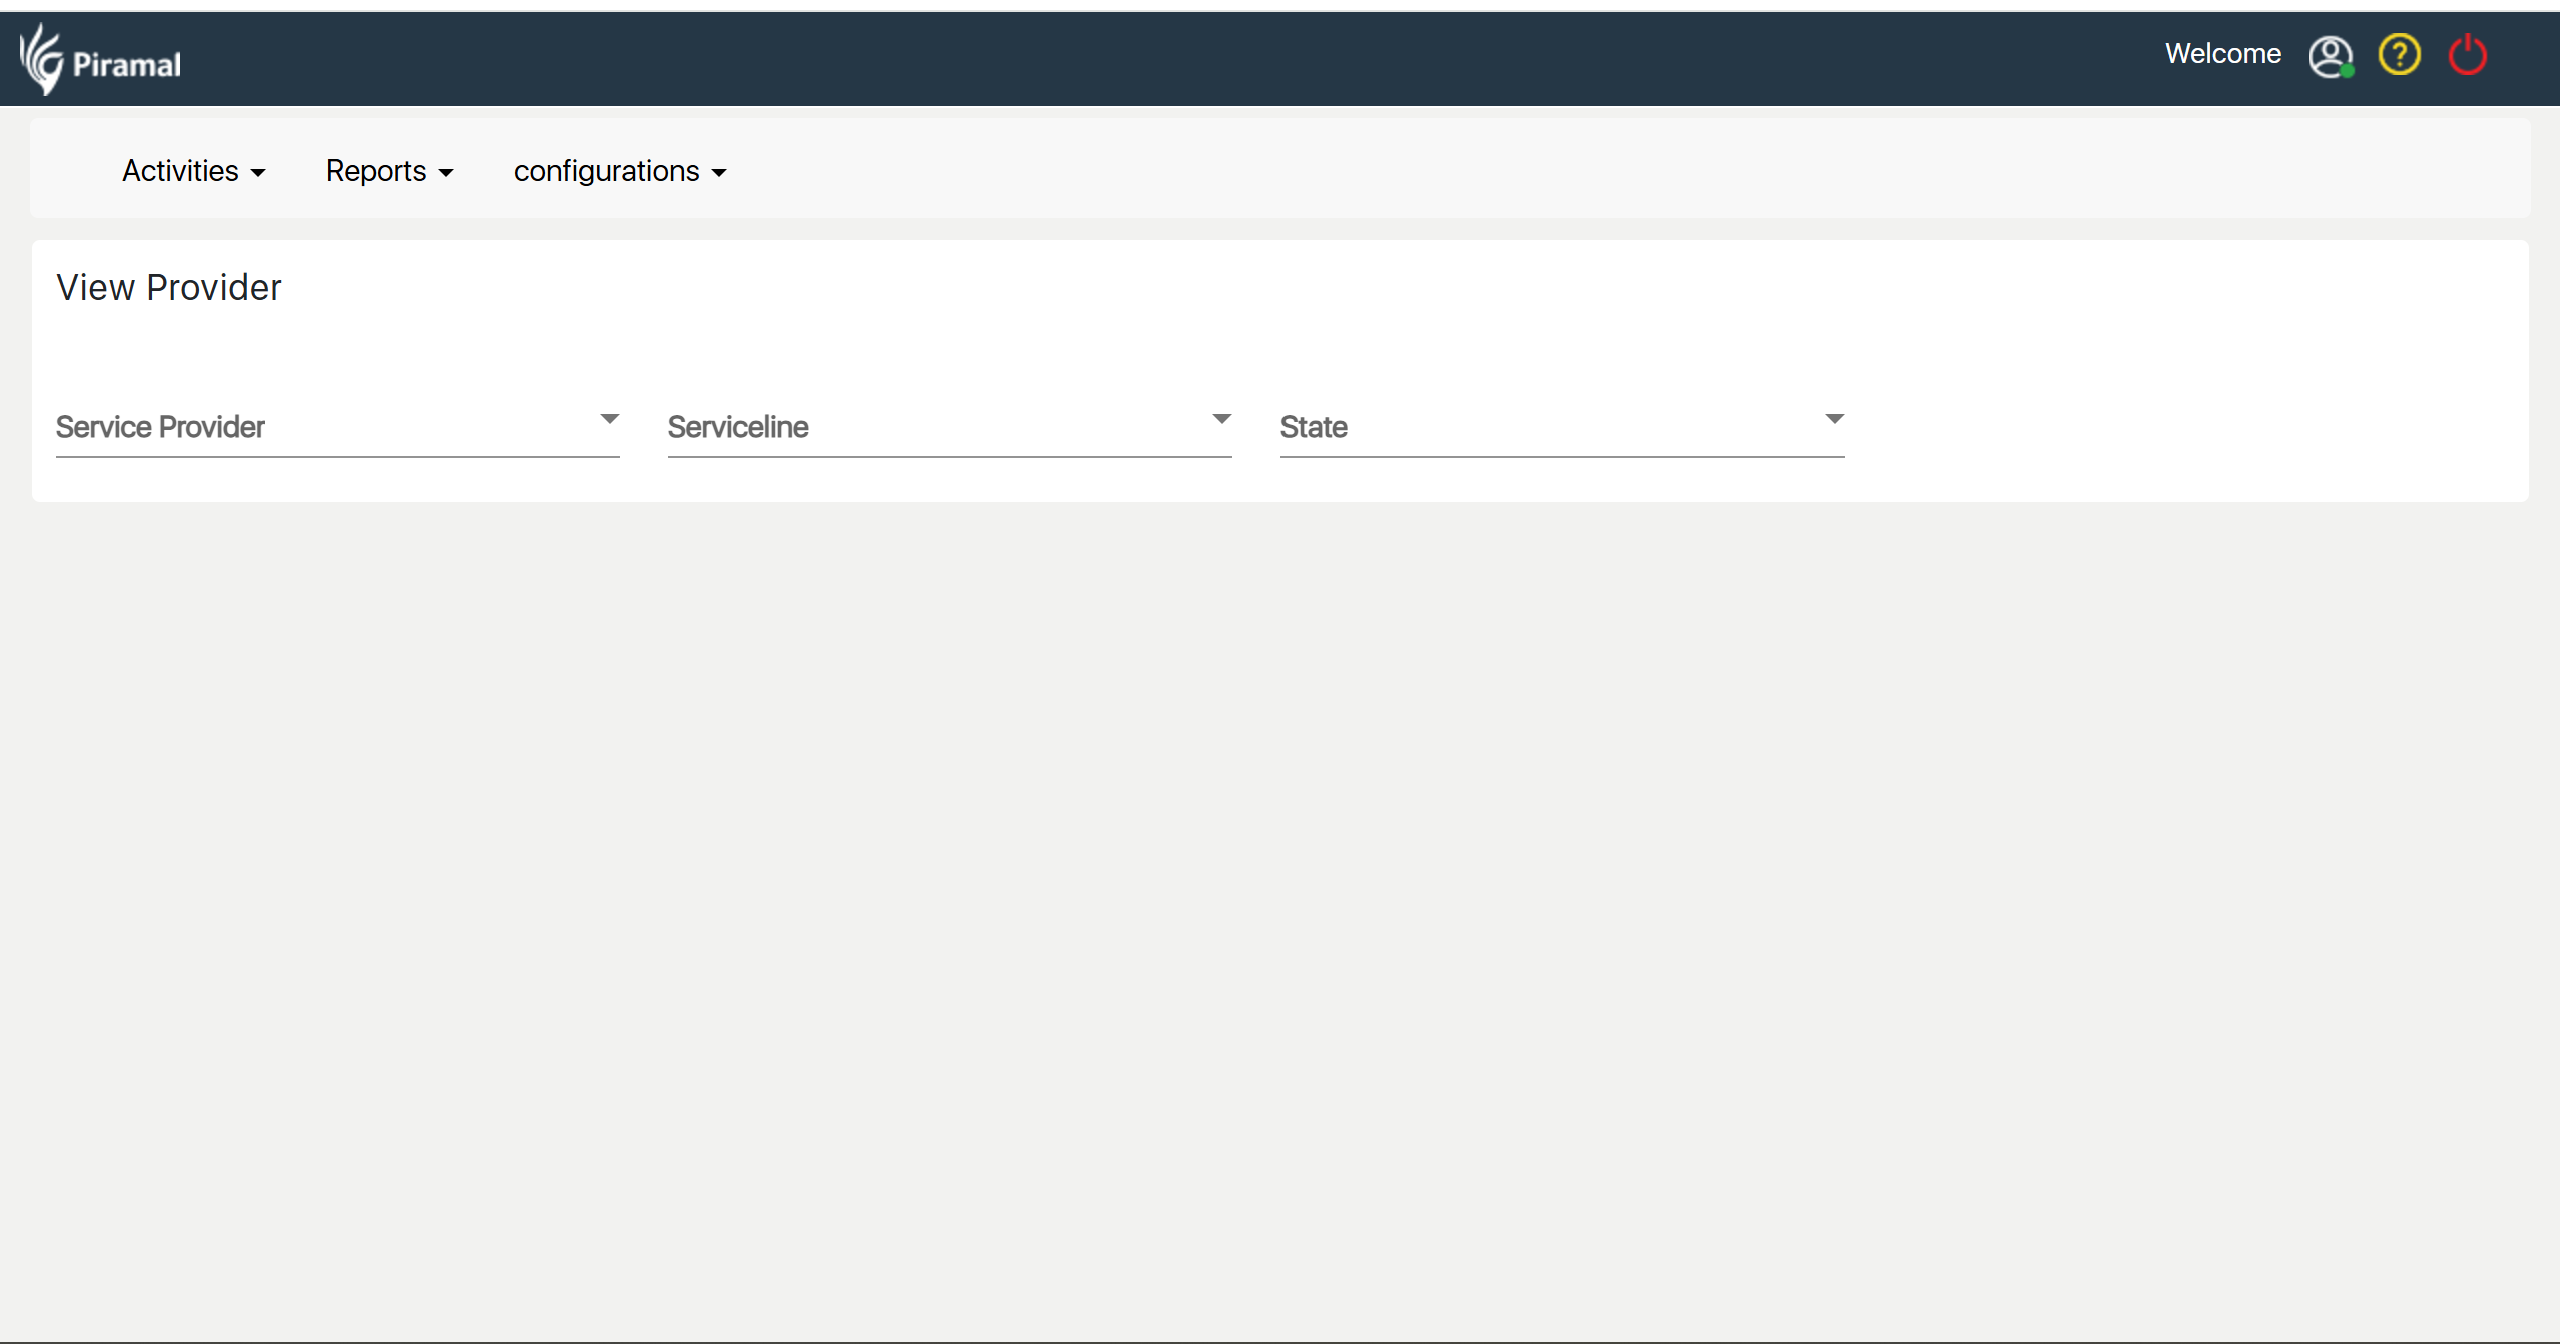
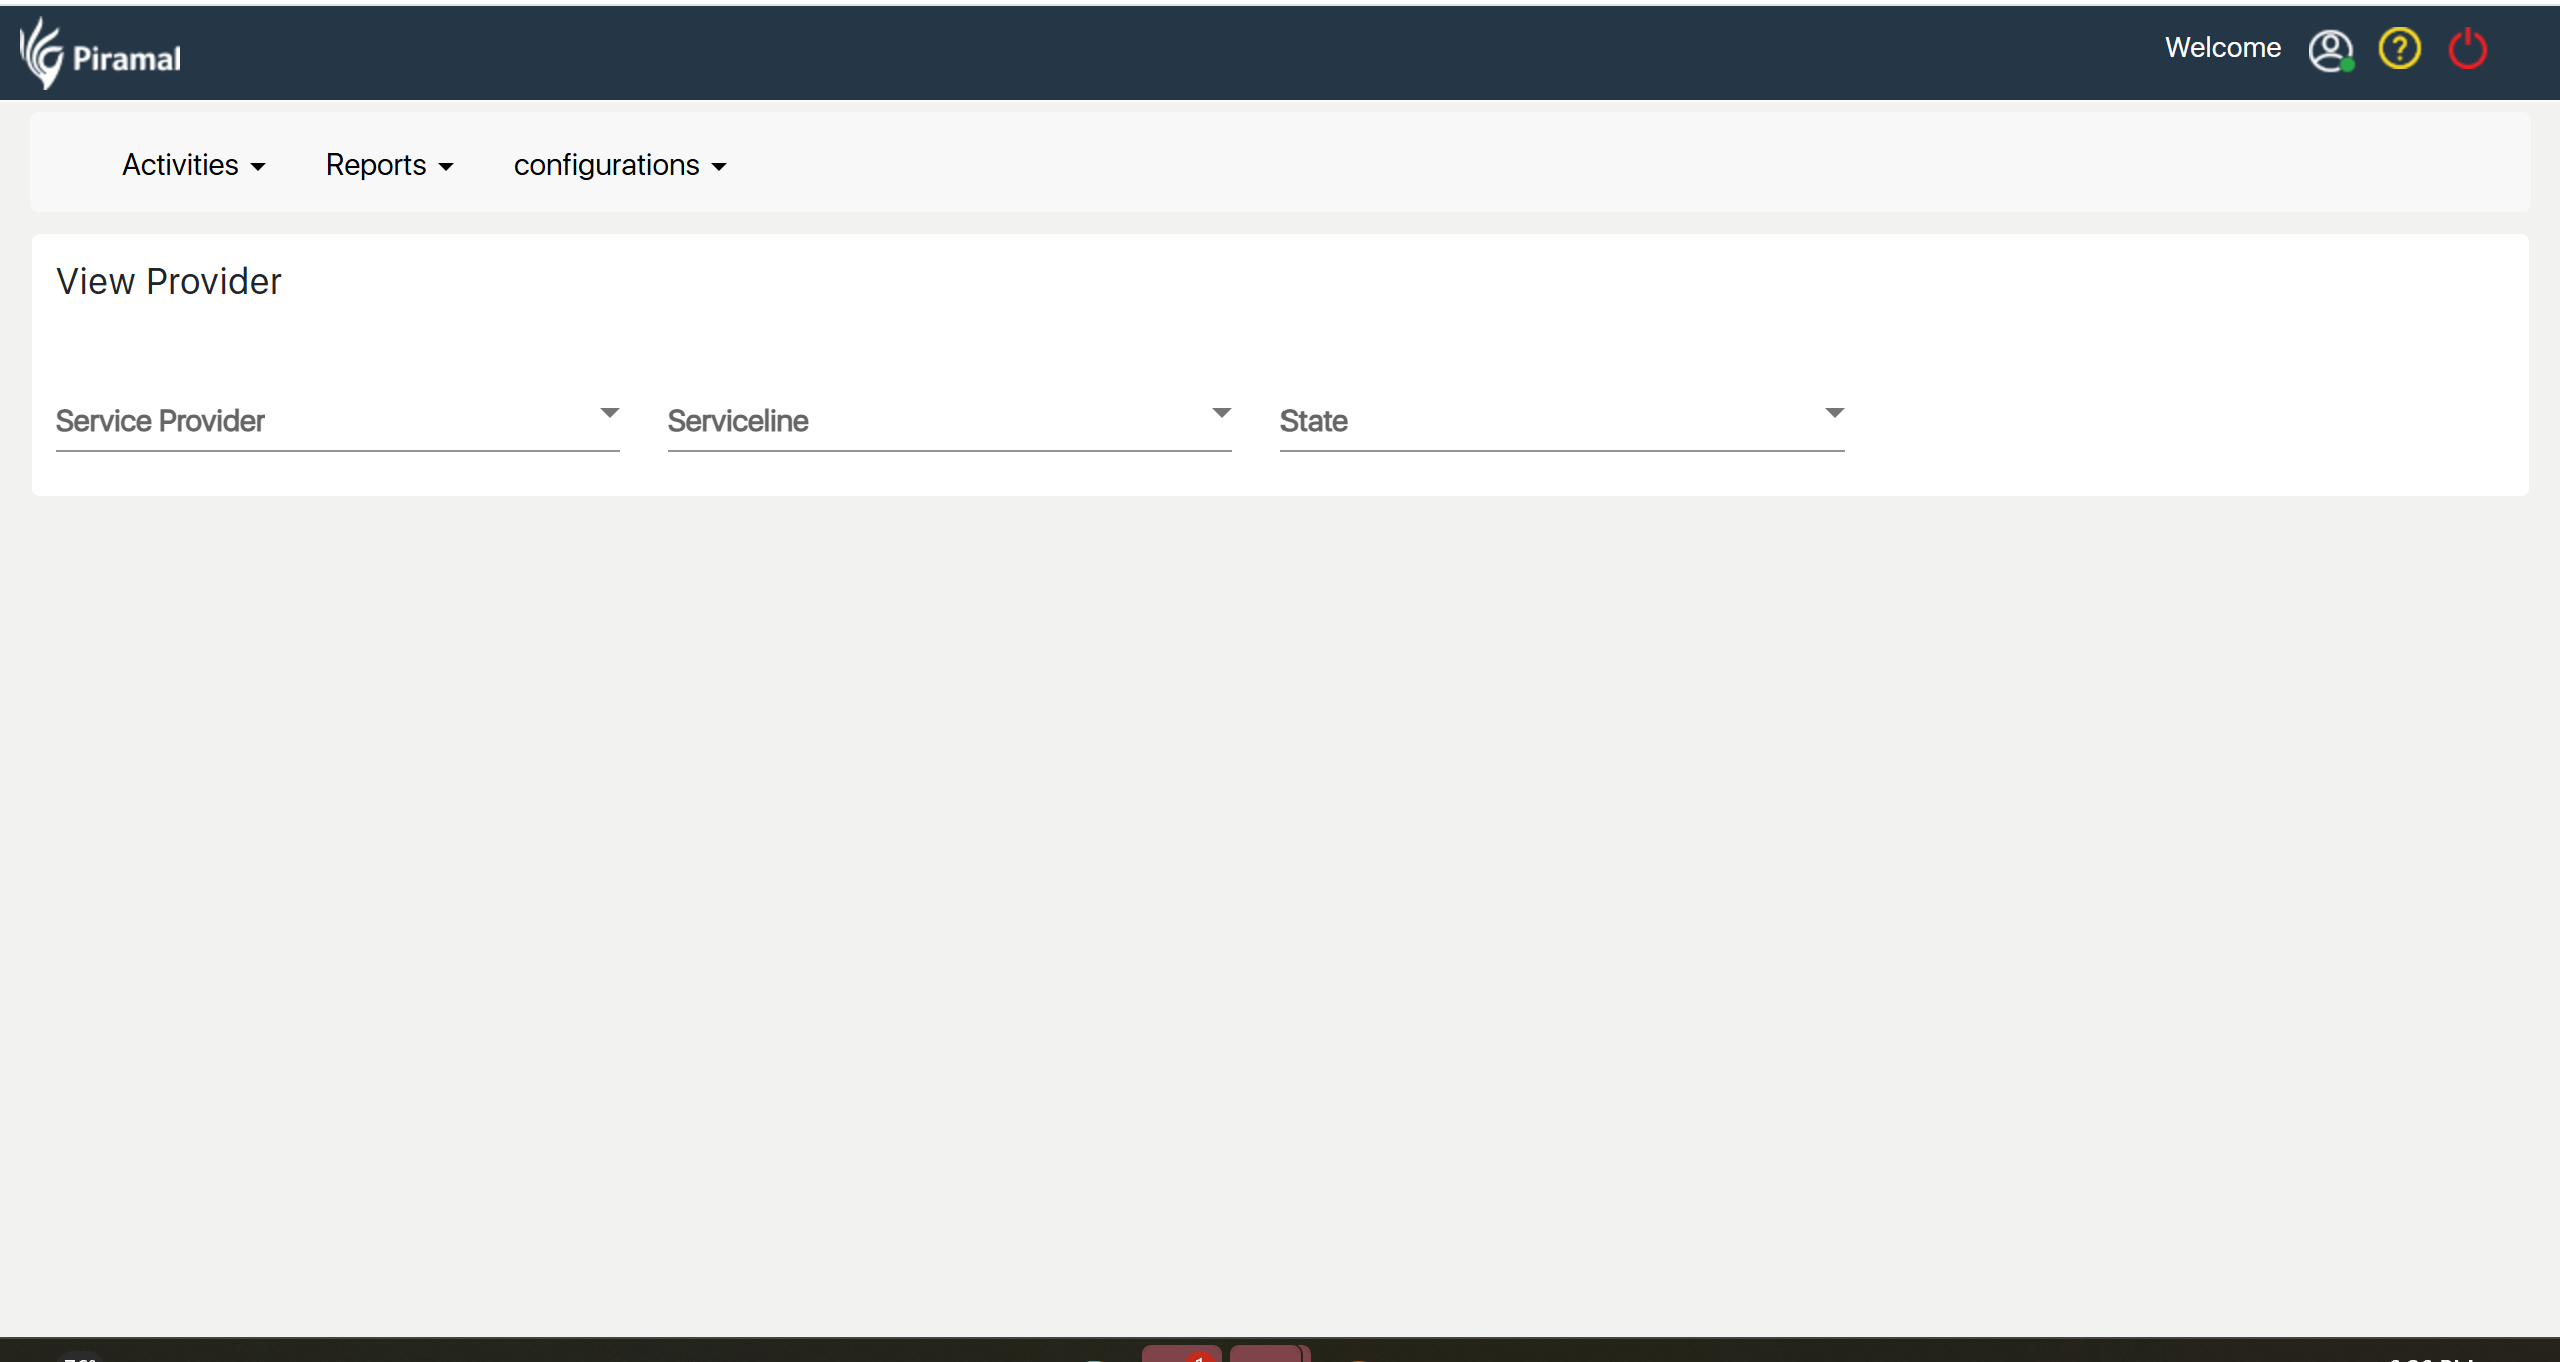
Navigate to View Provider: Select the "View Provider" option from the menu.
Select the Provider: Choose the specific provider from the list.
Review Details: Check the displayed information, including:
- Service Provider: The name of the service provider.
- Service Line: The associated service line.
- State: The state linked to the provider.
Updating Provider Information
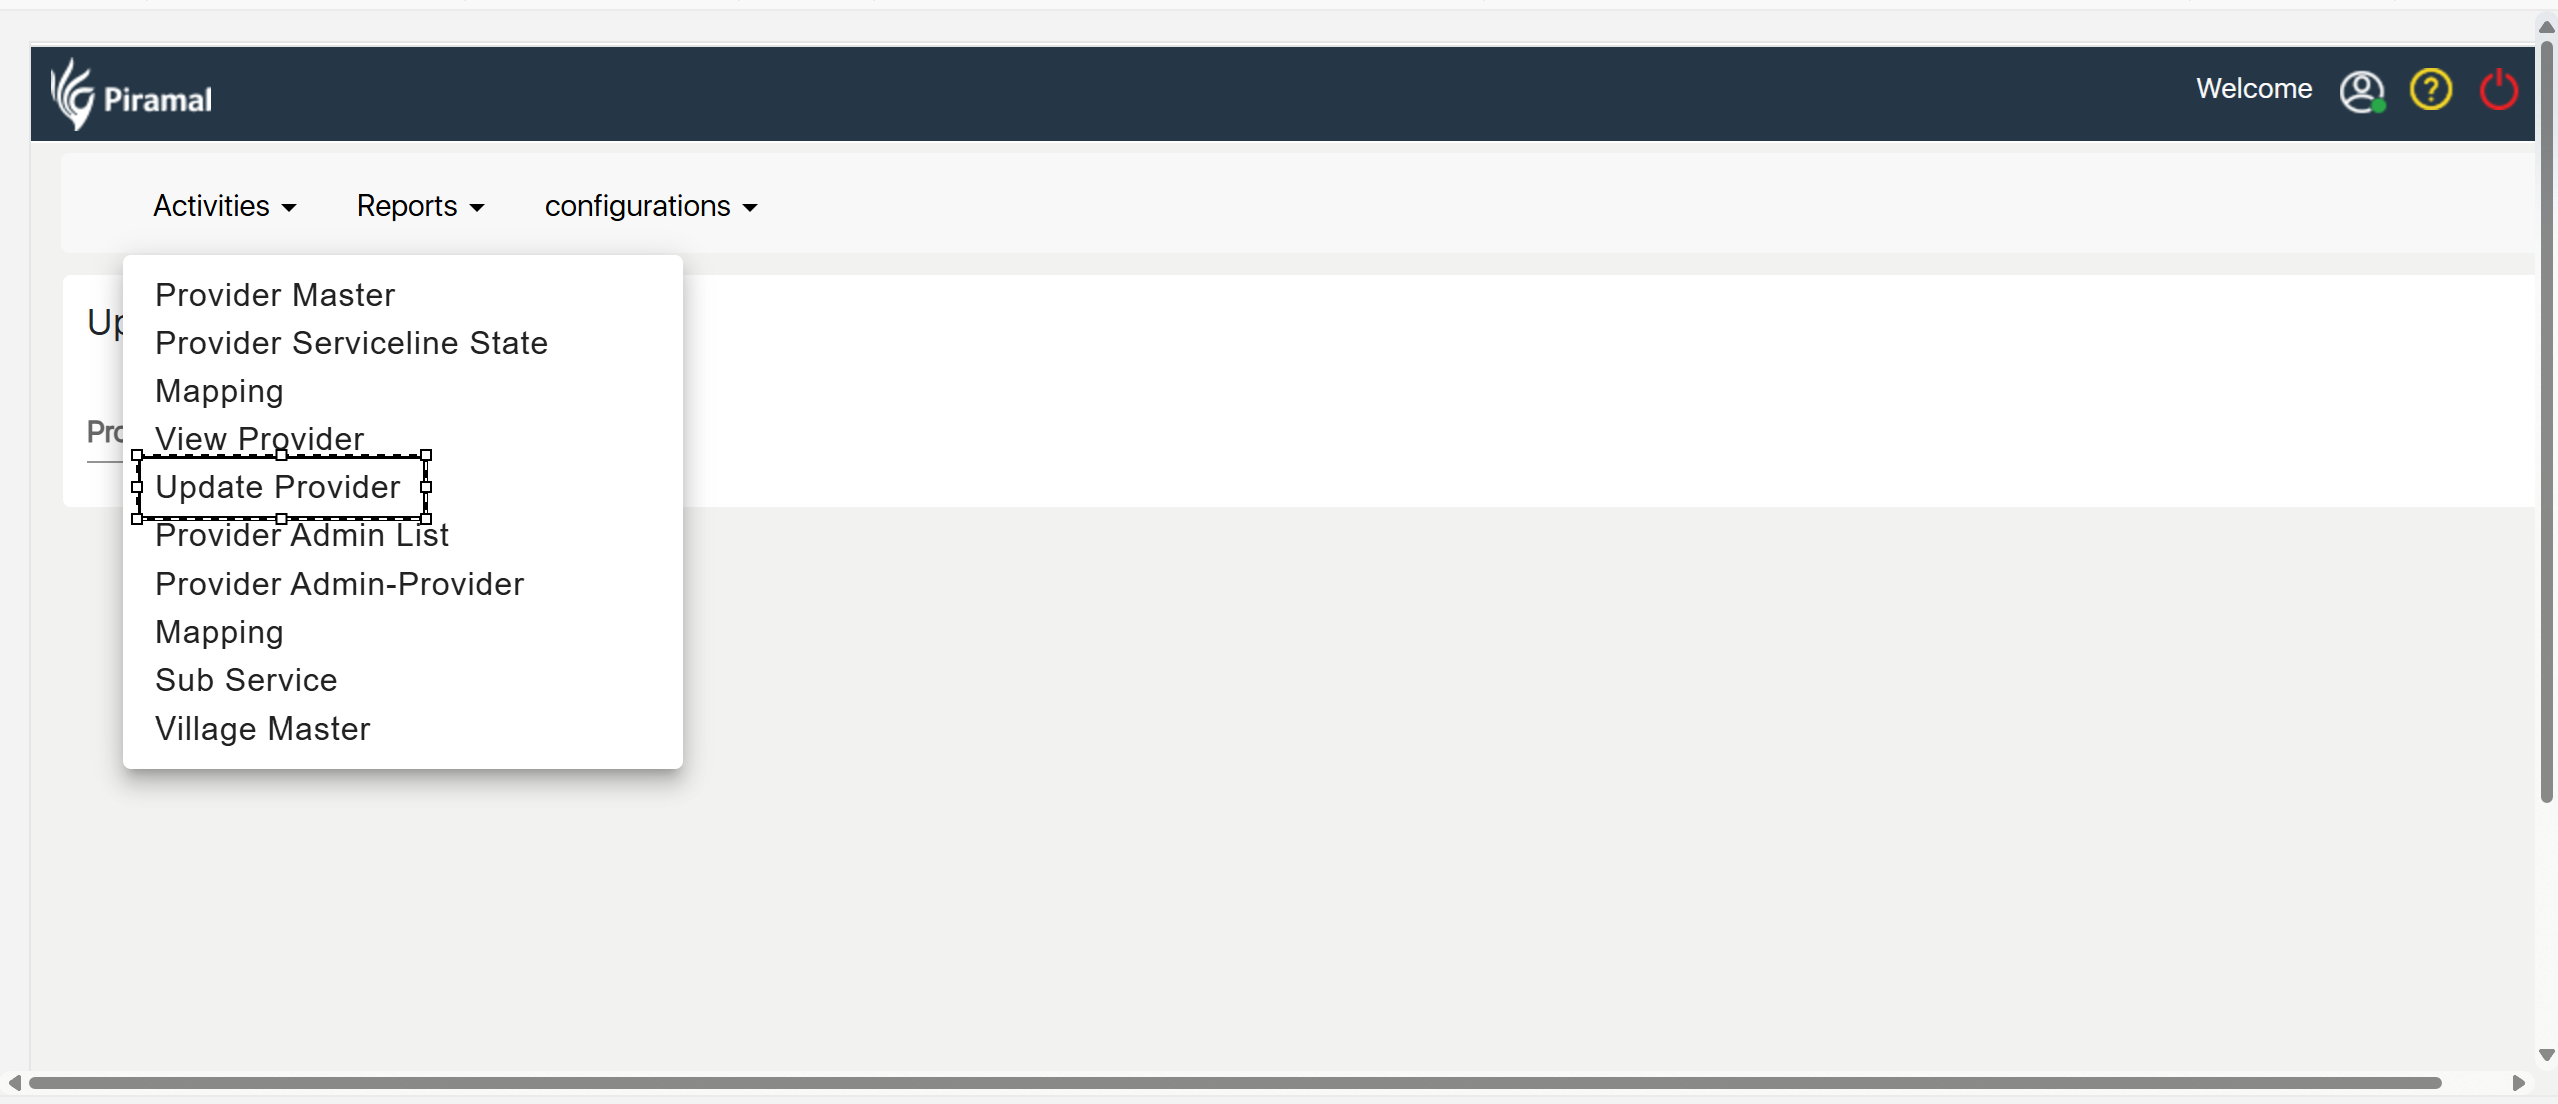
Go to Update Provider: Select the "Update Provider" option from the menu.
Select the Provider: Choose the provider whose information needs to be updated.
Edit Details: Modify the required fields as needed.
Save Changes: Click "Save" to apply the updates.
Creating a New Provider Admin
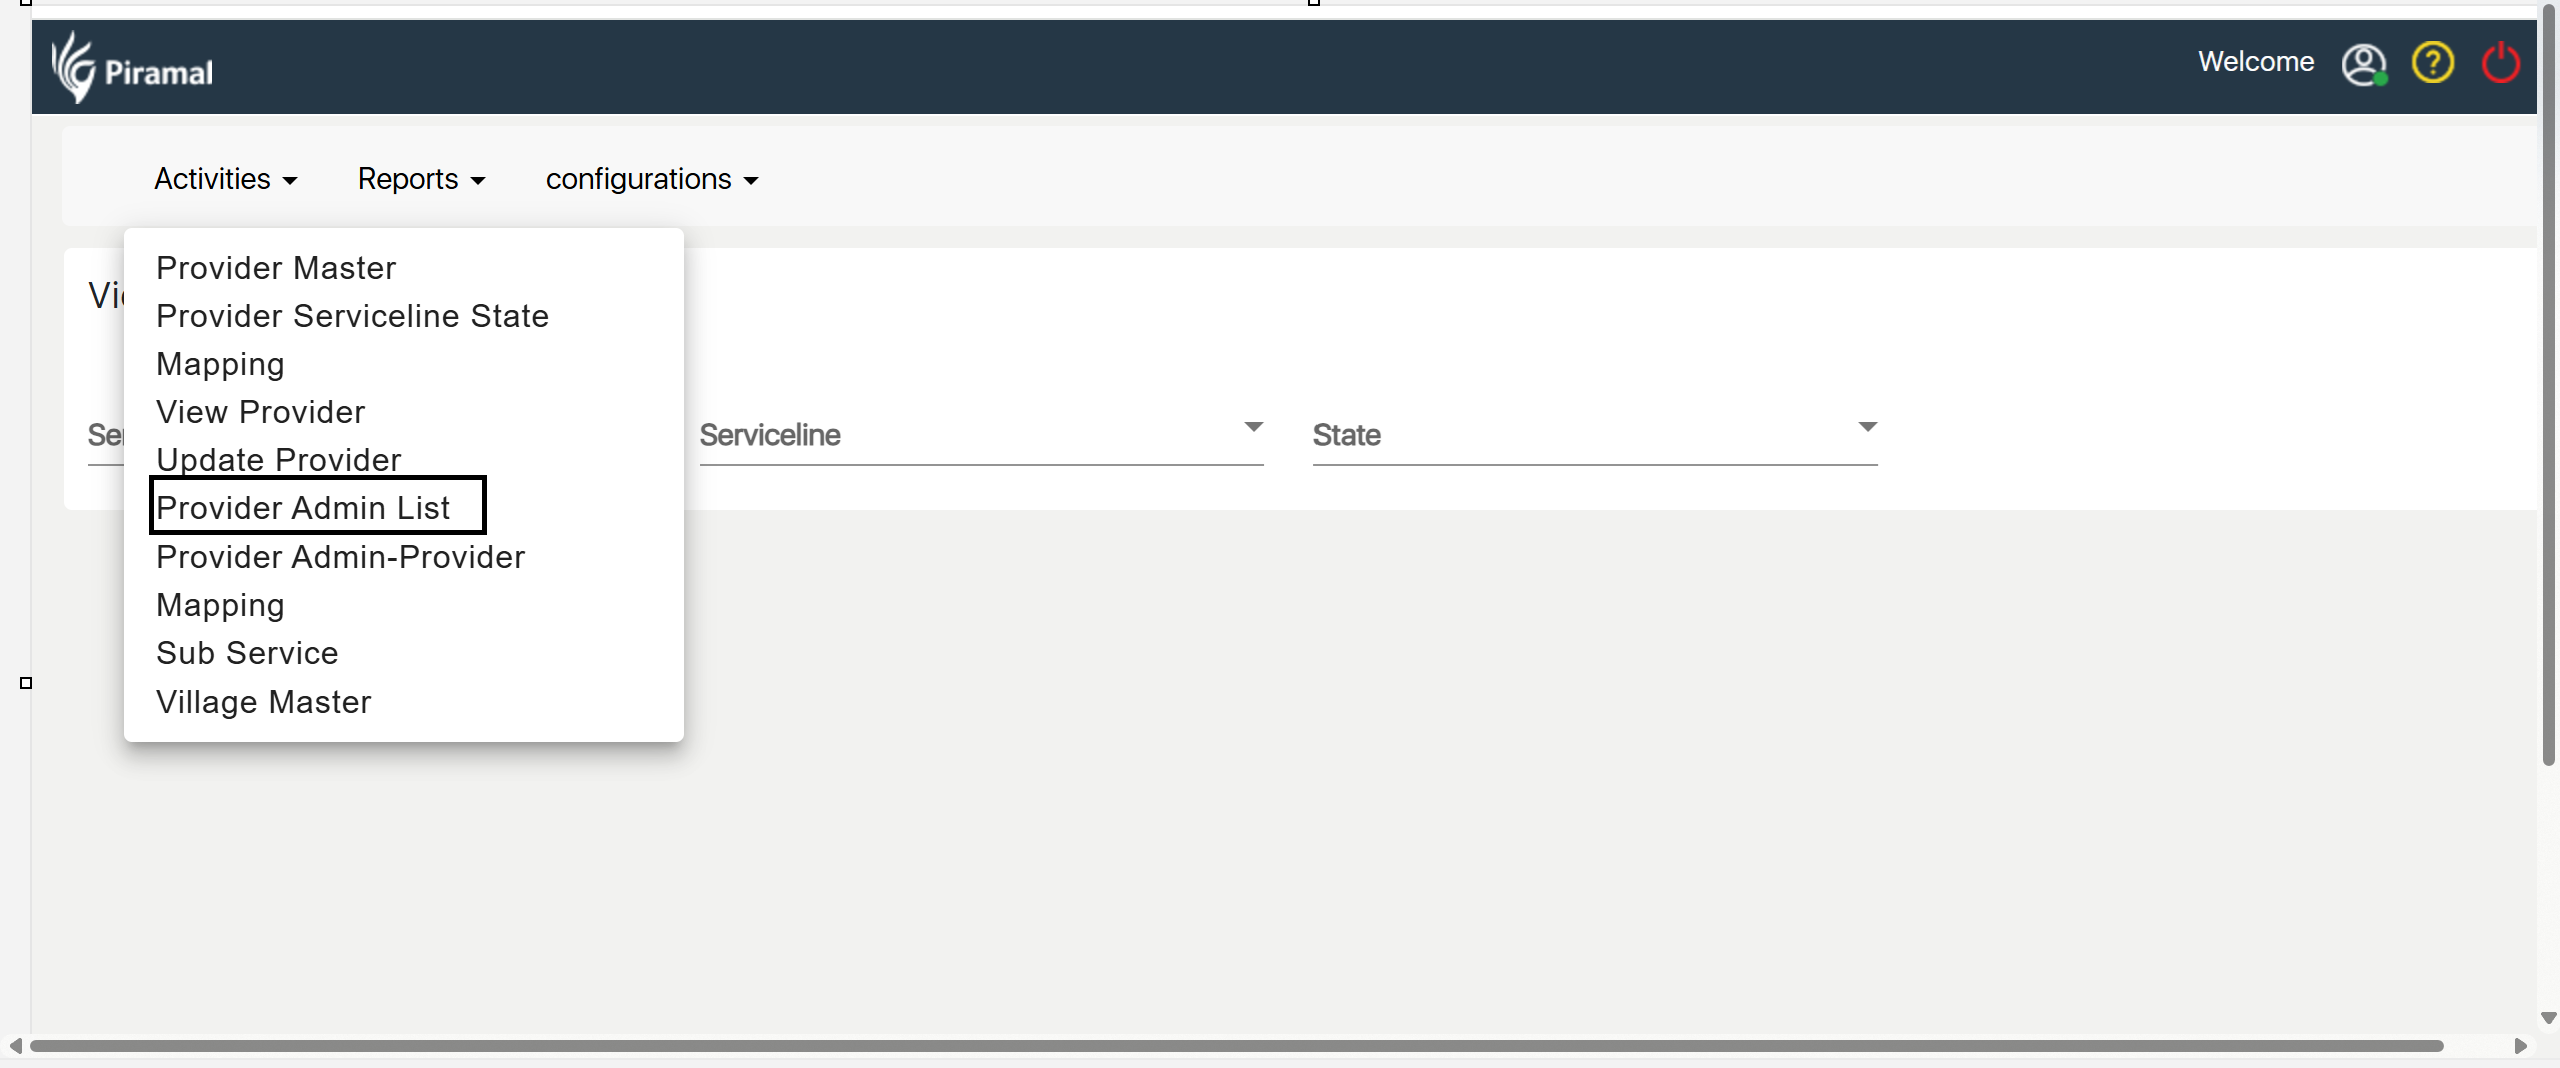
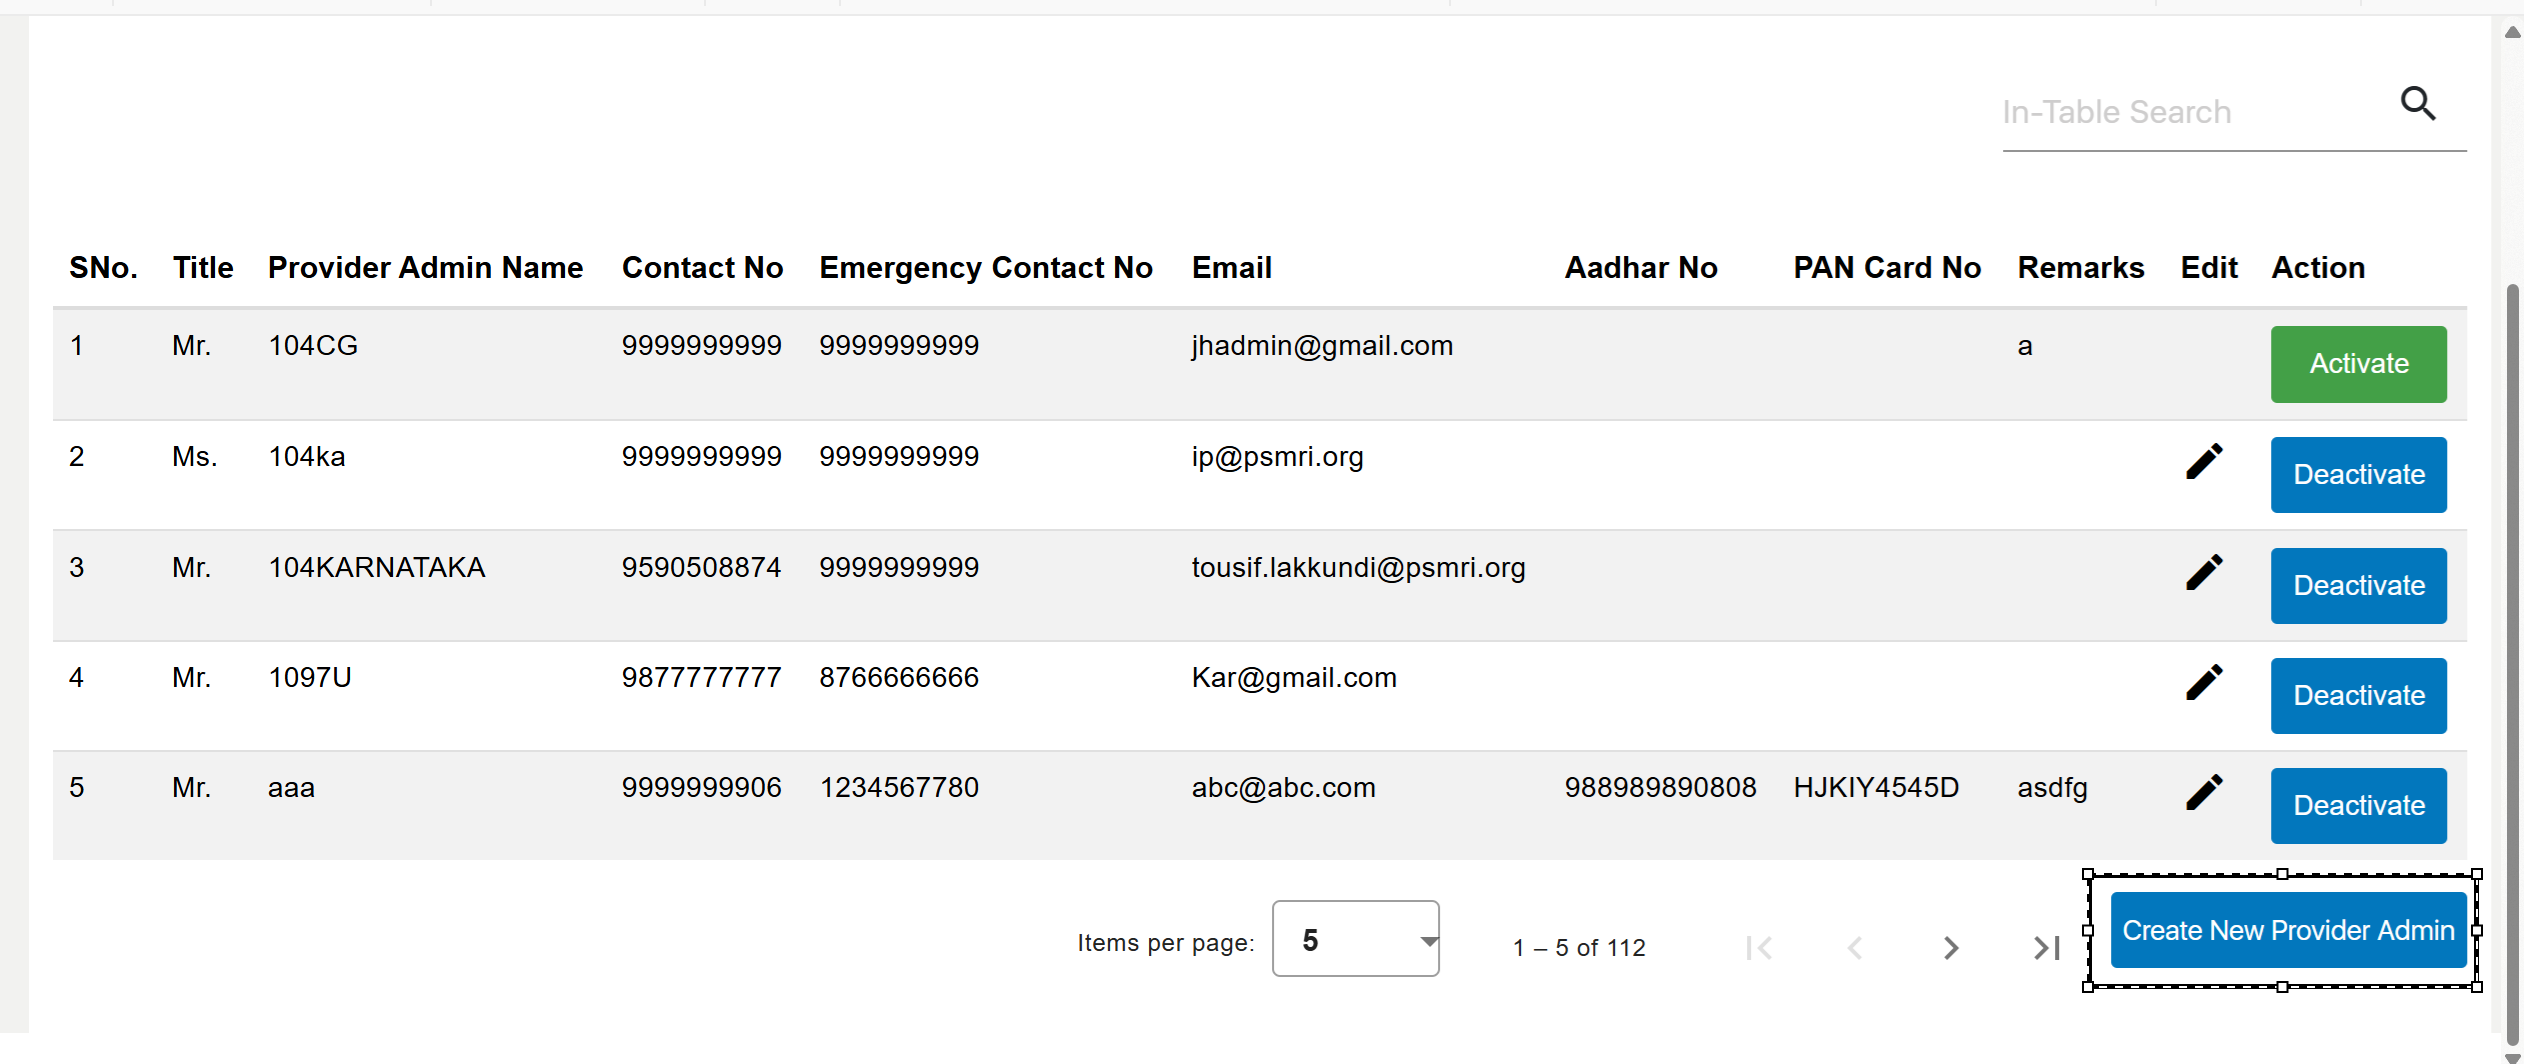
Navigate to Provider Admin List: Select the "Provider Admin List" option from the menu.
Click "Create New Admin": Initiate the process to add a new provider admin.
Enter Admin Details: Fill in the required information for the new provider admin.
Save the Admin: Click "Save" to store the new provider admin details.
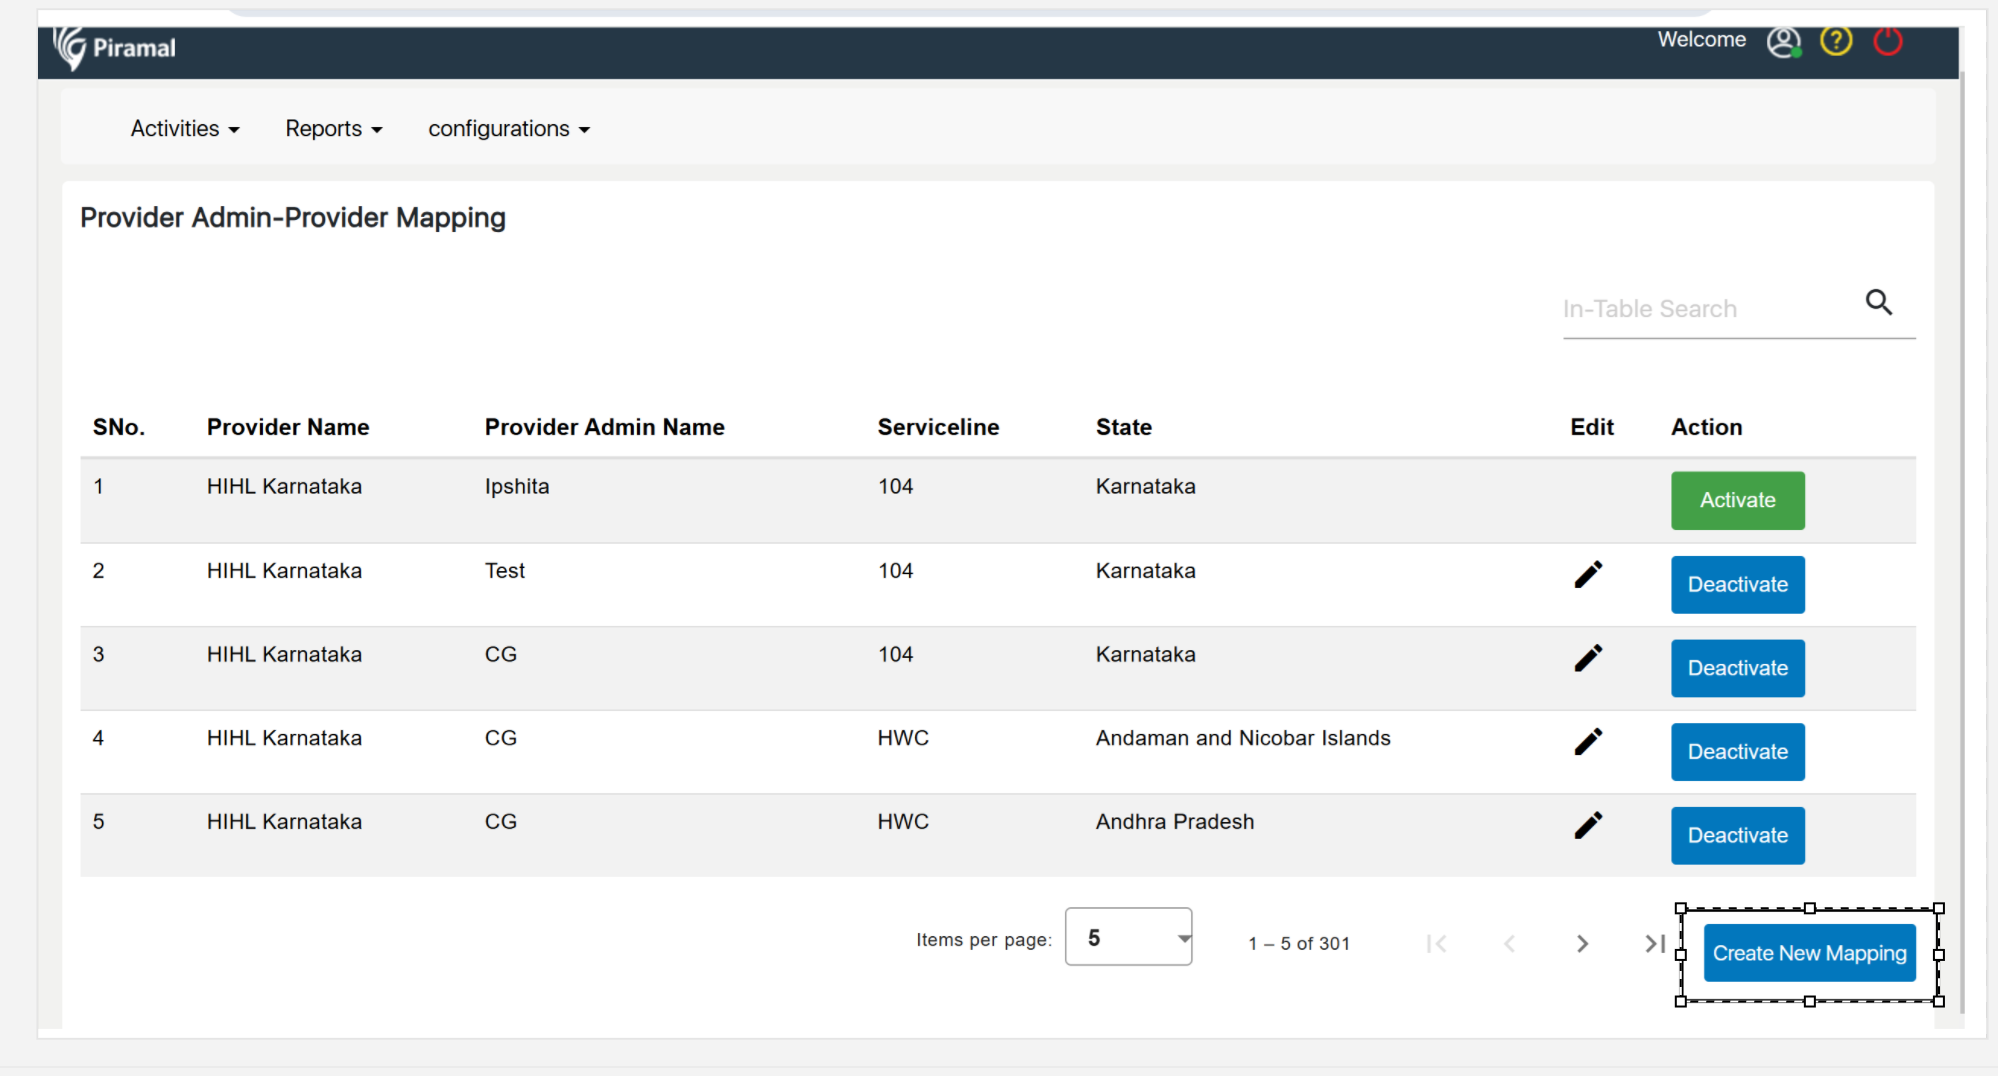
Provider Admin-Provider Mapping
...
- Go to Provider Admin-Provider Mapping: Select the "Provider Admin-Provider Mapping" option from the menu.
- Click "Add New Mapping": Start creating a new admin-provider mapping.
- Select Admin and Provider: Choose the appropriate provider admin and provider from the lists.
- Save Mapping: Click "Save" to finalize and store the mapping.
Admin Module
Log in to the Admin module, create users under the Provider admin, and enter the username and password
and click in Login.
In essence, the Admin Configuration for these modules allows system administrators to define the structure and boundaries of their operational areas and manage the outreach efforts within those zones. It provides a high level of control over how geographical areas are handled and ensures that outreach activities are targeted effectively.
...
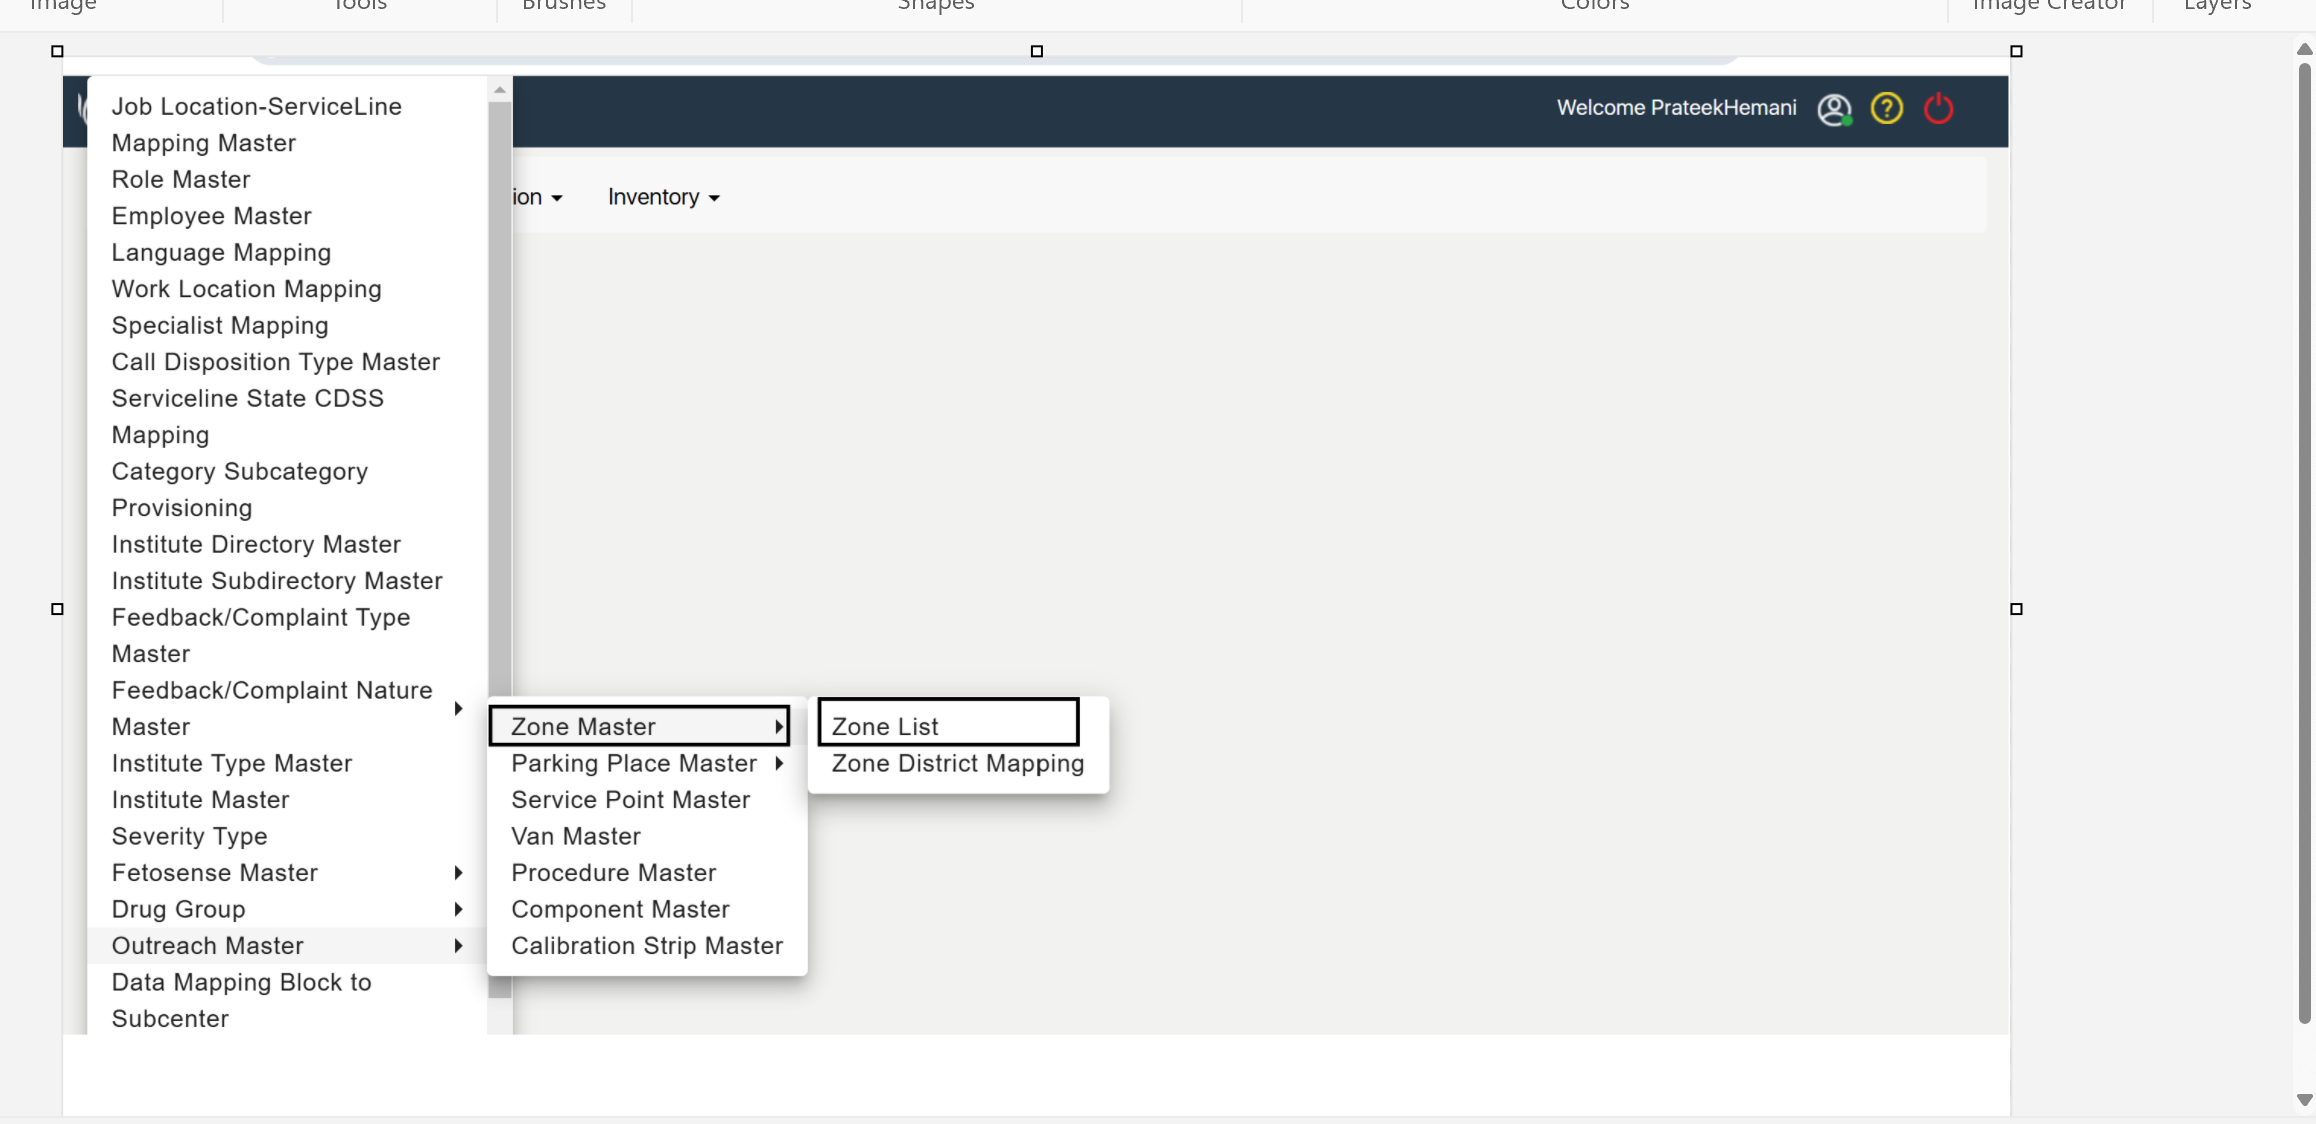
- Go to Activities: Navigate to the "Activities" section.
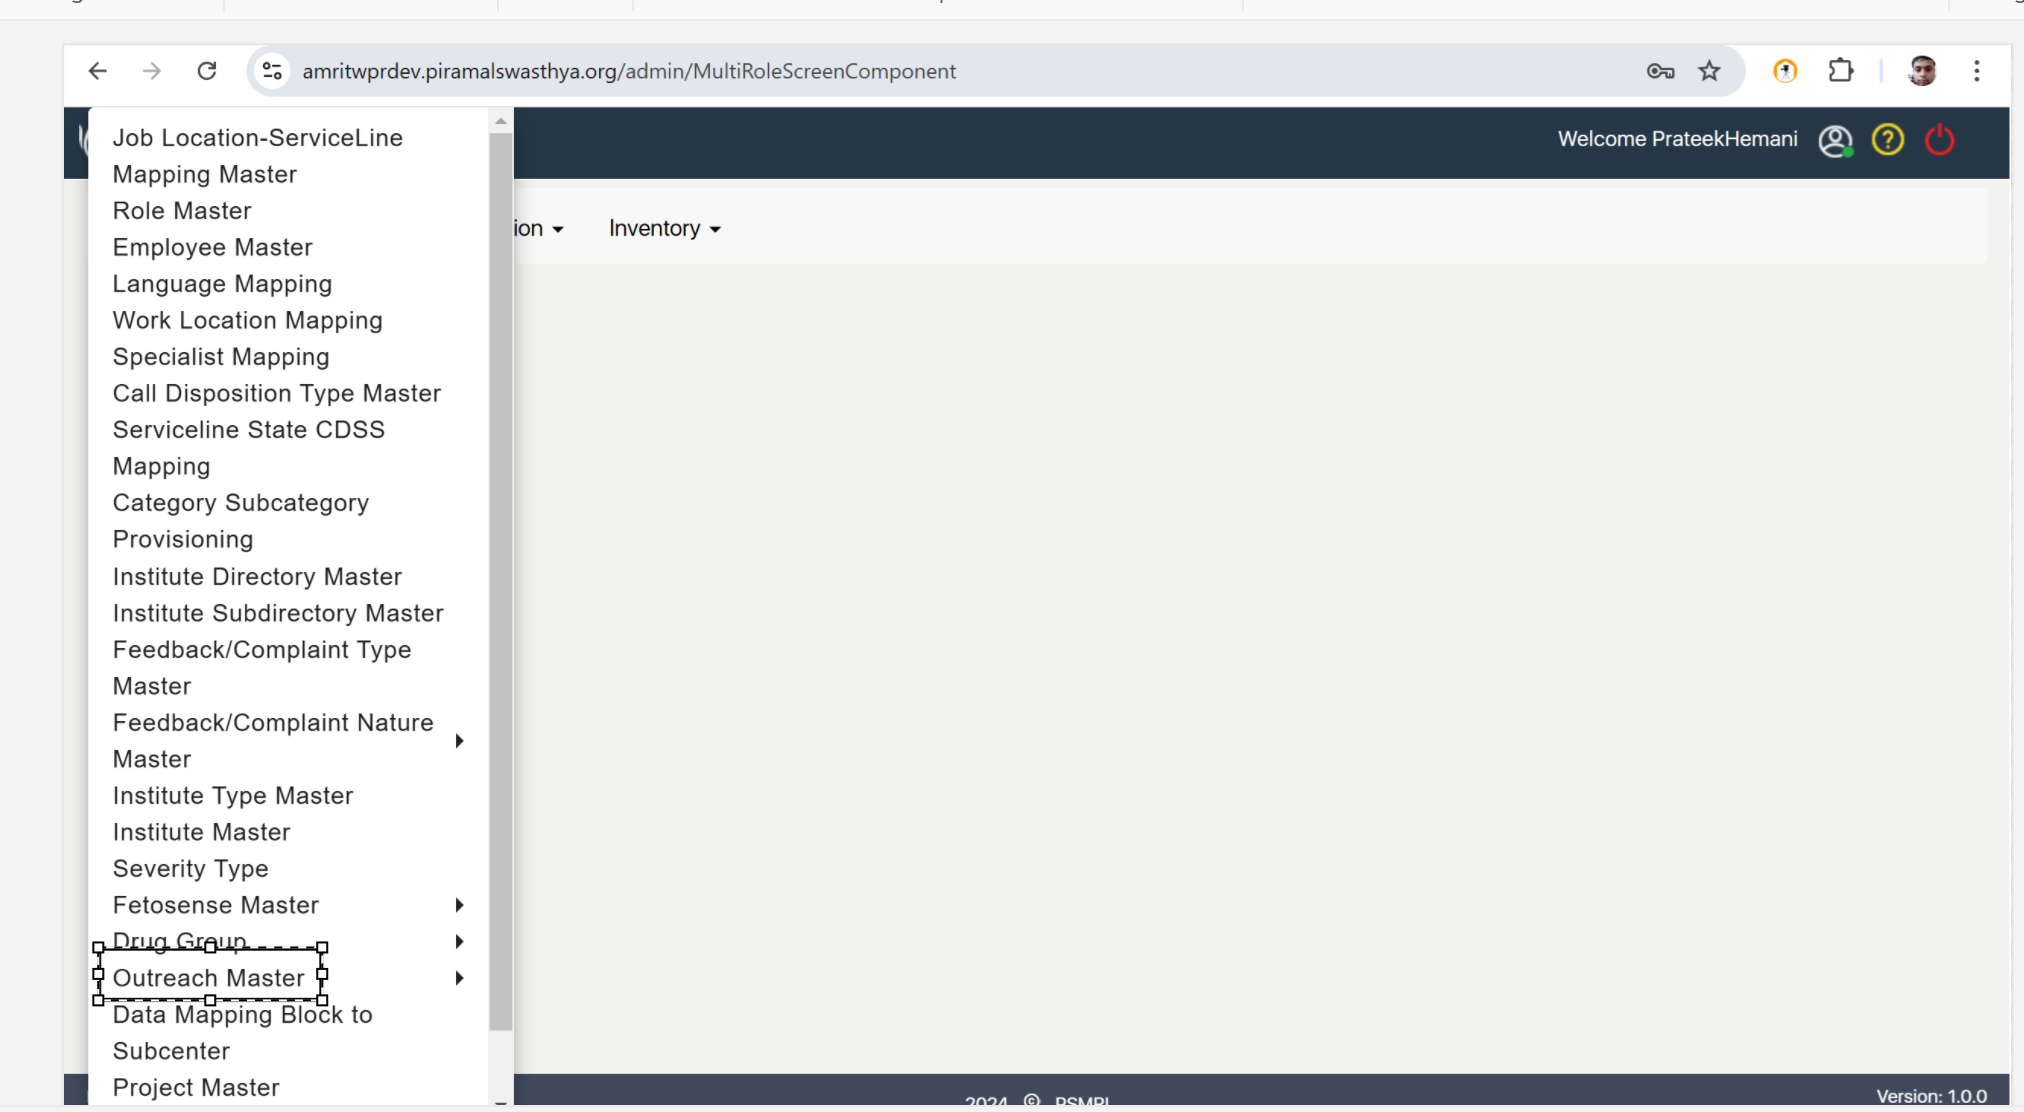
- Select Outreach Master: Click on "Outreach Master."
- Access Zone Master: Choose "Zone Master."
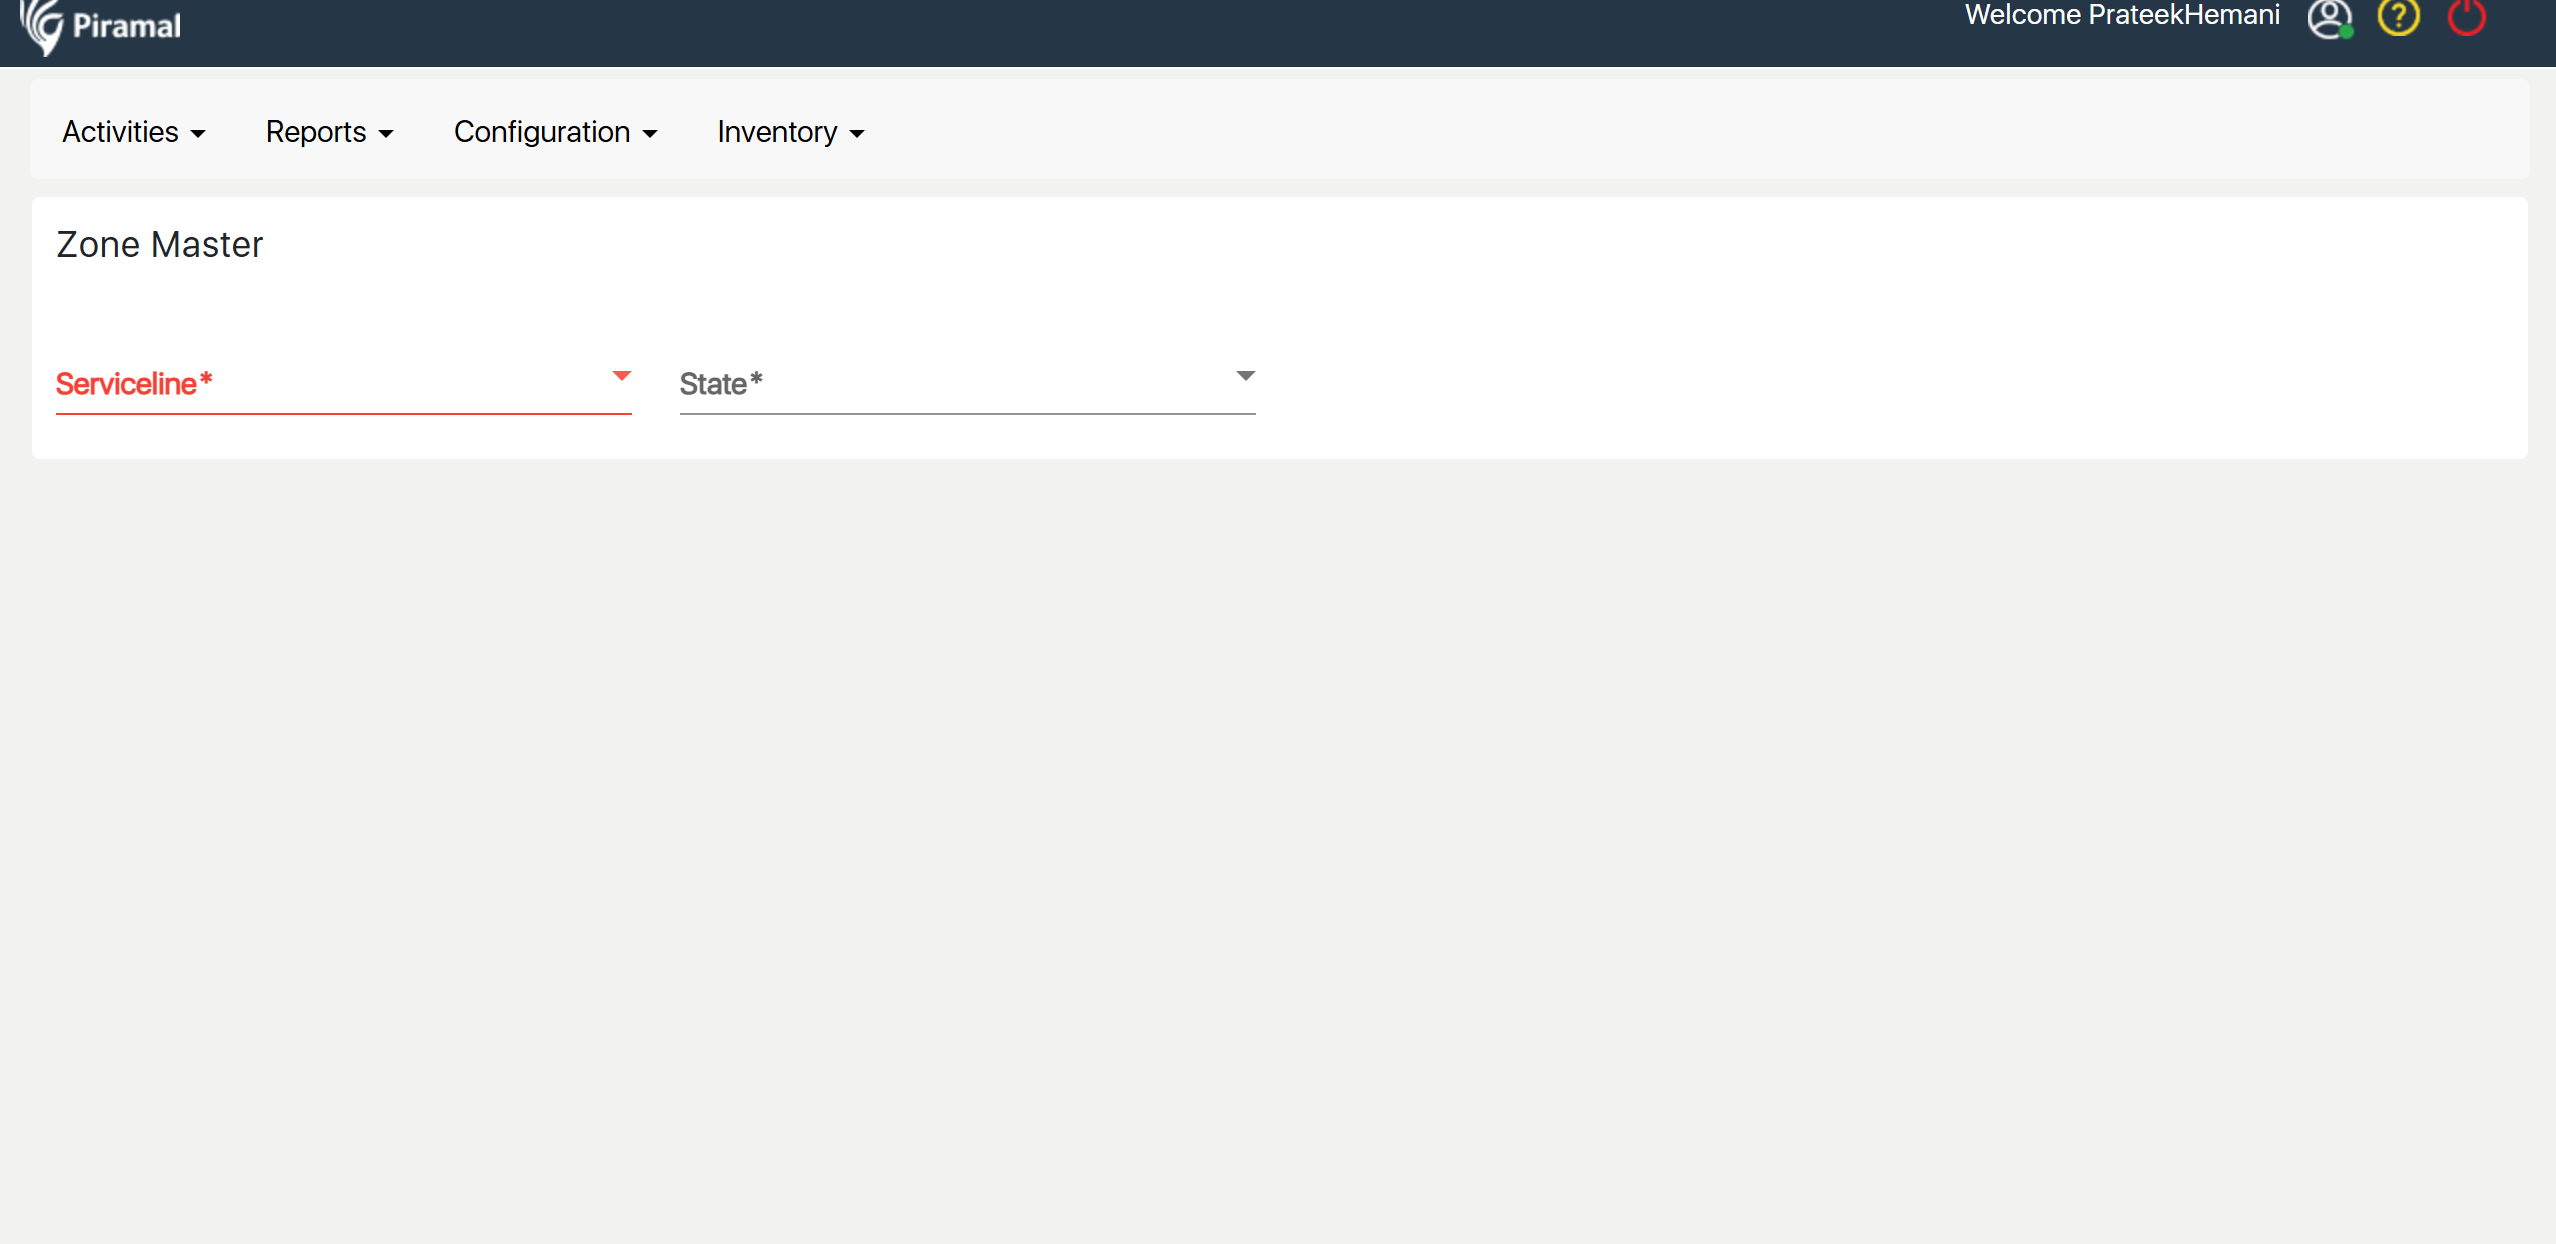
- Create Zone List: Click "Create Zone List" and enter the required details.
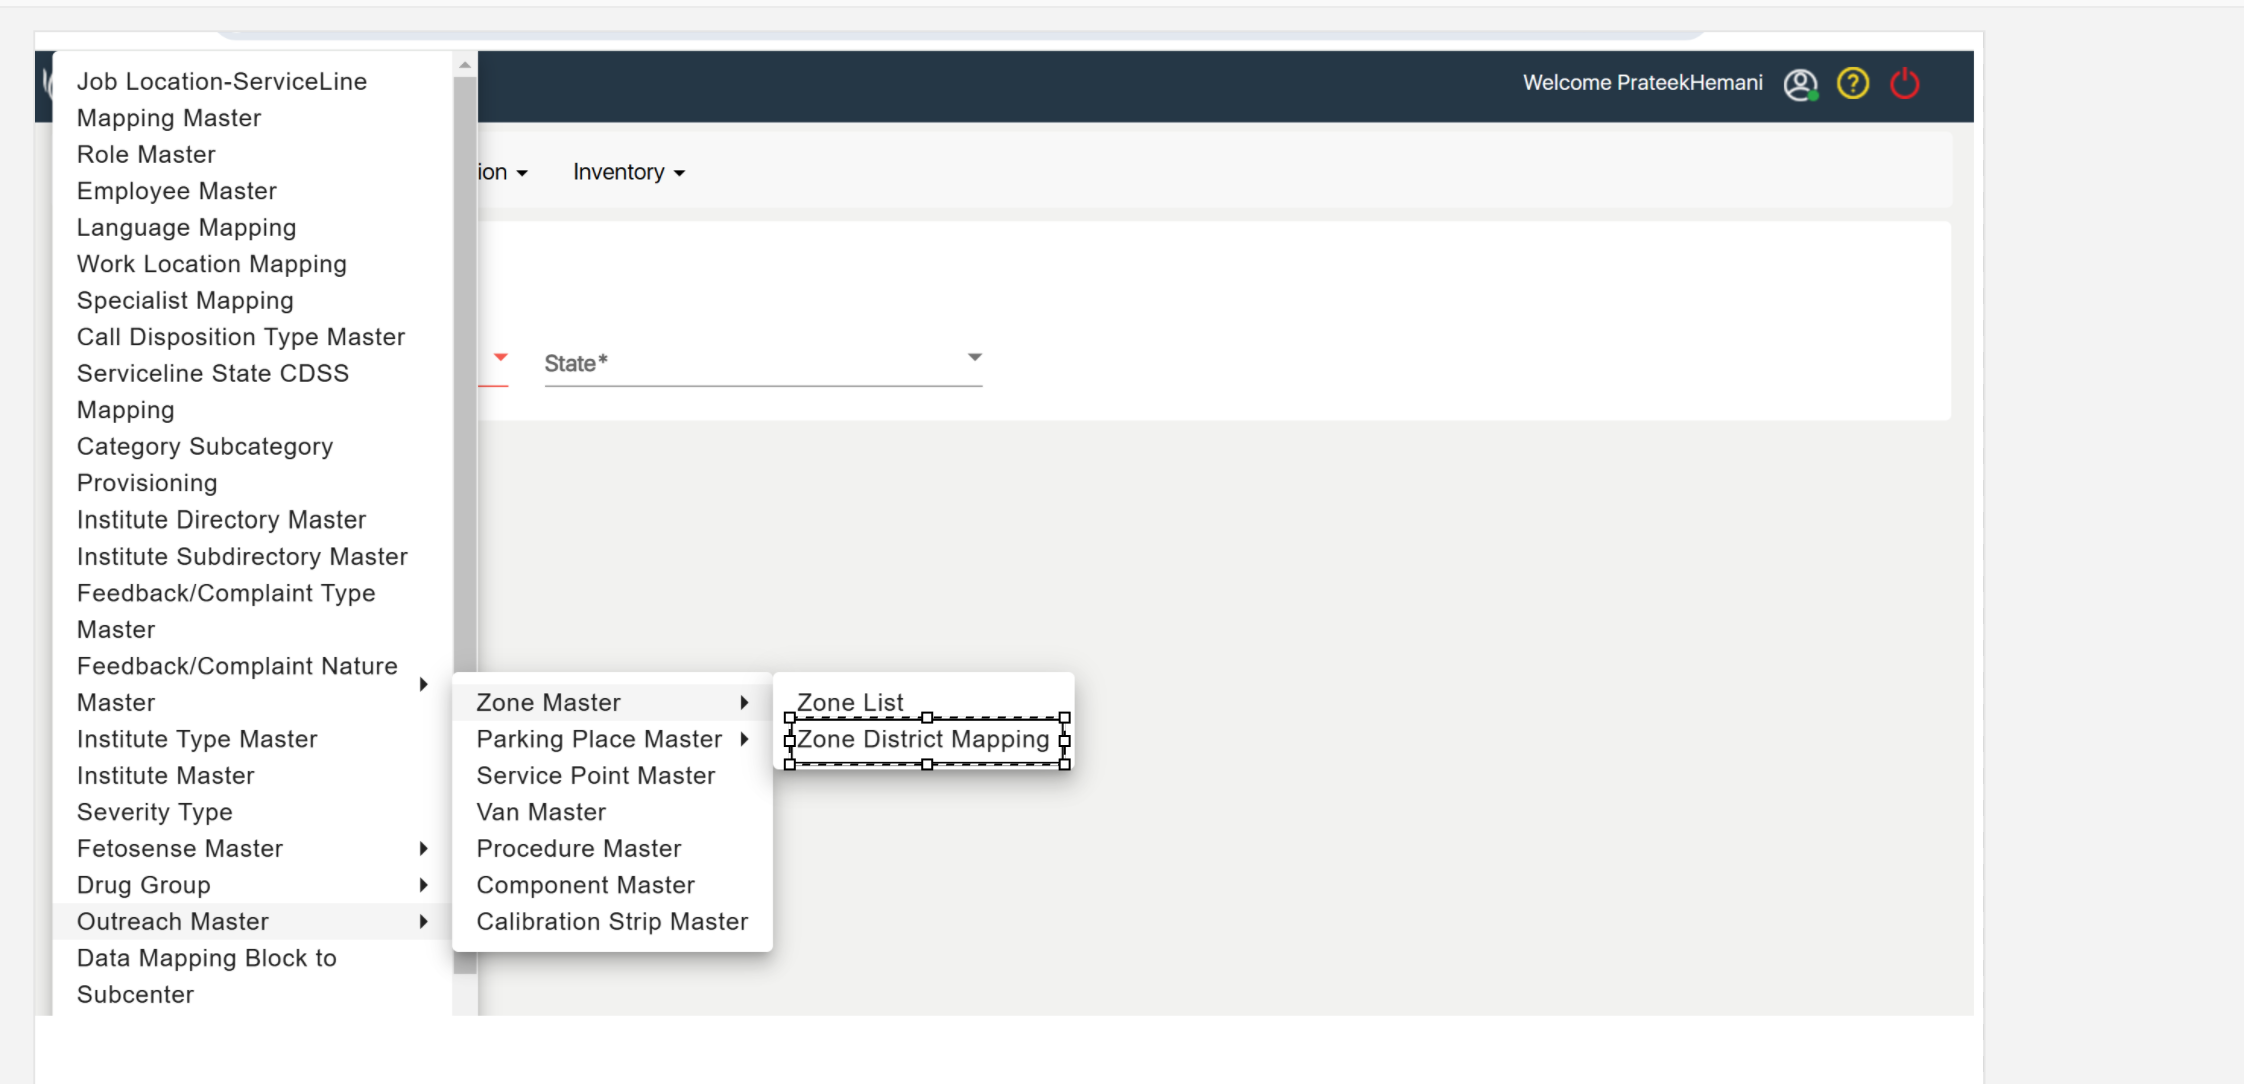
Navigate to Zone Master under Outreach Master, select Zone District Mapping, and create the zone-district mapping.
Parking Place Master
...
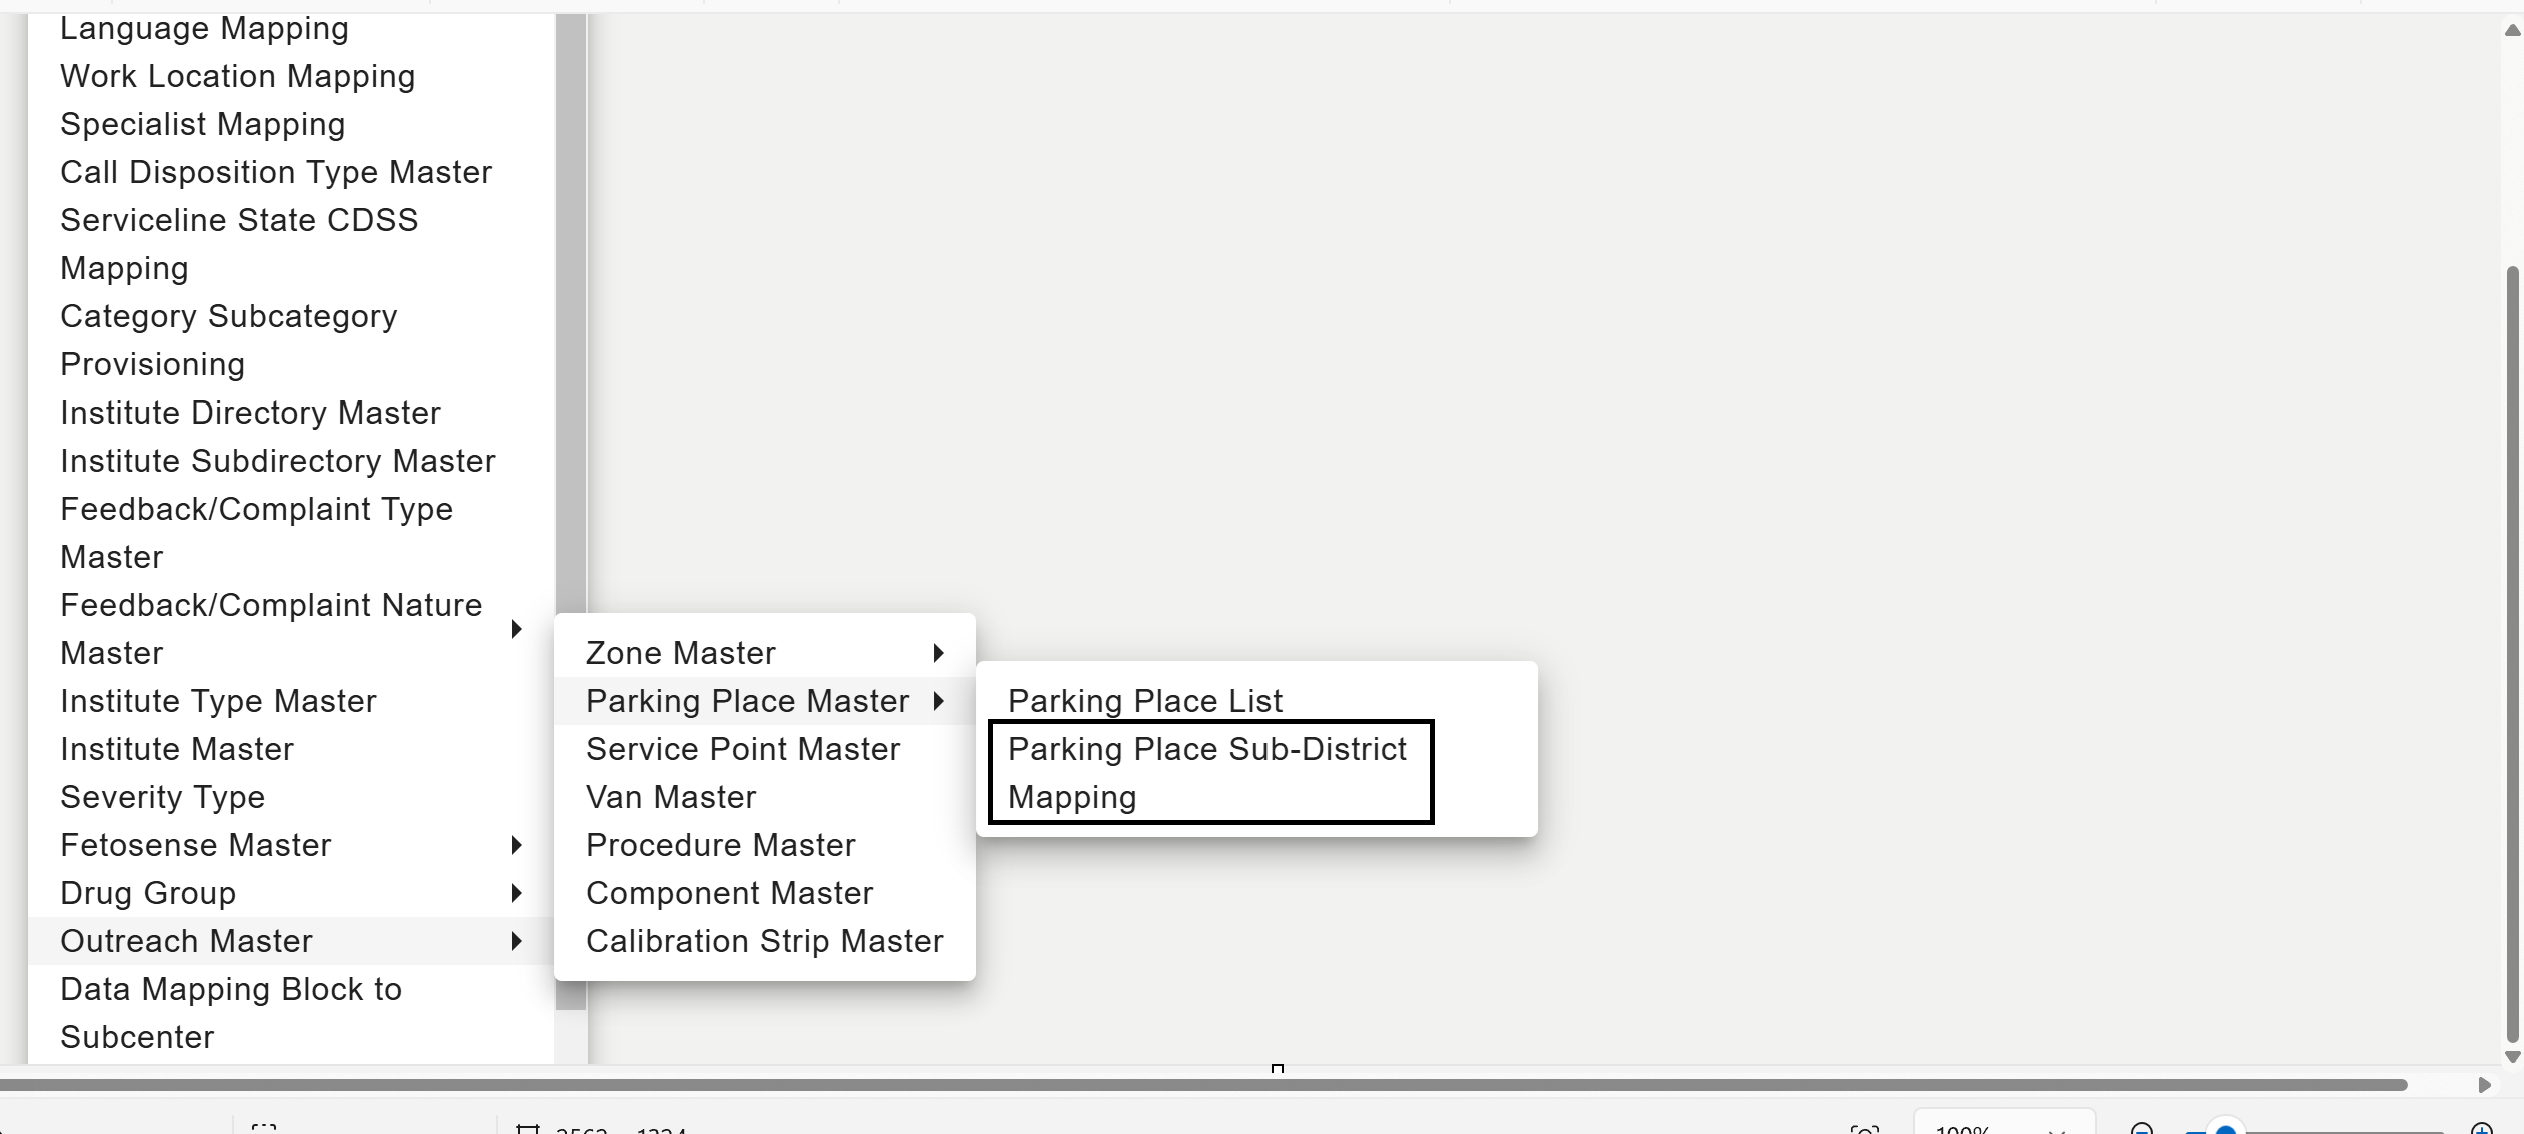
- Select Parking Place Sub-district Mapping: Click on "Parking Place Sub-district Mapping."
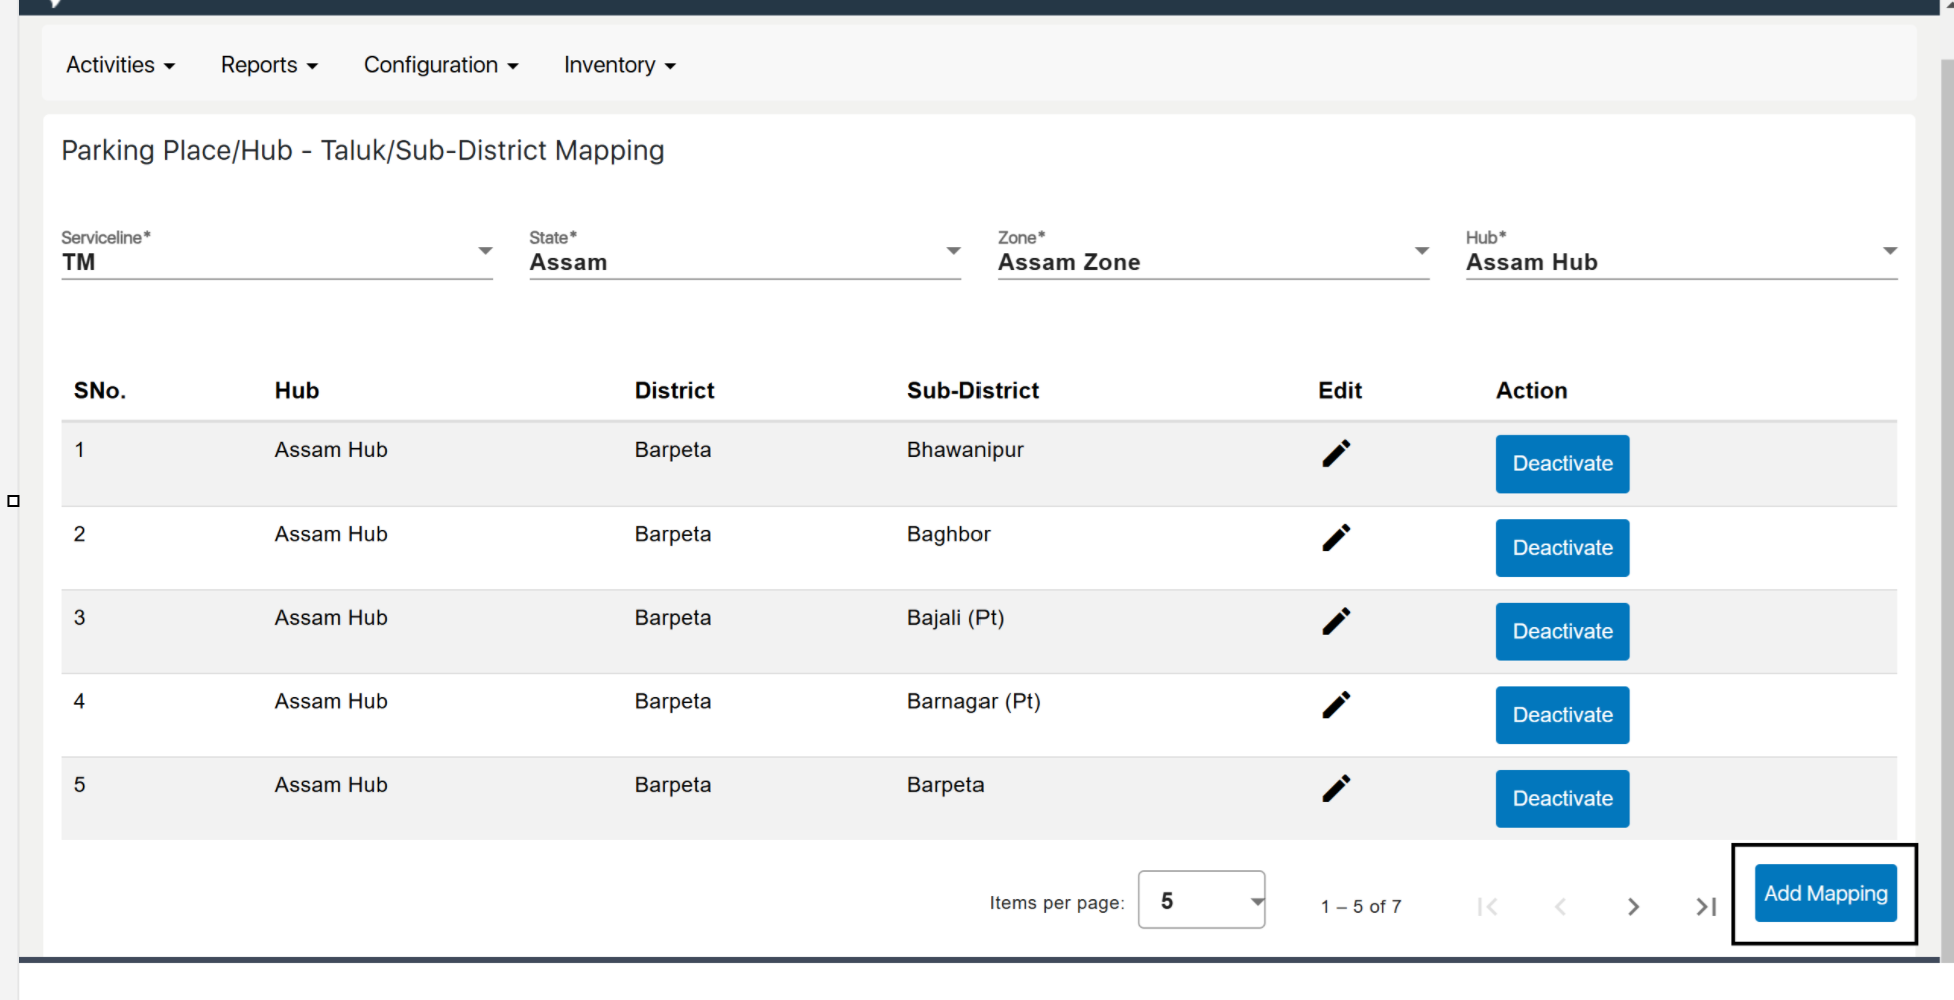
- Add New Mapping: Click "Add New Mapping."
- Enter Details: Select the parking place and corresponding sub-district.
- Save Mapping: Click "Save" to finalize the mapping.
Service Point Master
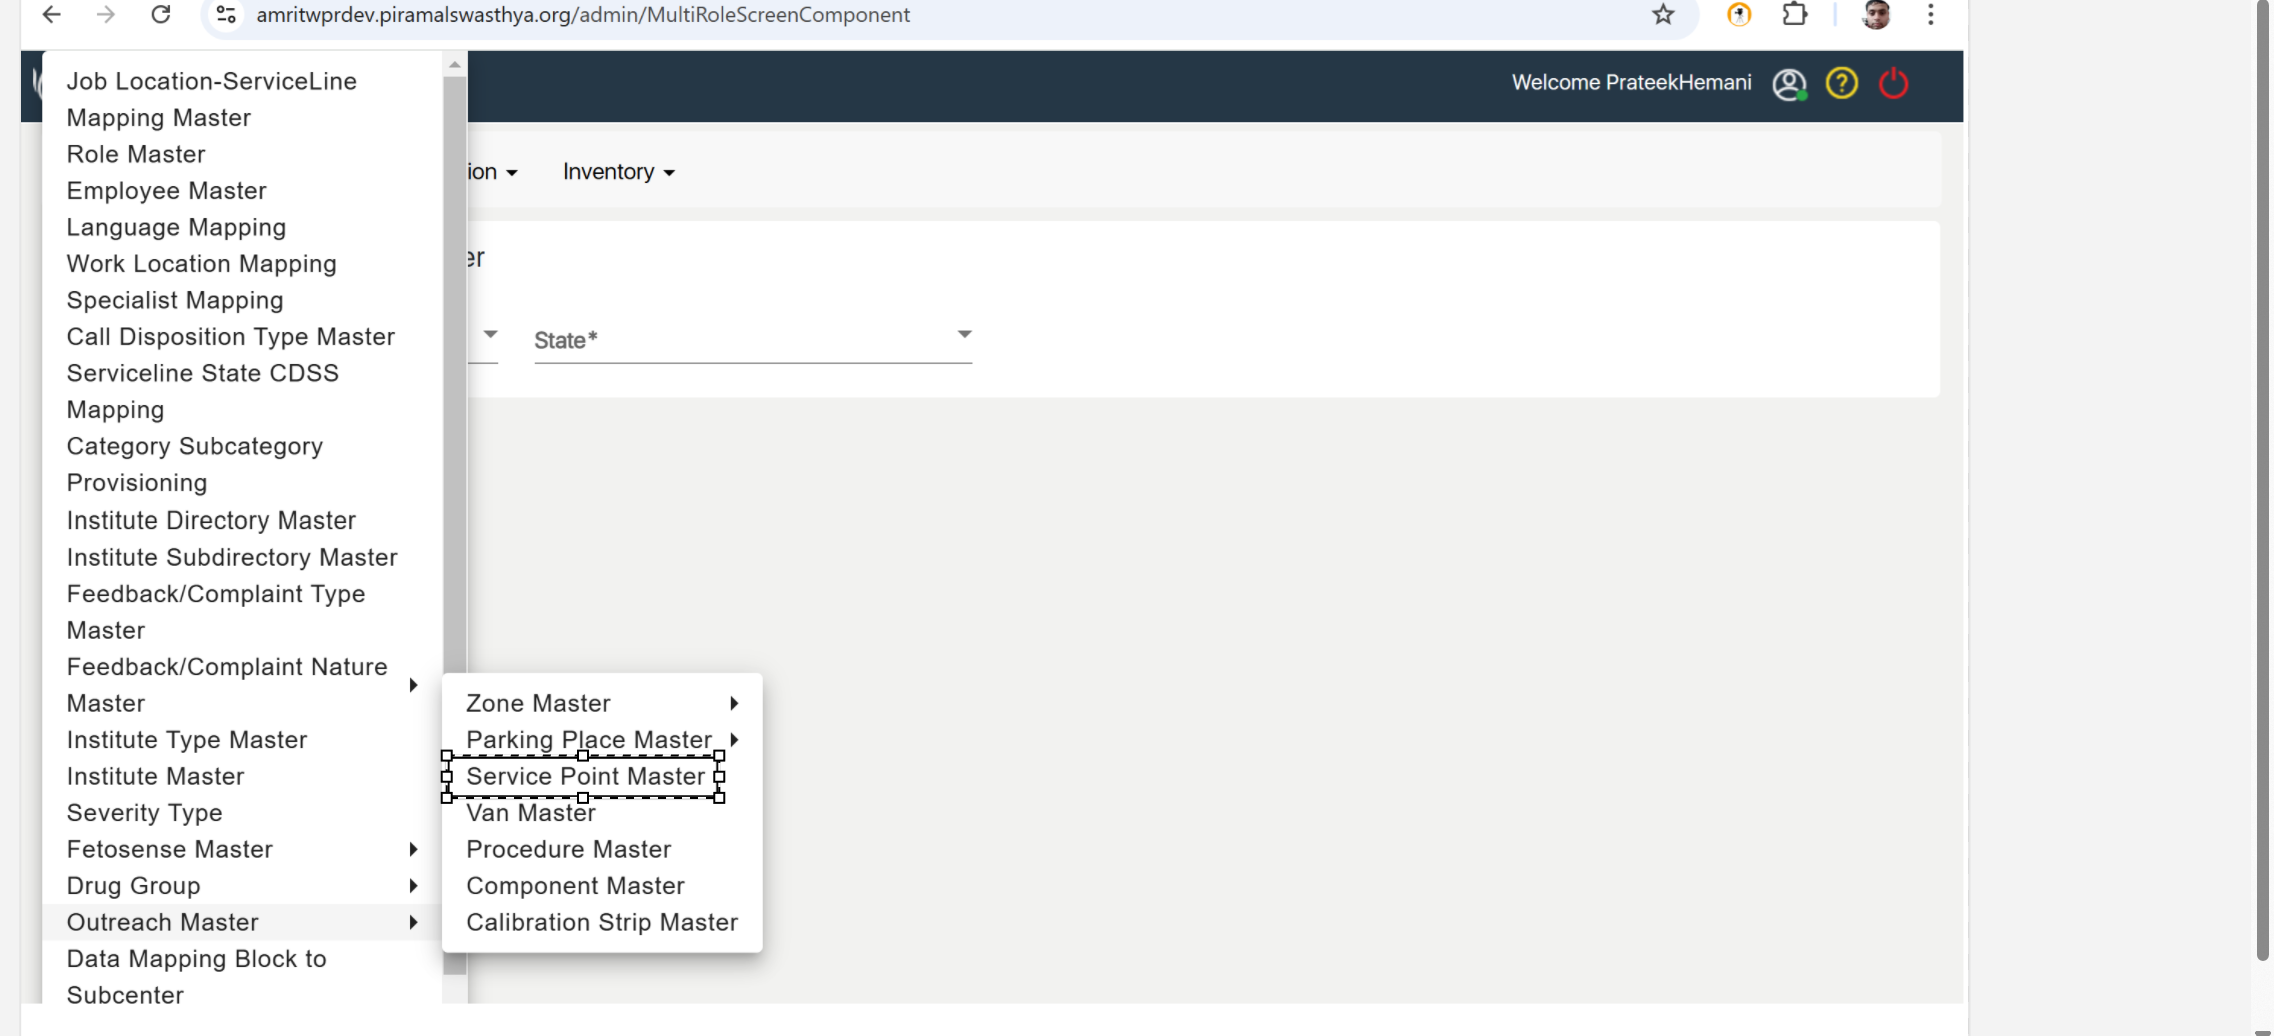
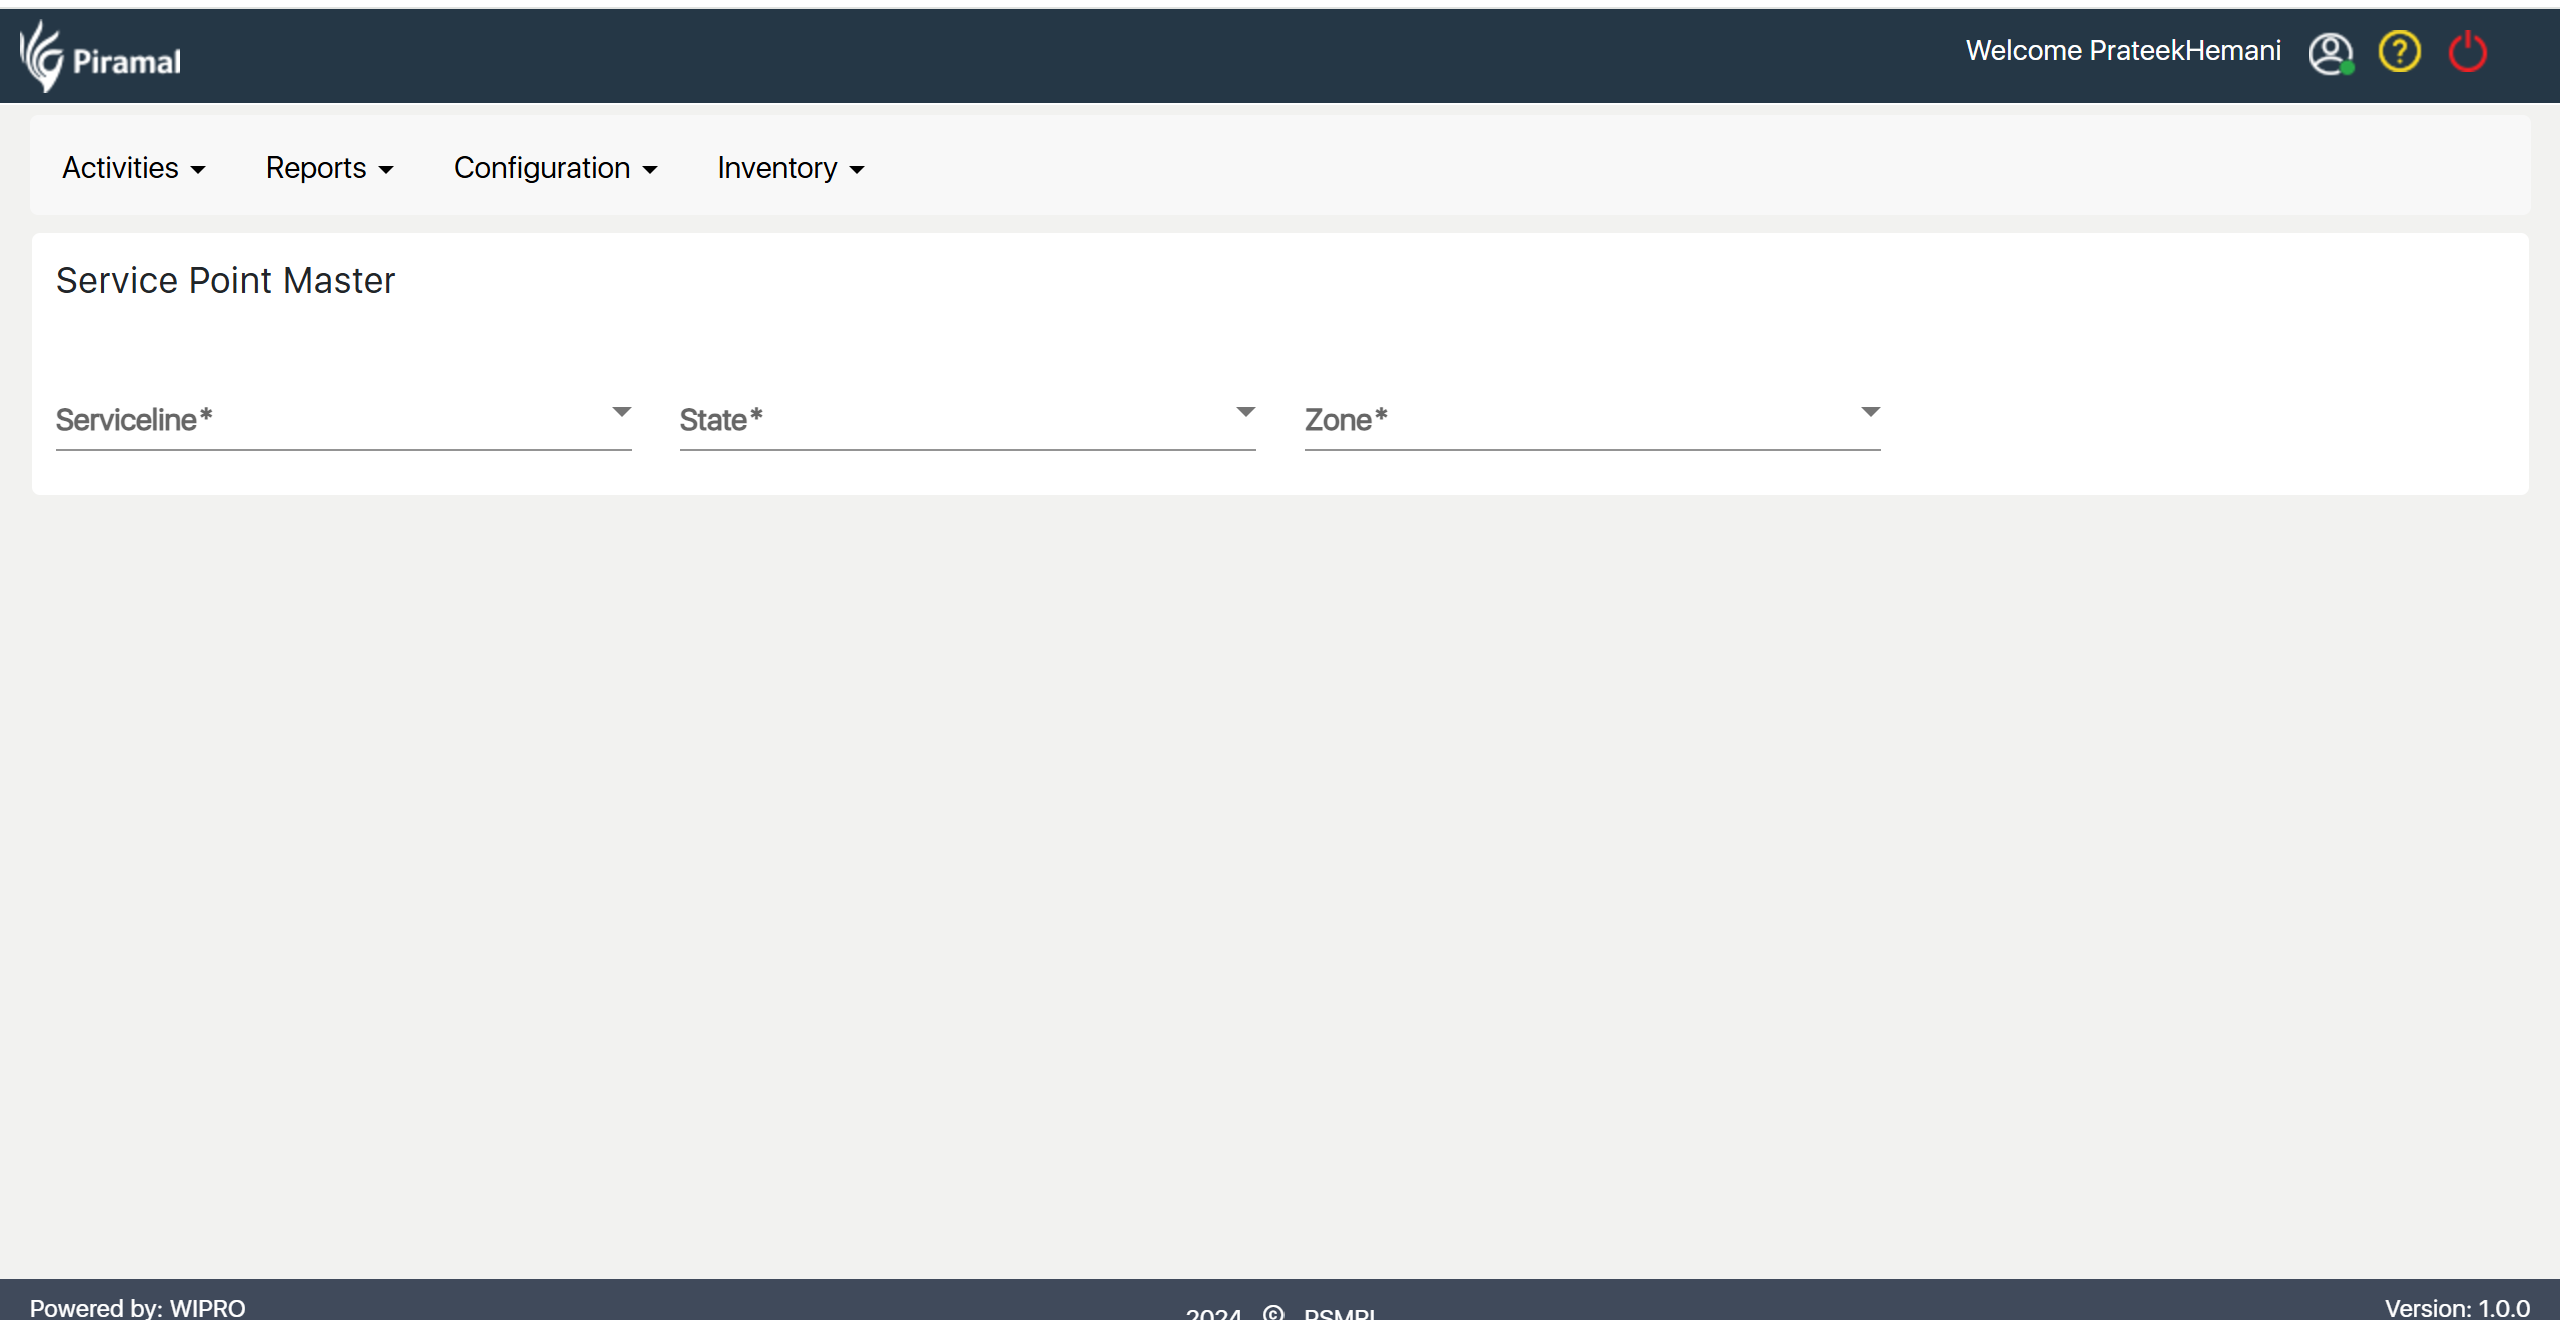
- Go to Service Point Master: Navigate to "Service Point Master" under Outreach Master.
- Click on Create Service Point: Select "Create Service Point" to start the process.
- Enter Service Point Details: Fill in the required details for the service point.
- Save the Service Point: Click "Save" to store the new service point.
Van Master
- Go to Van Master: Navigate to "Van Master" under Outreach Master.
- Click on Create Van: Select "Create Van" to initiate the process.
- Enter Van Details: Fill in the required information for the van.
- Save the Van: Click "Save" to store the new van.
...
- Navigate to Activities: From the main menu, go to "Activities."
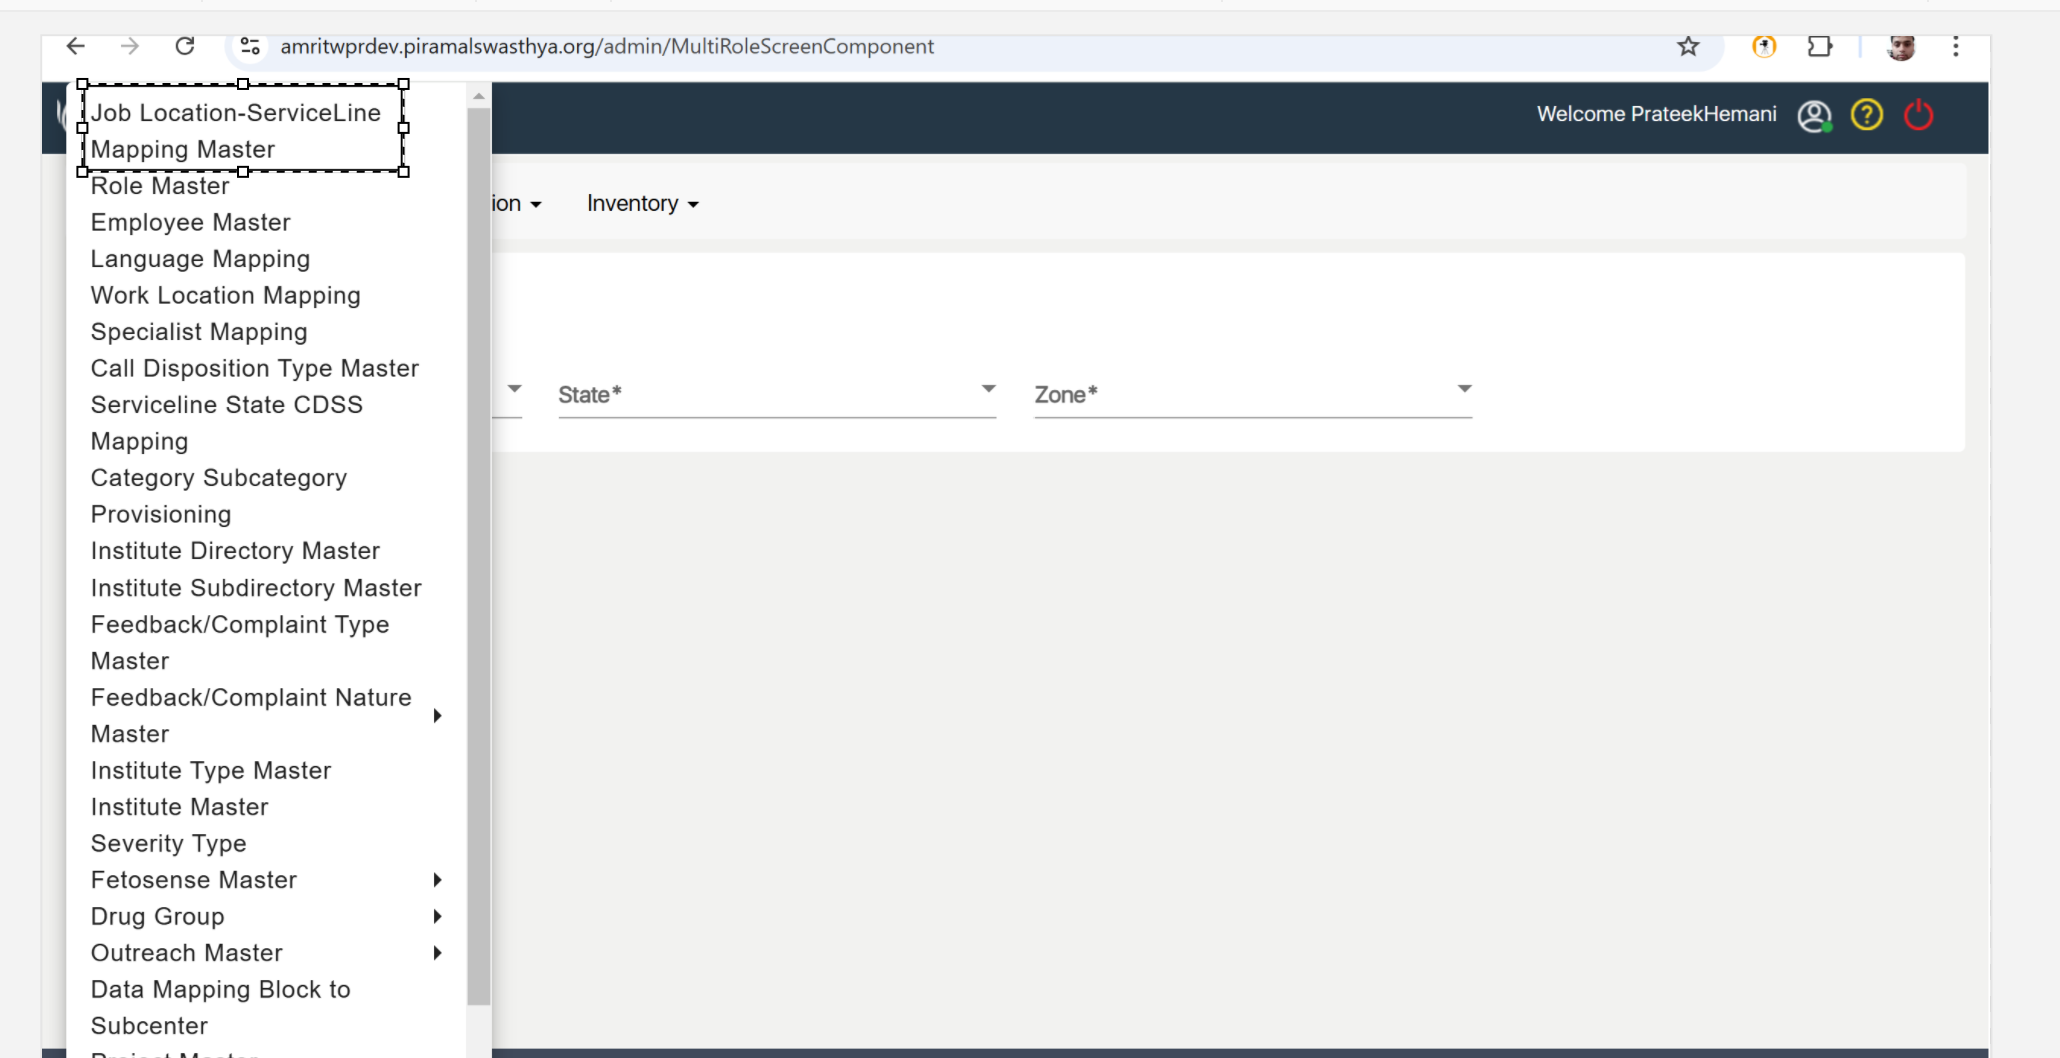
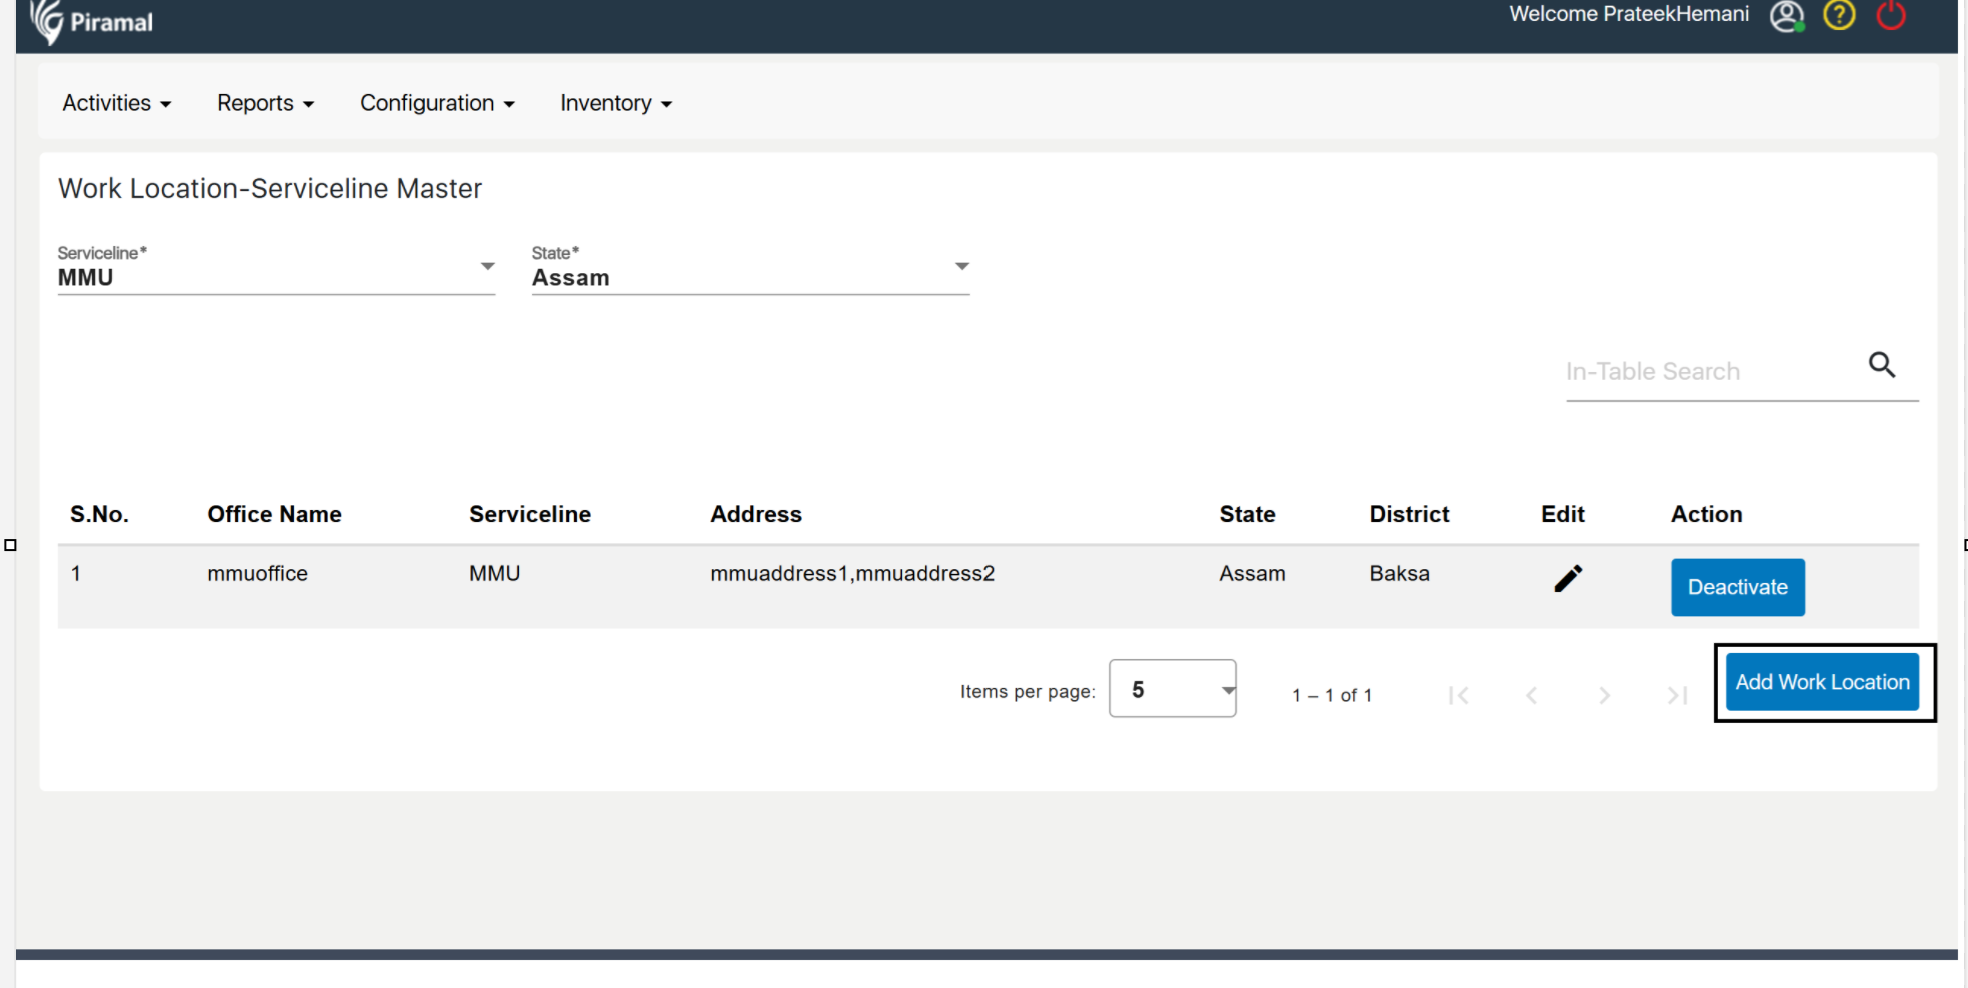
- Select Job Location Service Line Mapping: Choose "workLocation work Location Service Line Mapping" under the Activities section.
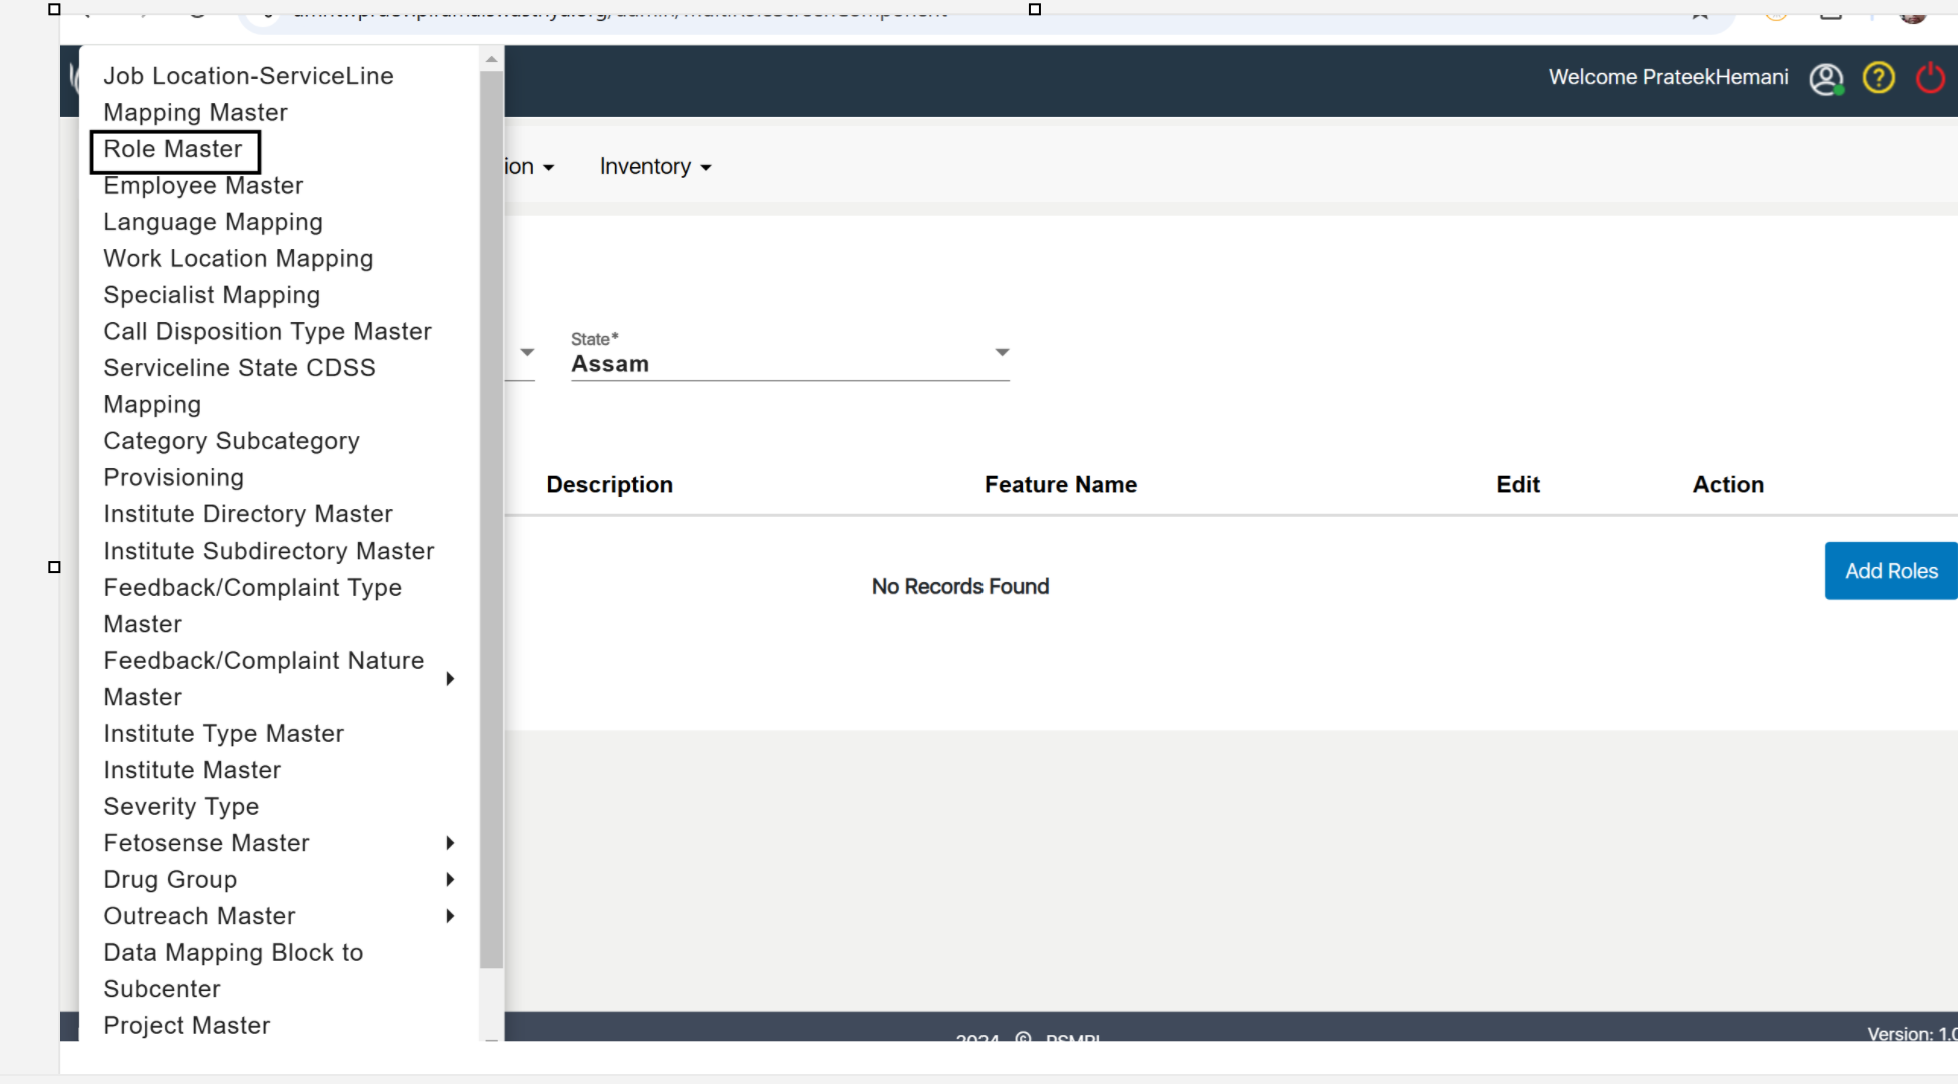
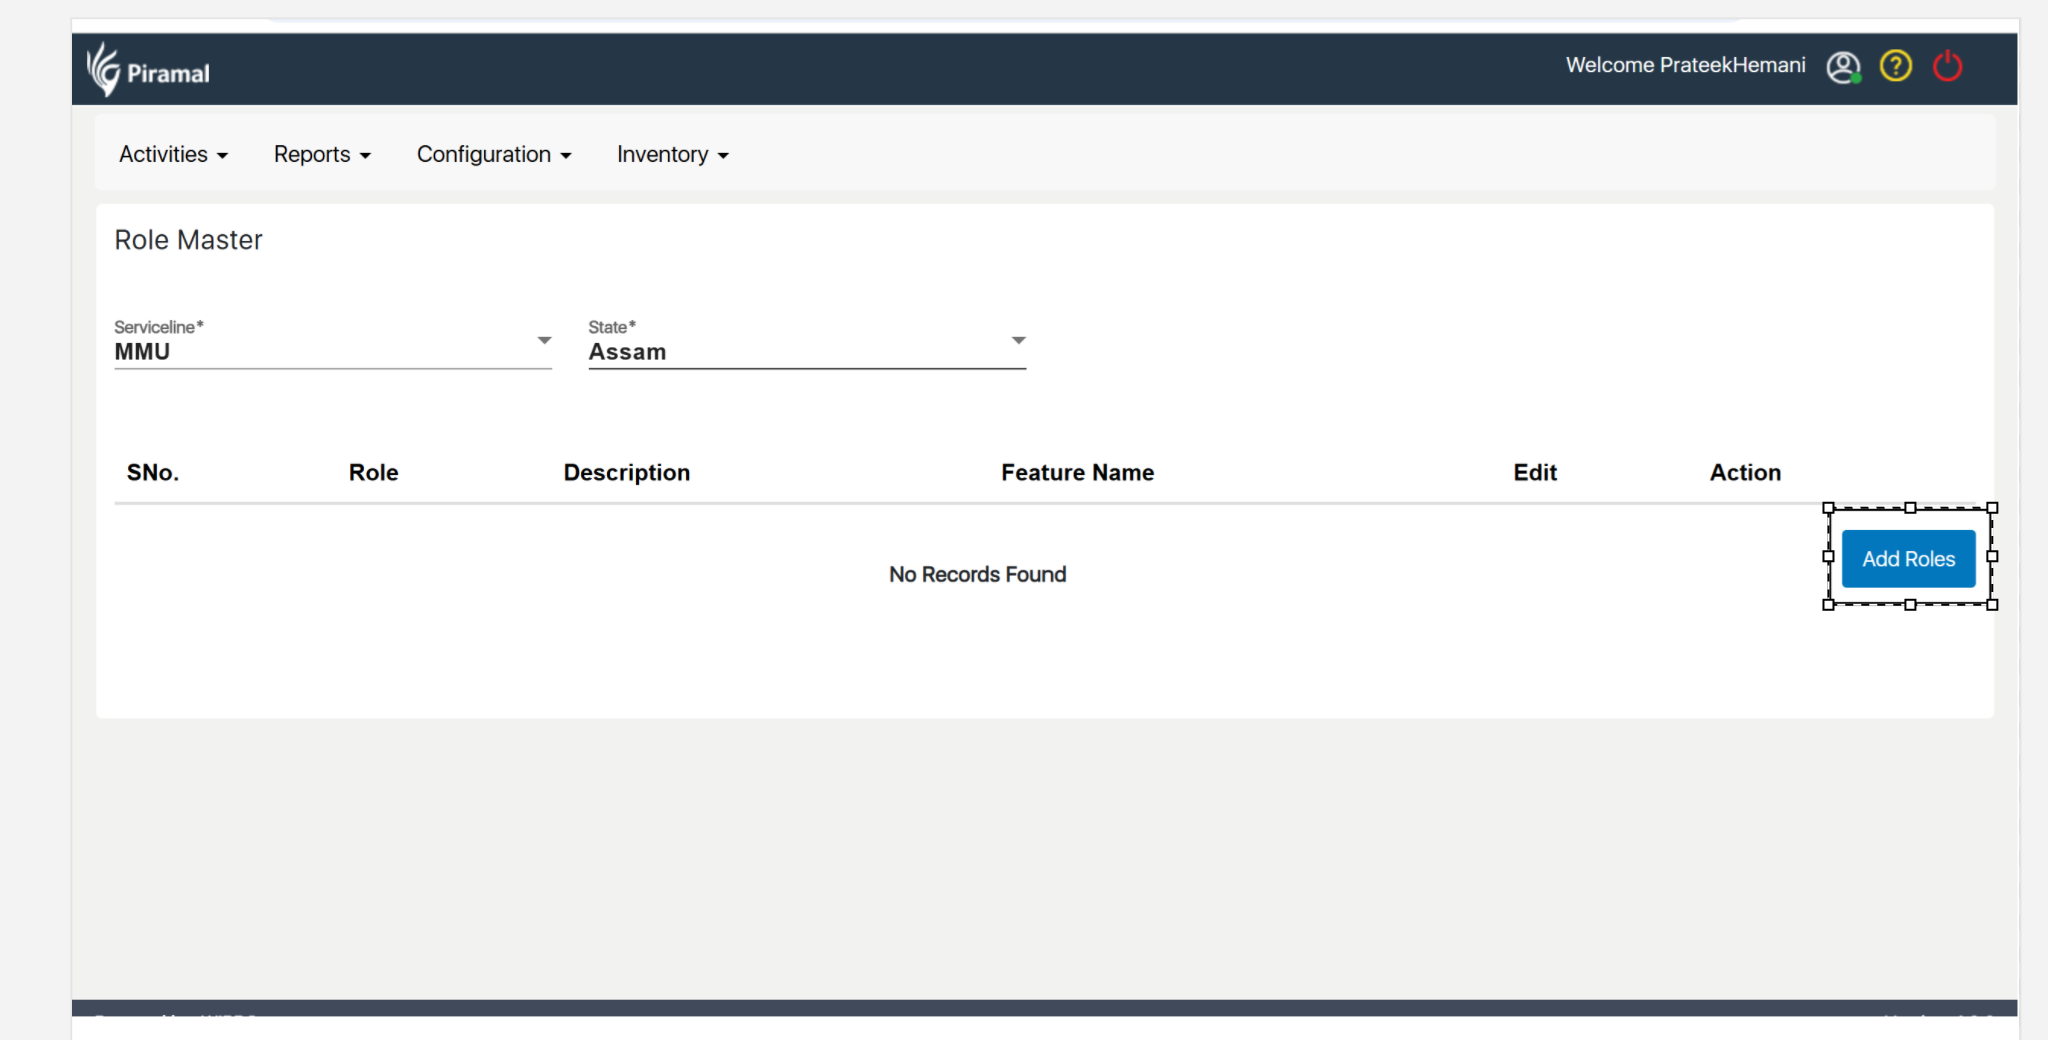
Role Master Creation
...
- Enter Role Details: Input the name and description of the roles, such as Registrar, Nurse, Doctor, and Pharmacist.
- Save the Role: After entering the details, click "Save" to store the new role.
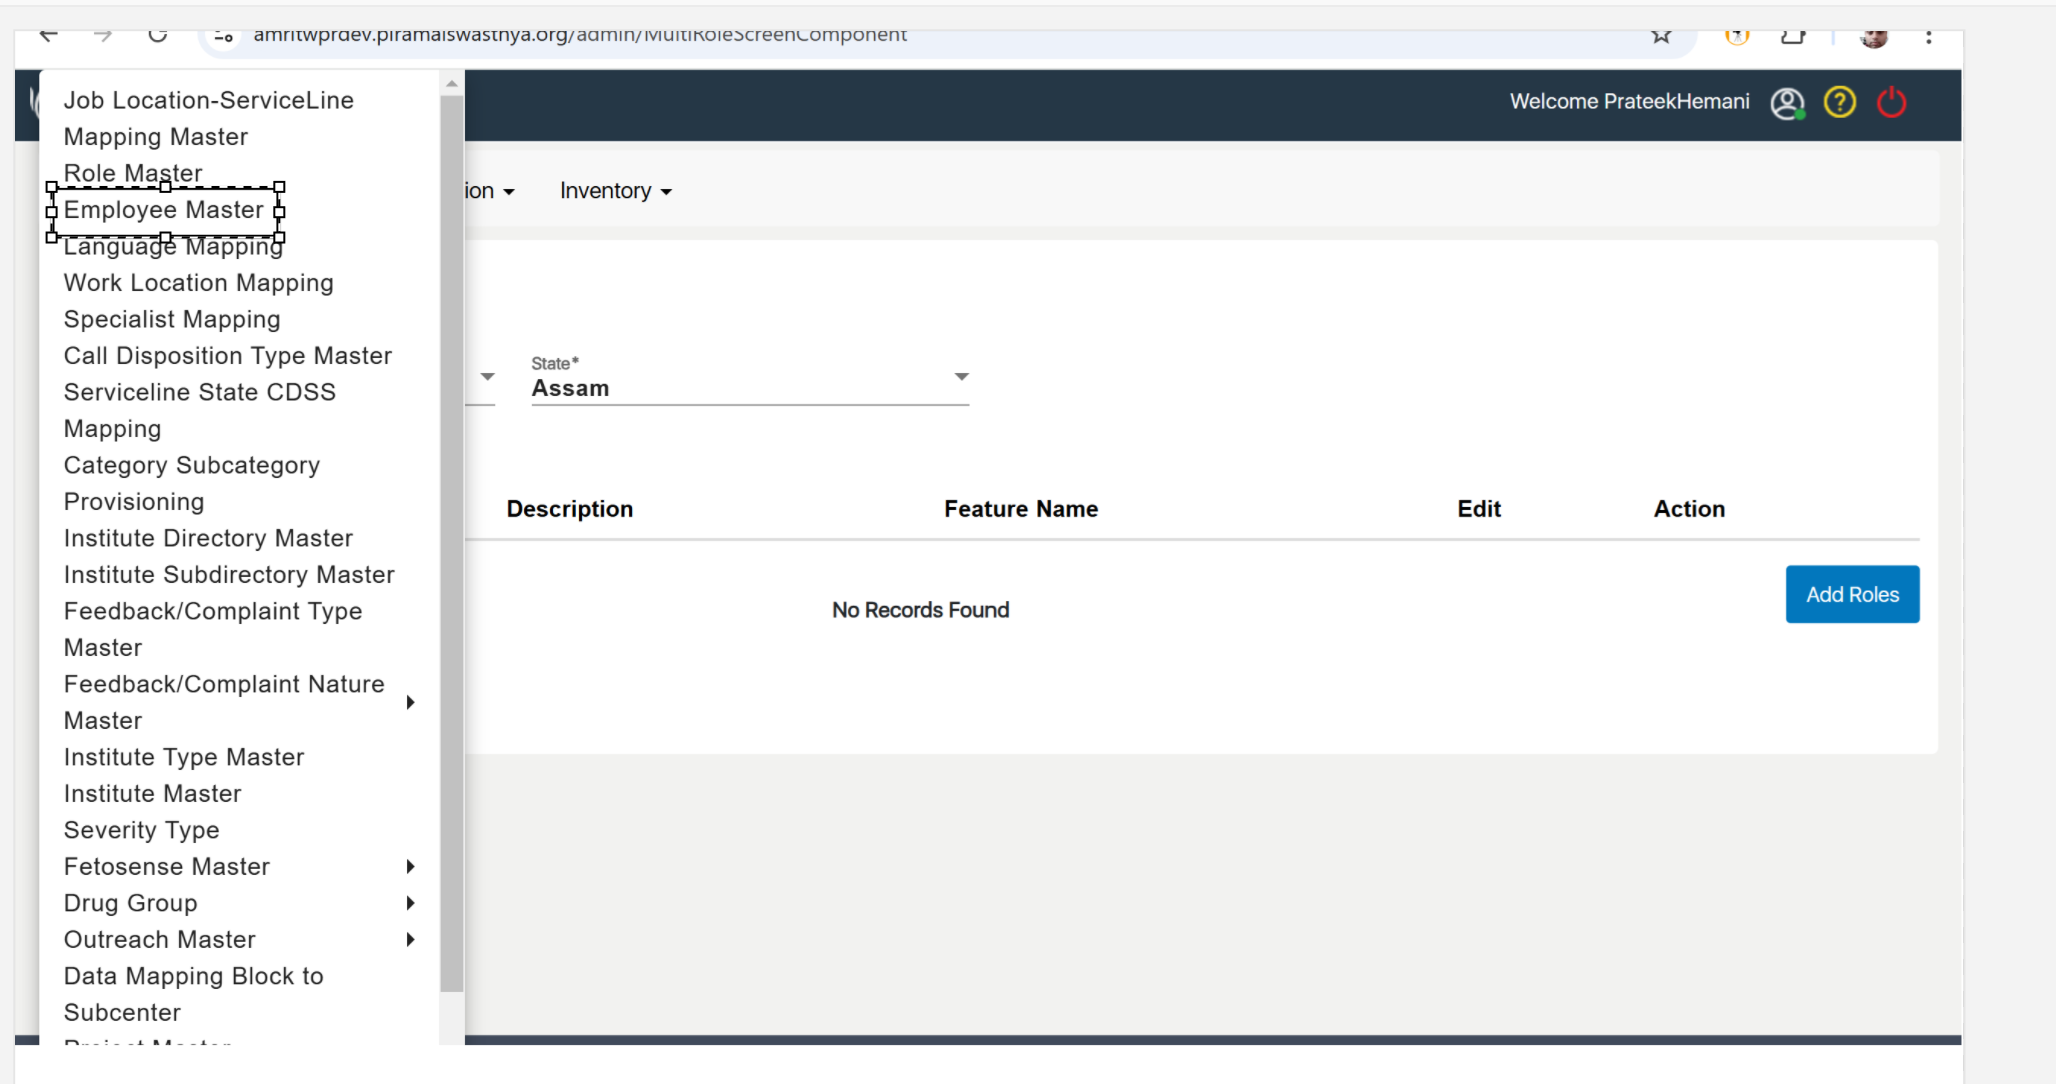
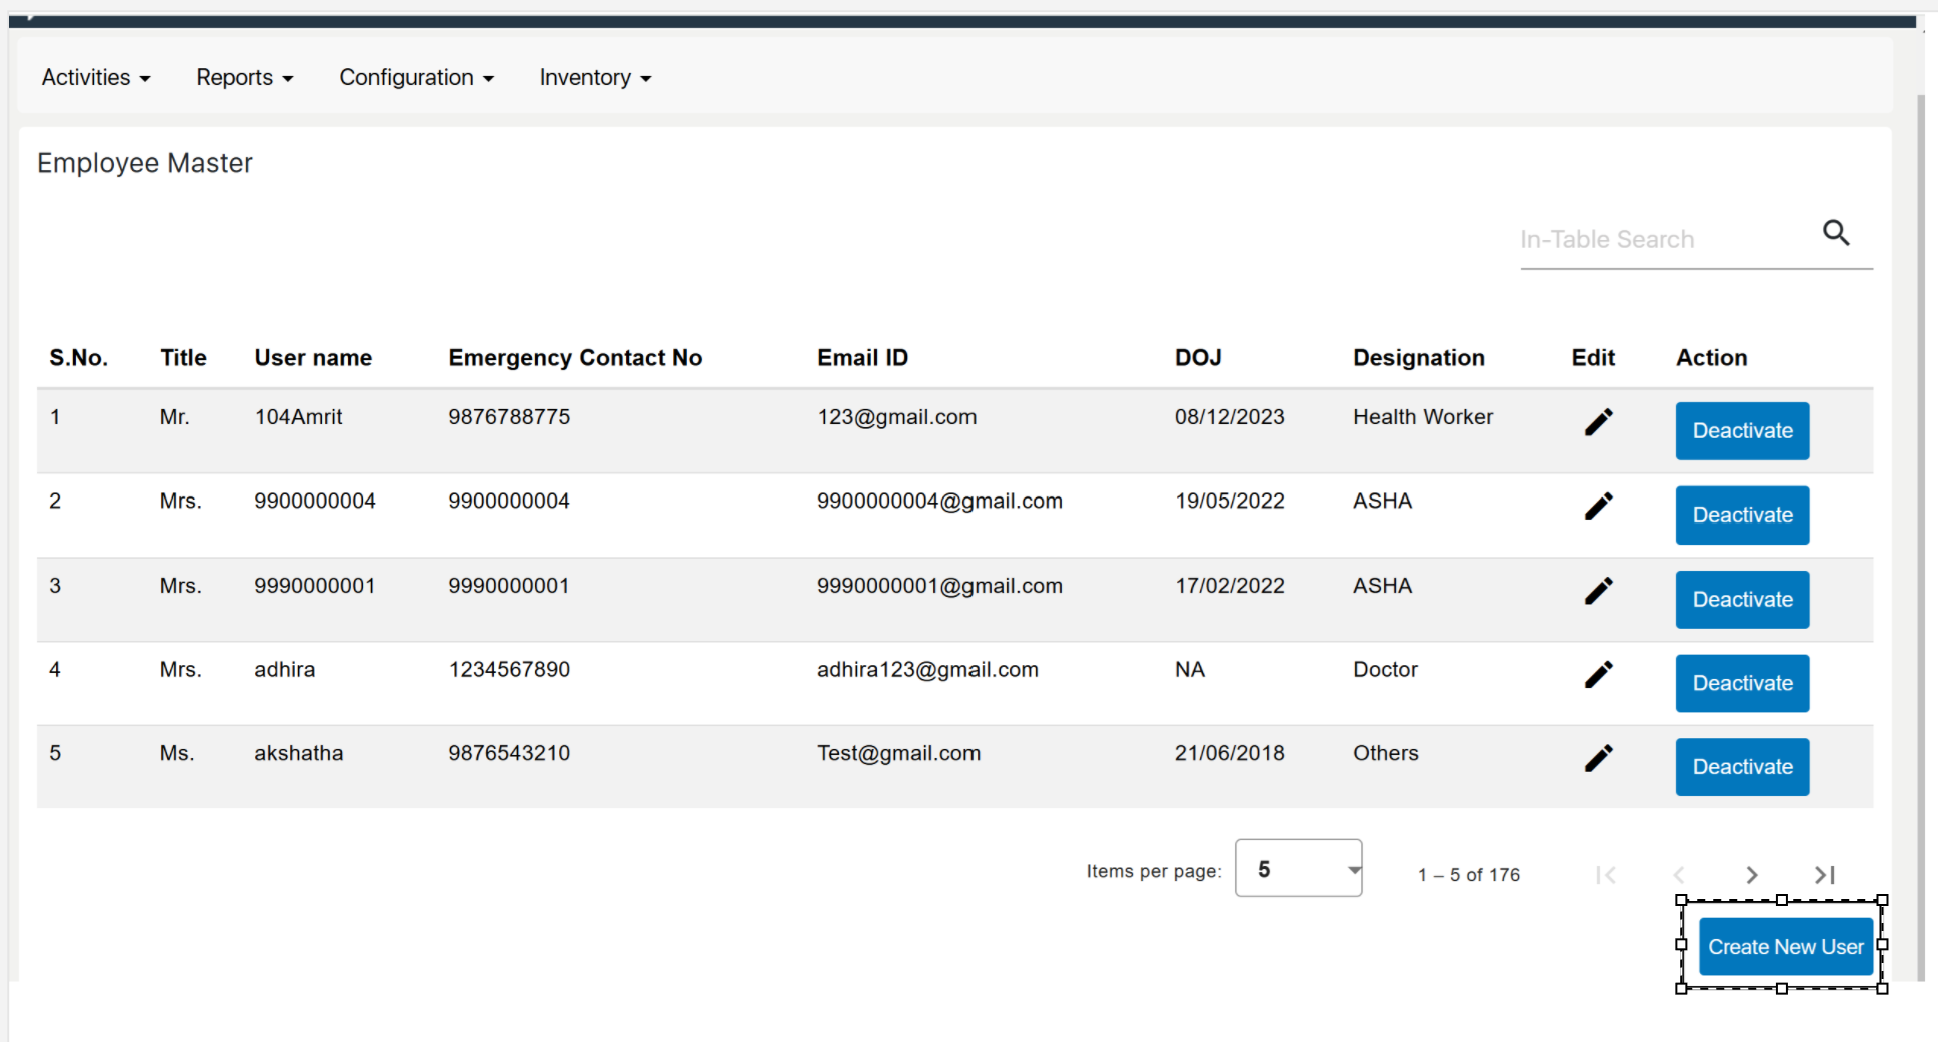
Employee Master – User Creation
...
- Enter User Details: Fill in the required user information, including name, employee ID, role, and other relevant details.
- Assign Role: Select the appropriate role (Registrar, Nurse, Doctor, Pharmacist, etc.) for the user.
- Save the User: Once all information is entered, click "Save" to create the new user in the system.
...
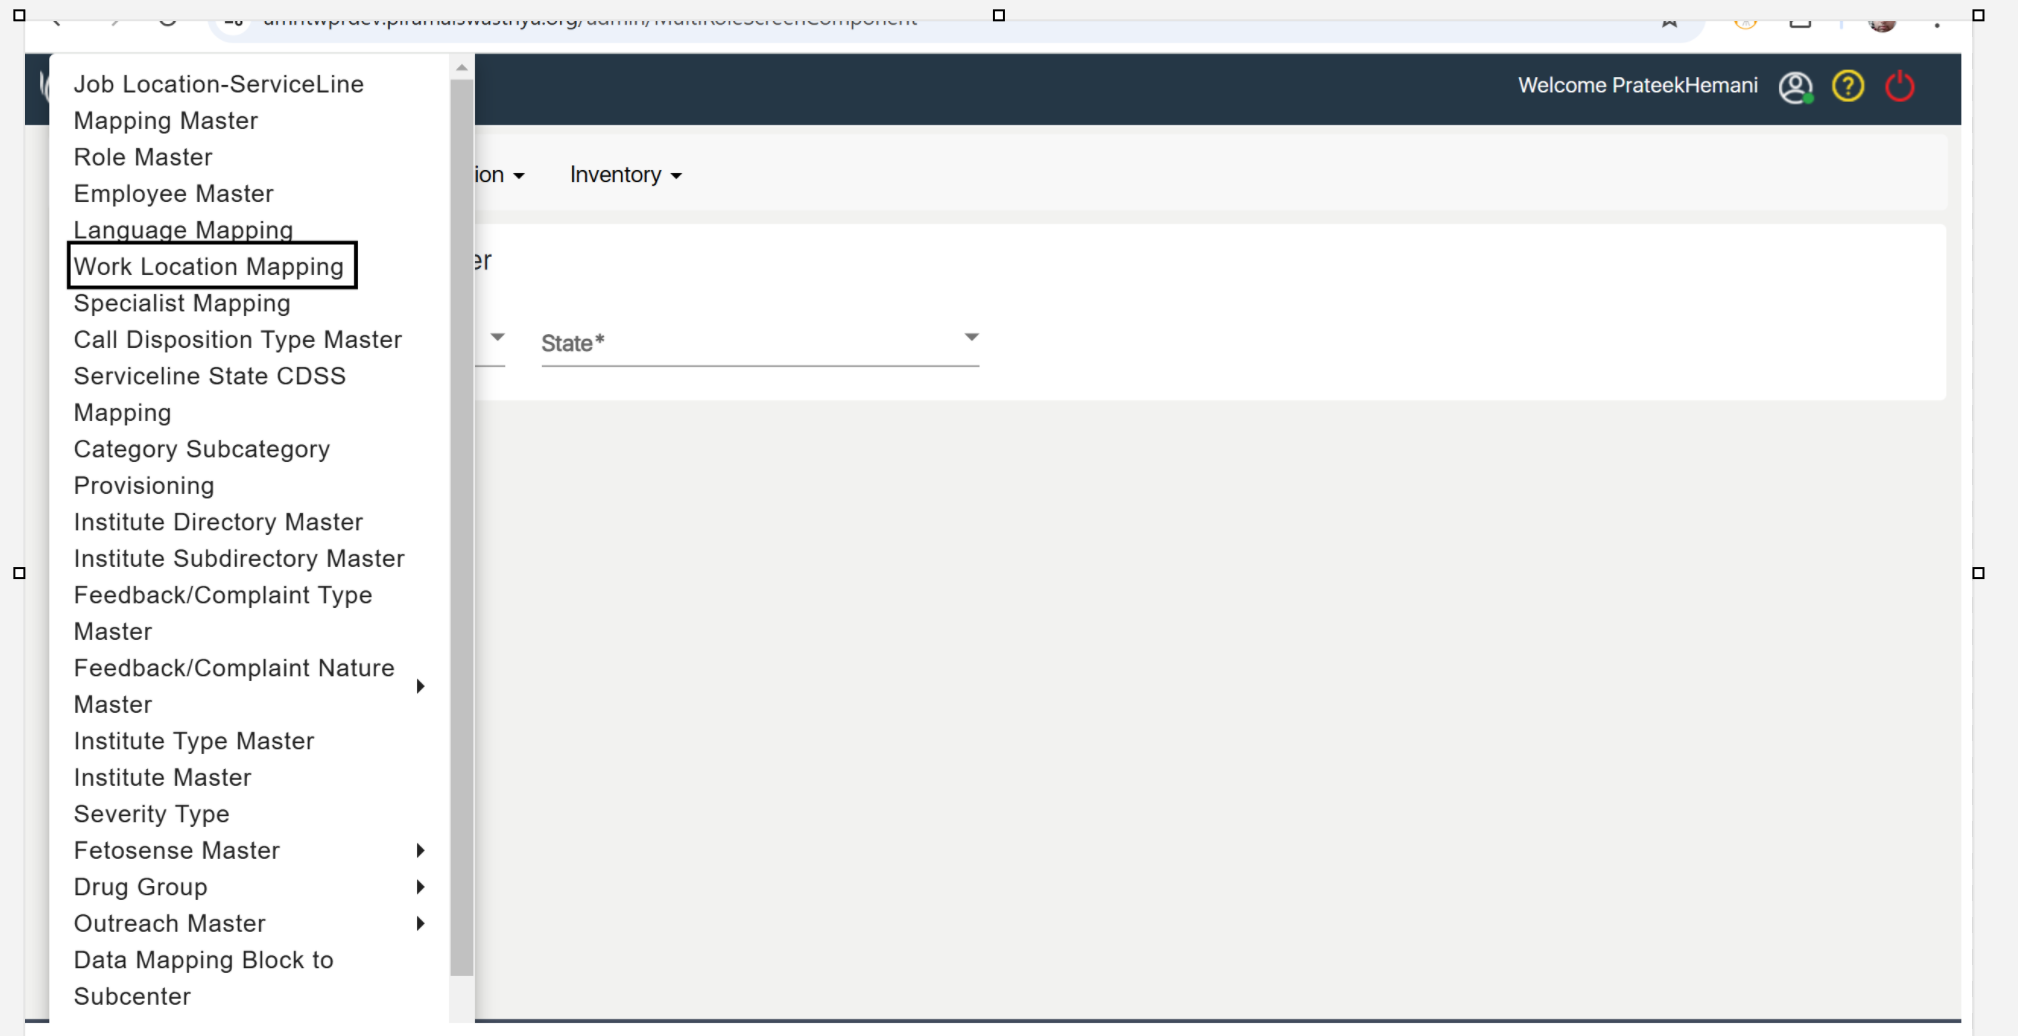
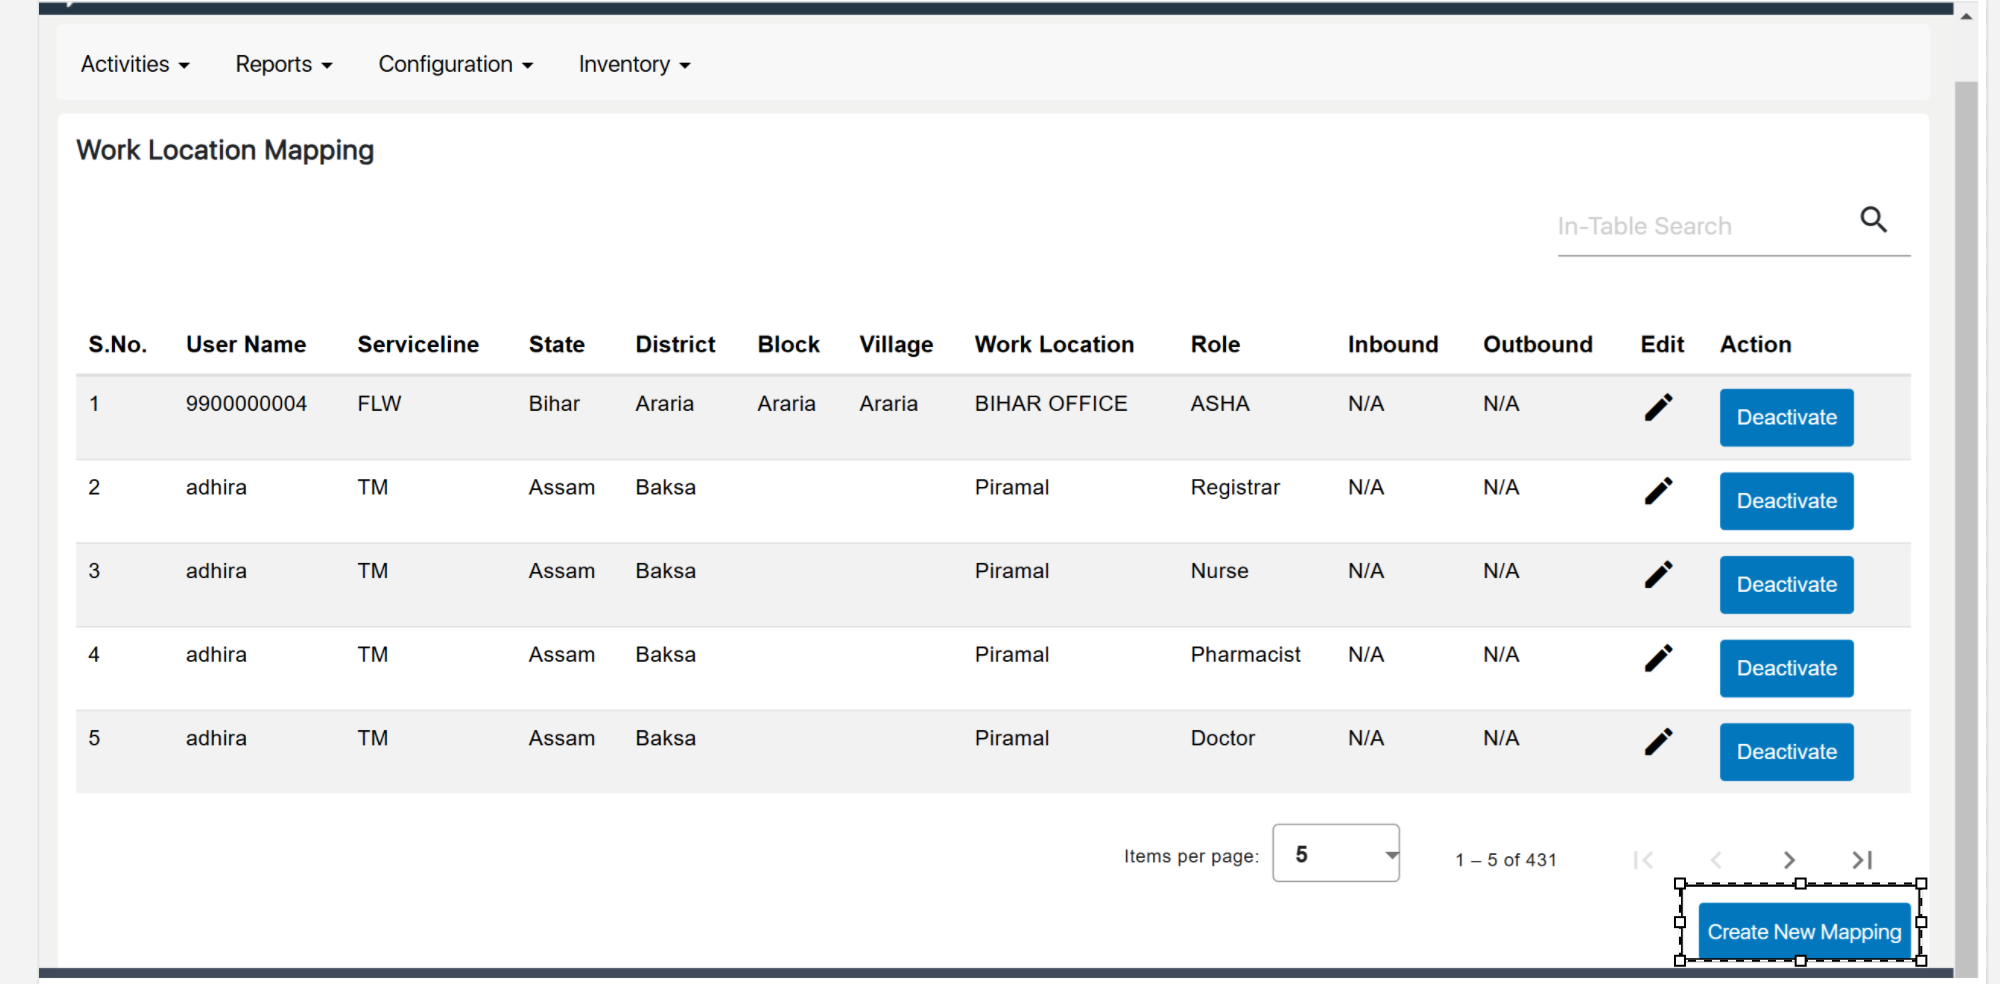
Work Location Mapping
...
- Enter Mapping Details: Choose the employee or role and the corresponding work location from the dropdown lists.
- Save the Mapping: After entering the necessary details, click "Save" to store the new work location mapping.
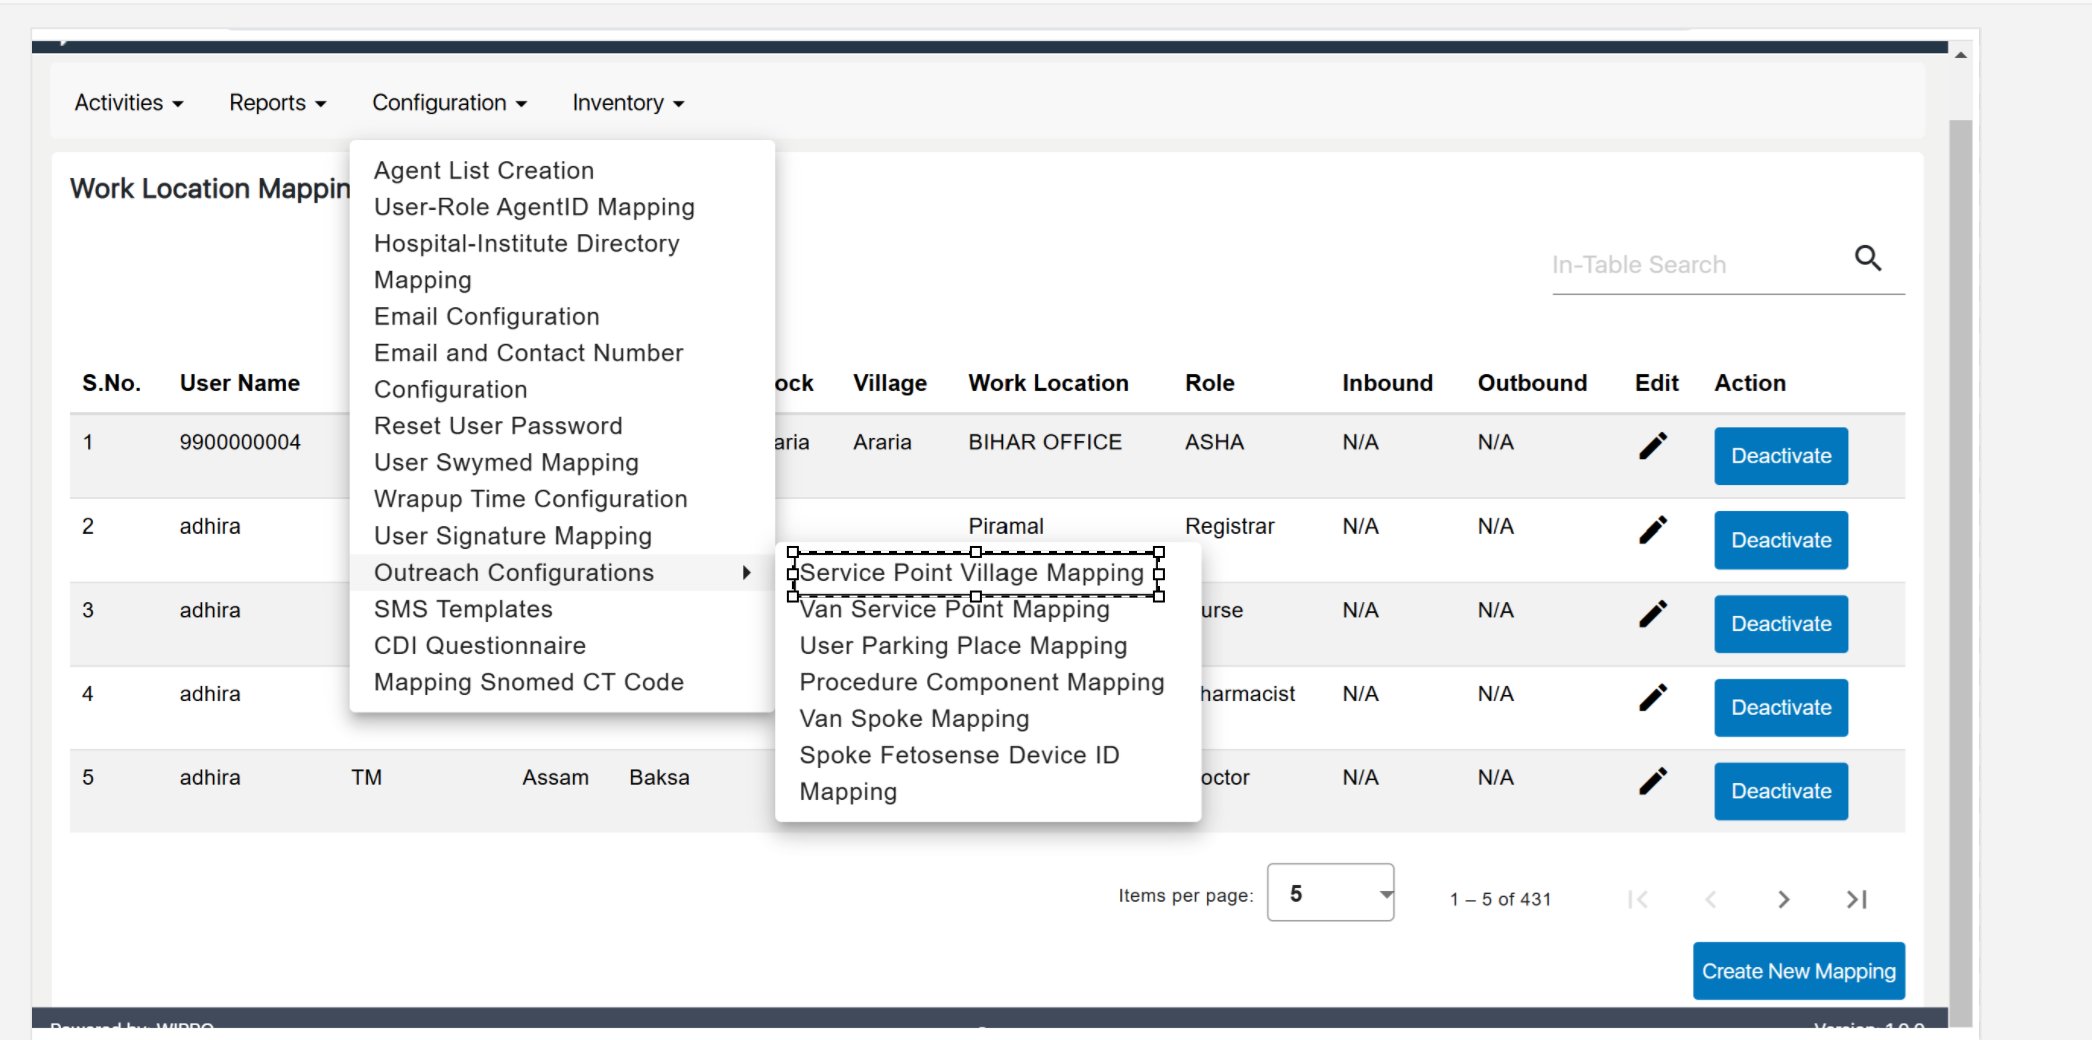
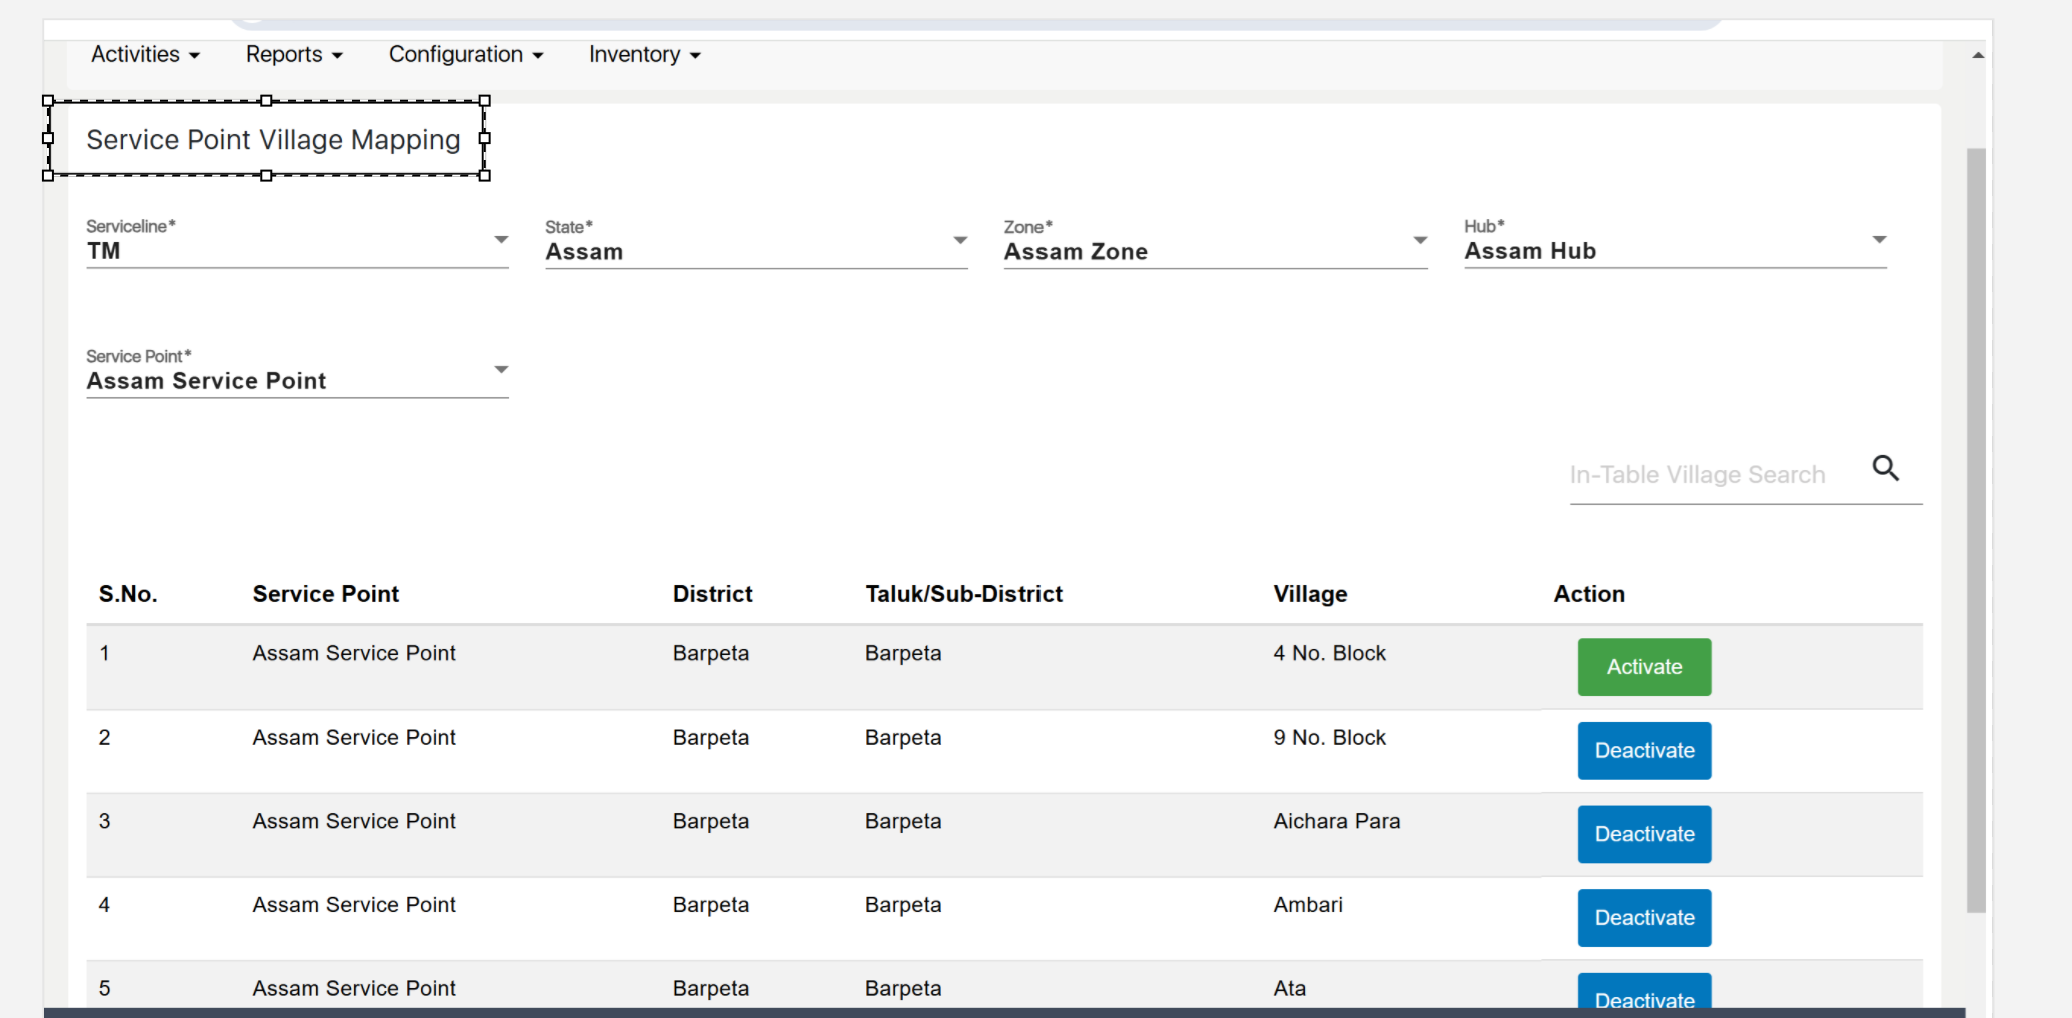
Service Point Village Mapping
...
- Add New Mapping: Click "Add New Mapping" to create a new service point-village association.
- Enter Mapping Details: Choose the service point and the corresponding village from the dropdown lists.
- Save the Mapping: Click "Save" to finalize and store the mapping.
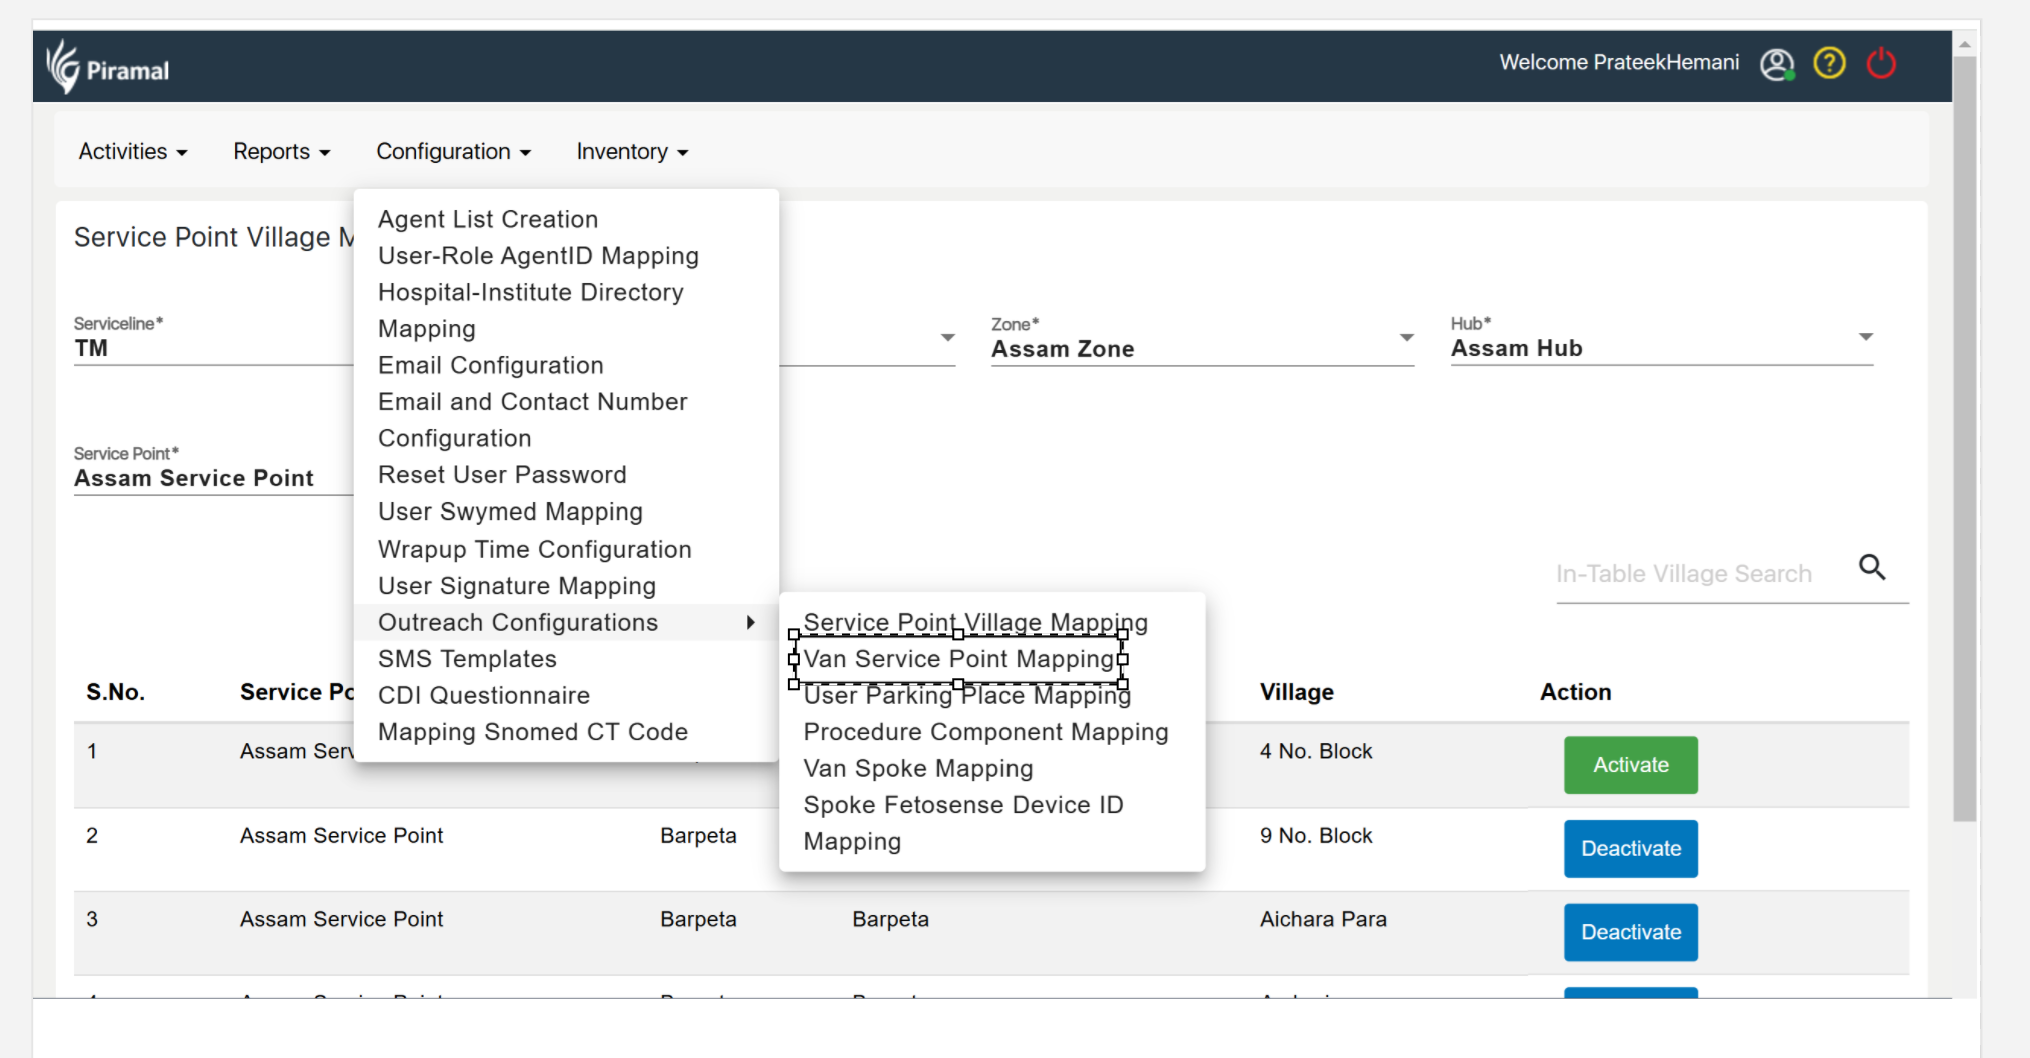
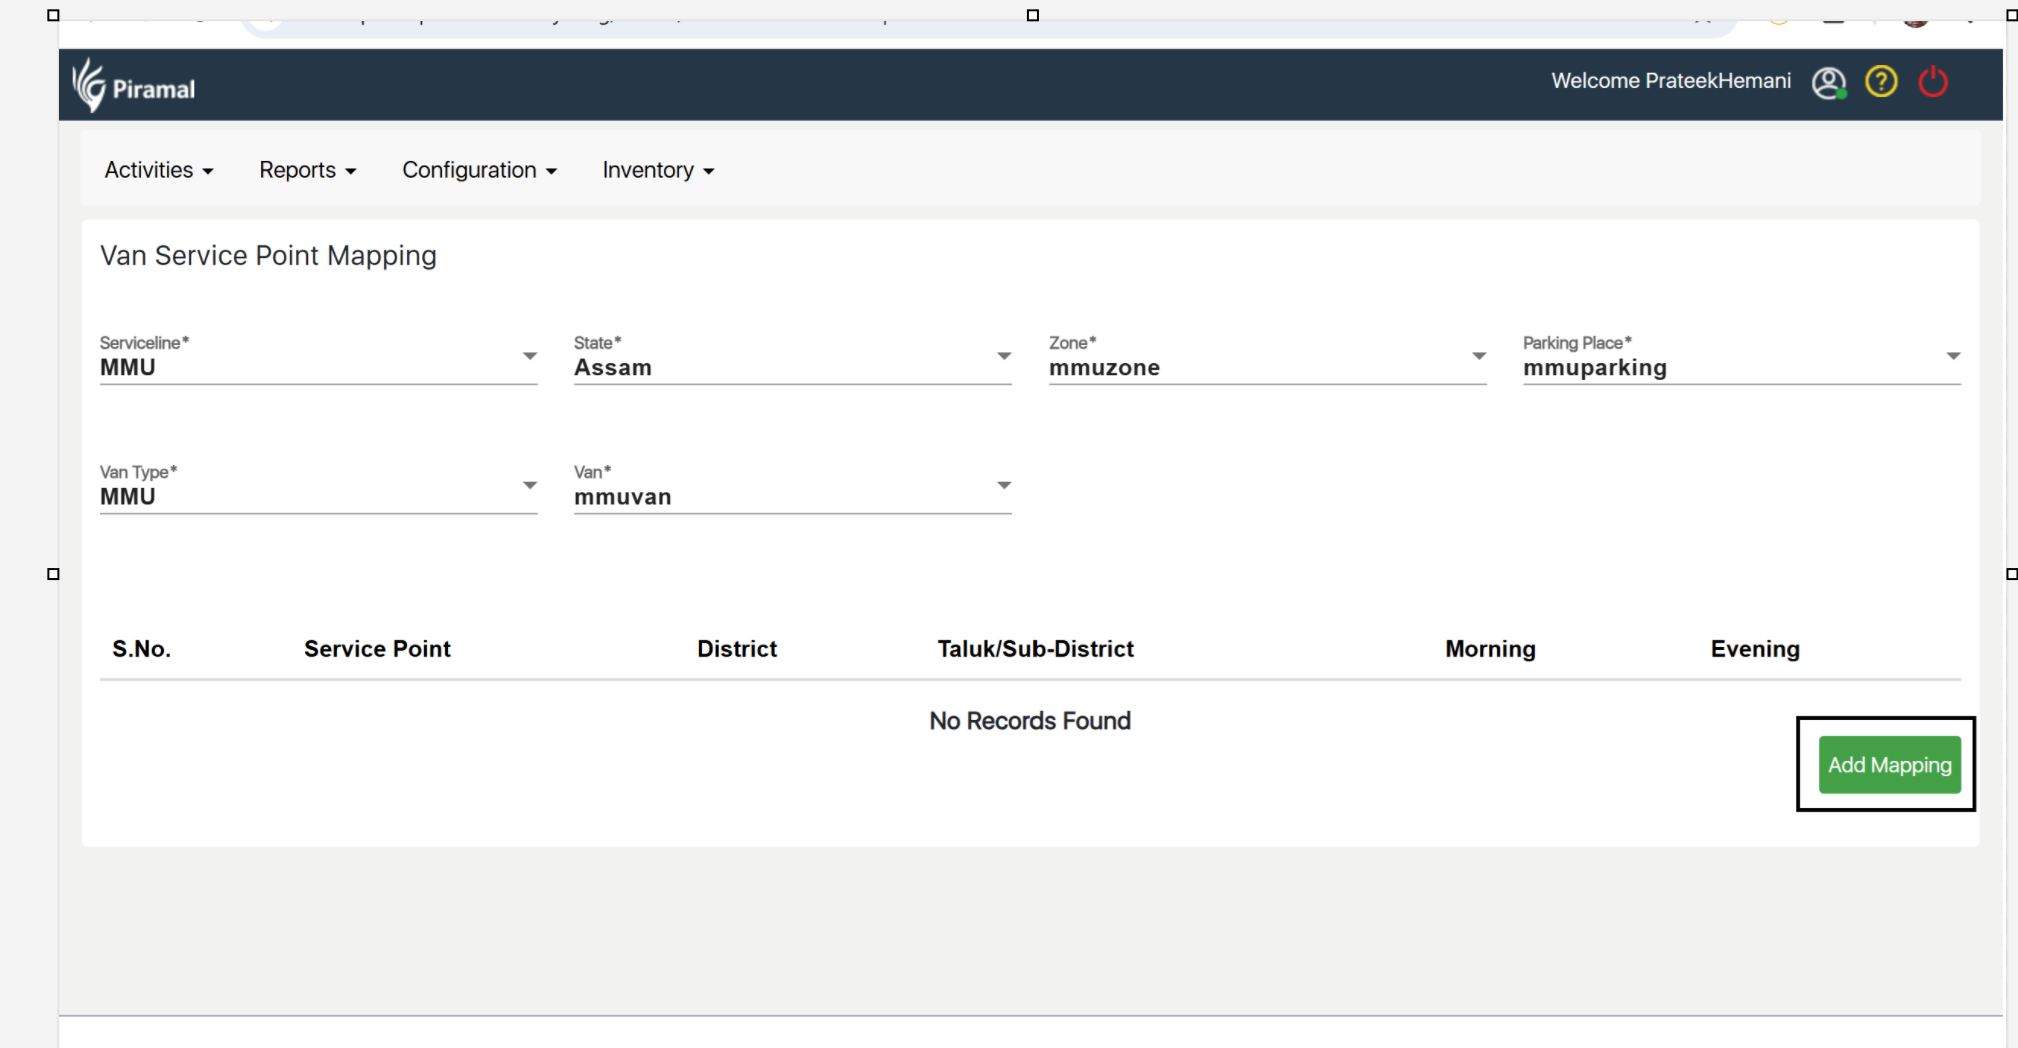
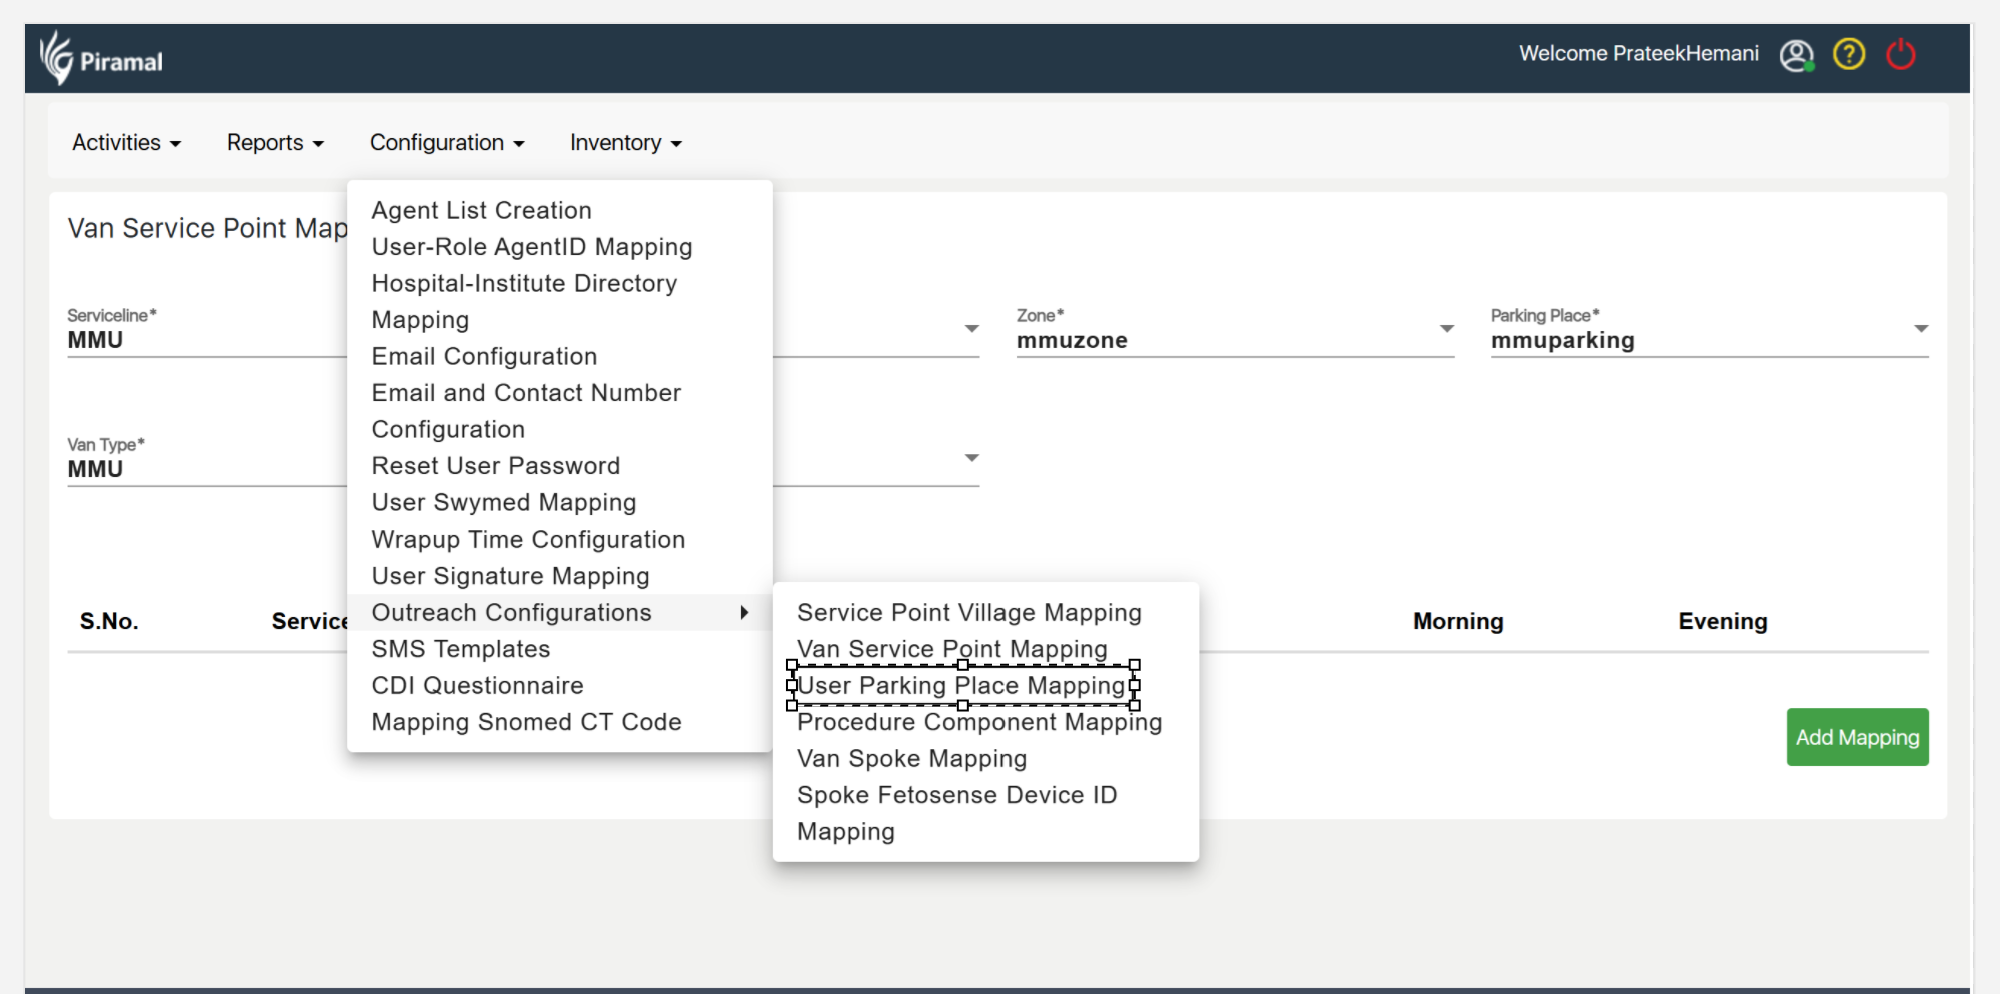
Van Service Point Mapping
...
- Enter Mapping Details: Select the van and the corresponding service point from the dropdown lists.
- Save the Mapping: After entering the details, click "Save" to store the new van-service point mapping.
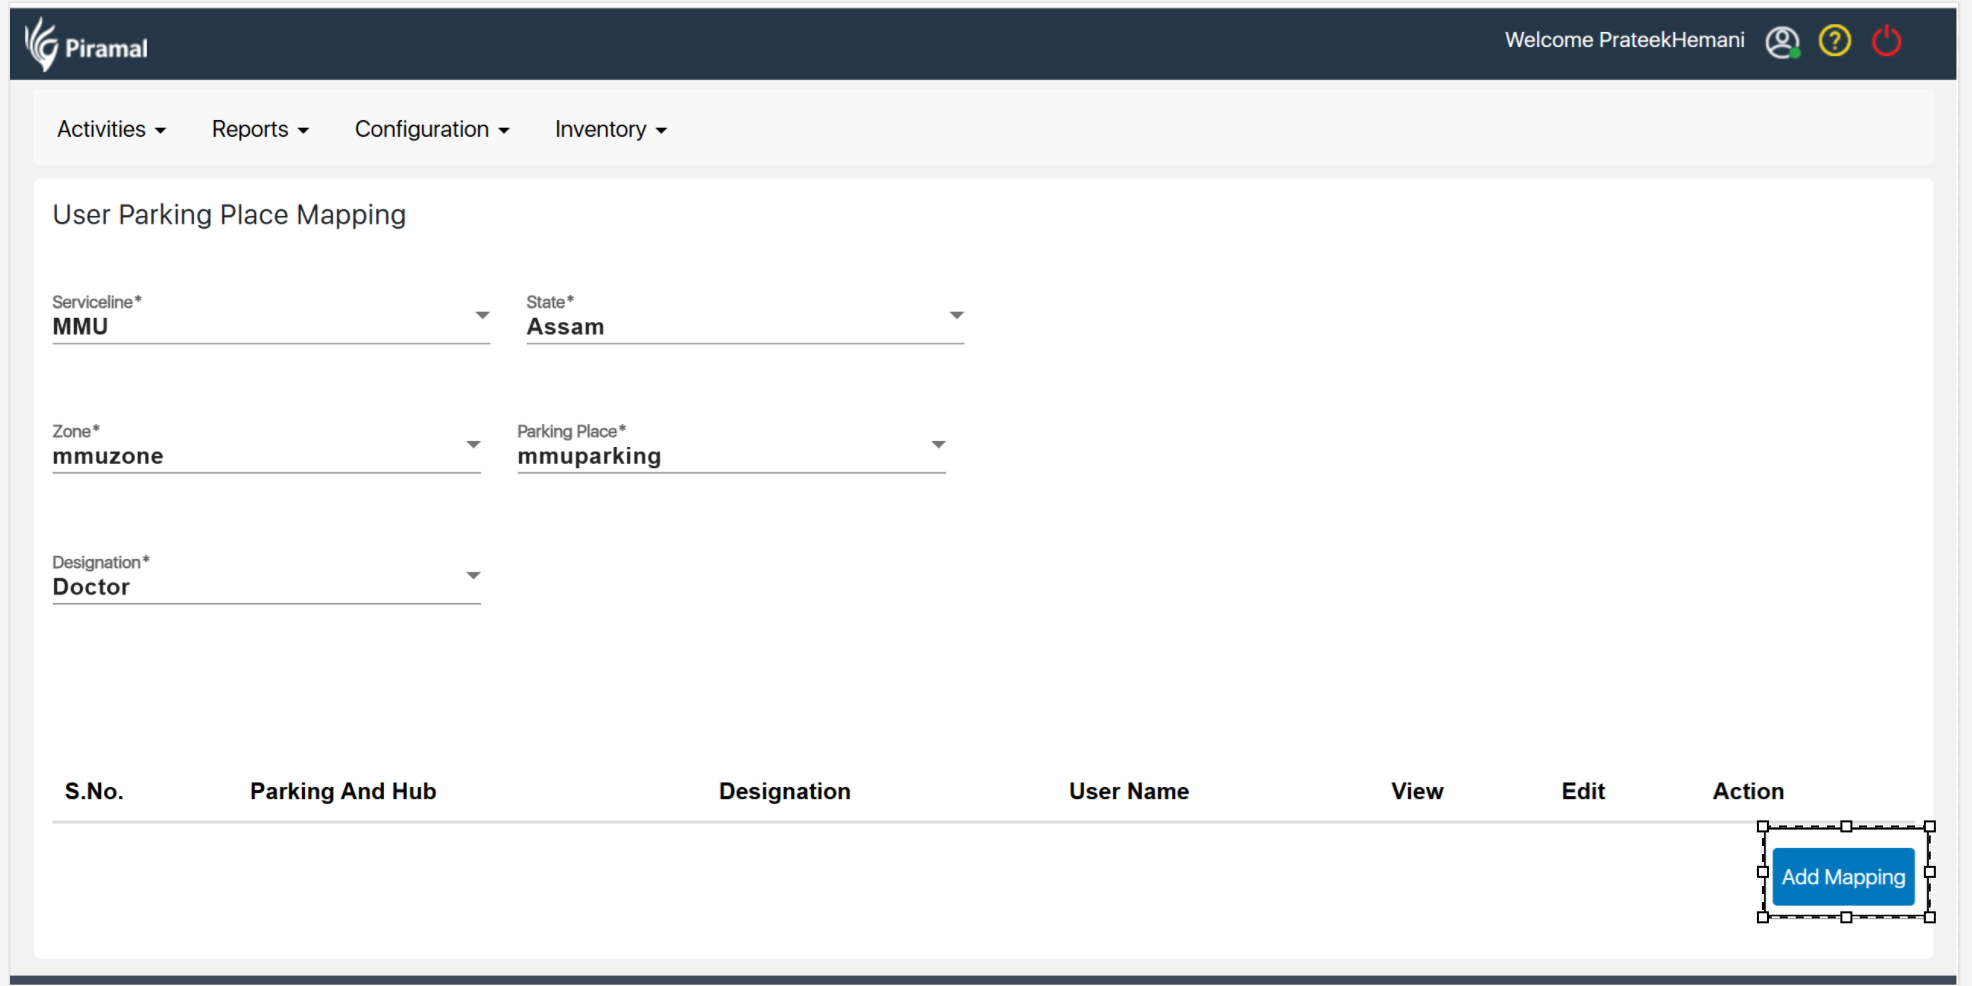
User Parking Place Mapping
...
- Enter Mapping Details: Select the user and the corresponding parking place from the dropdown lists.
- Save the Mapping: After entering the required information, click "Save" to store the new user-parking place mapping.
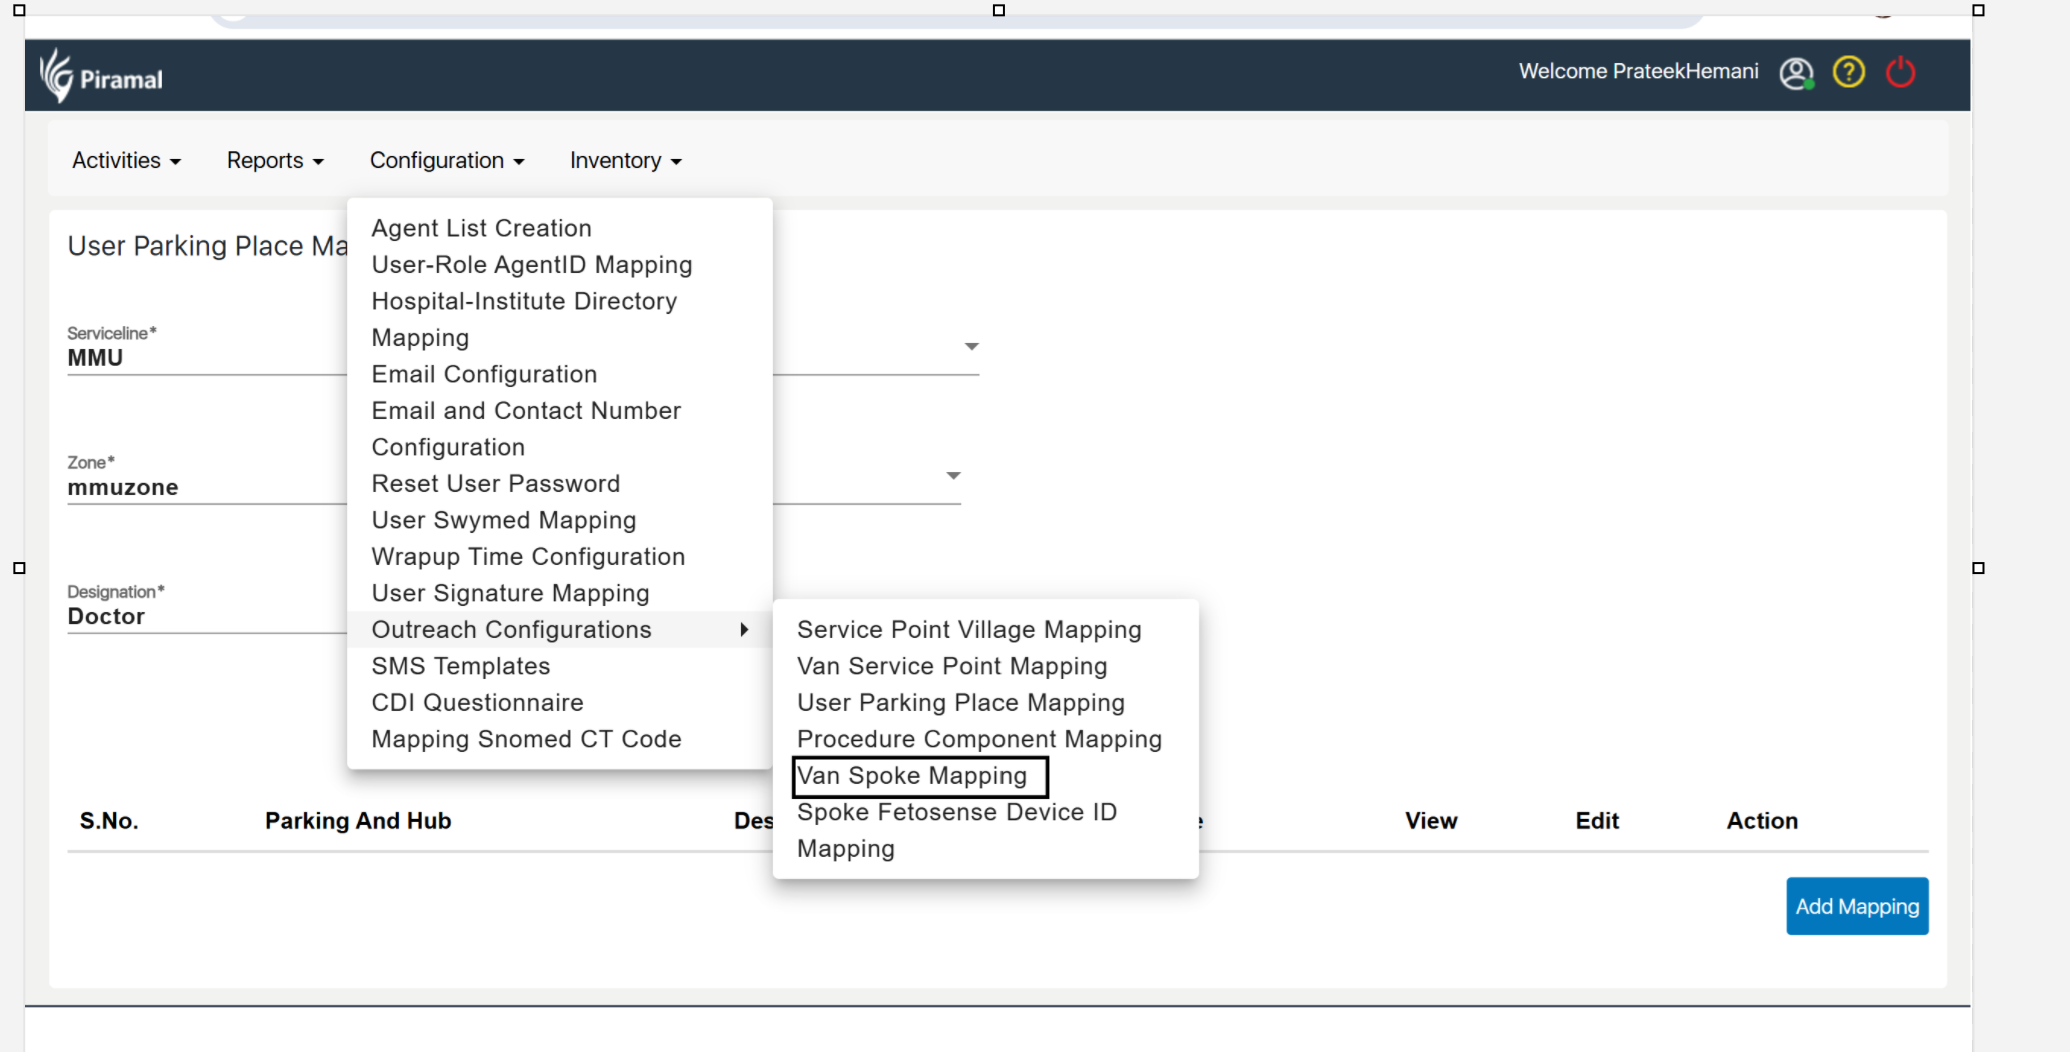
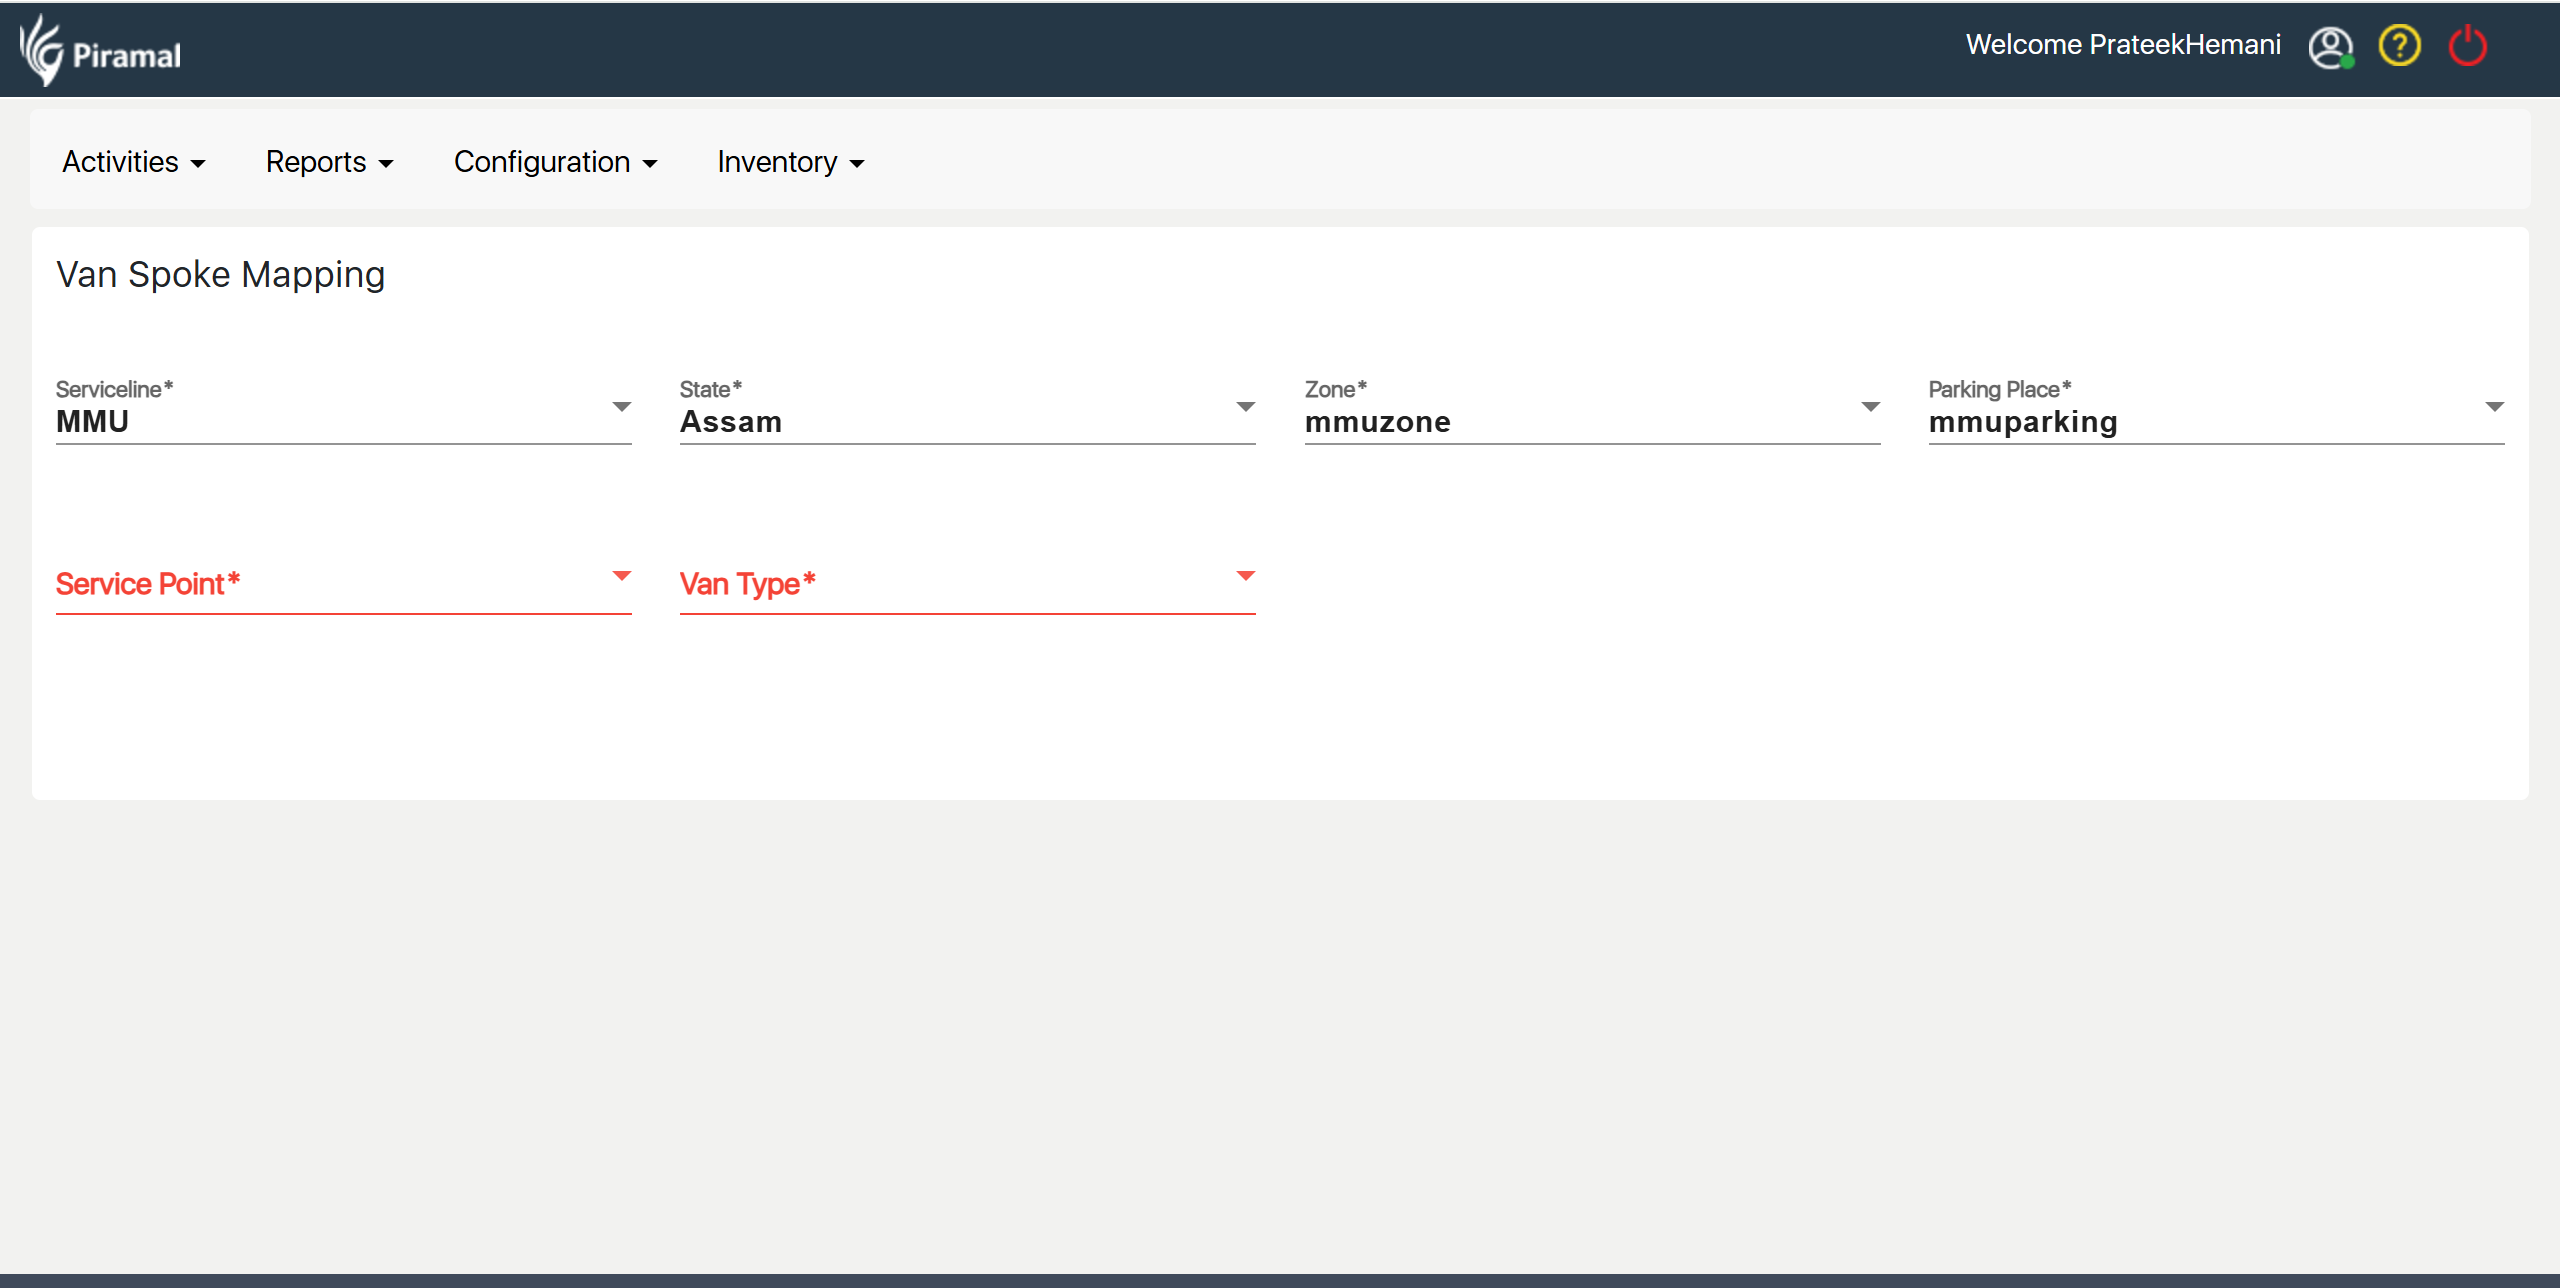
Van Spoke Mapping
...
- Add New Mapping: Click "Add New Mapping" to create a new van-spoke association.
- Enter Mapping Details: Choose the van and the corresponding spoke location from the dropdown lists.
- Save the Mapping: Click "Save" to finalize and store the new van-spoke mapping.
Adding Lab Tests for HWC, MMU, and Telemedicine
...
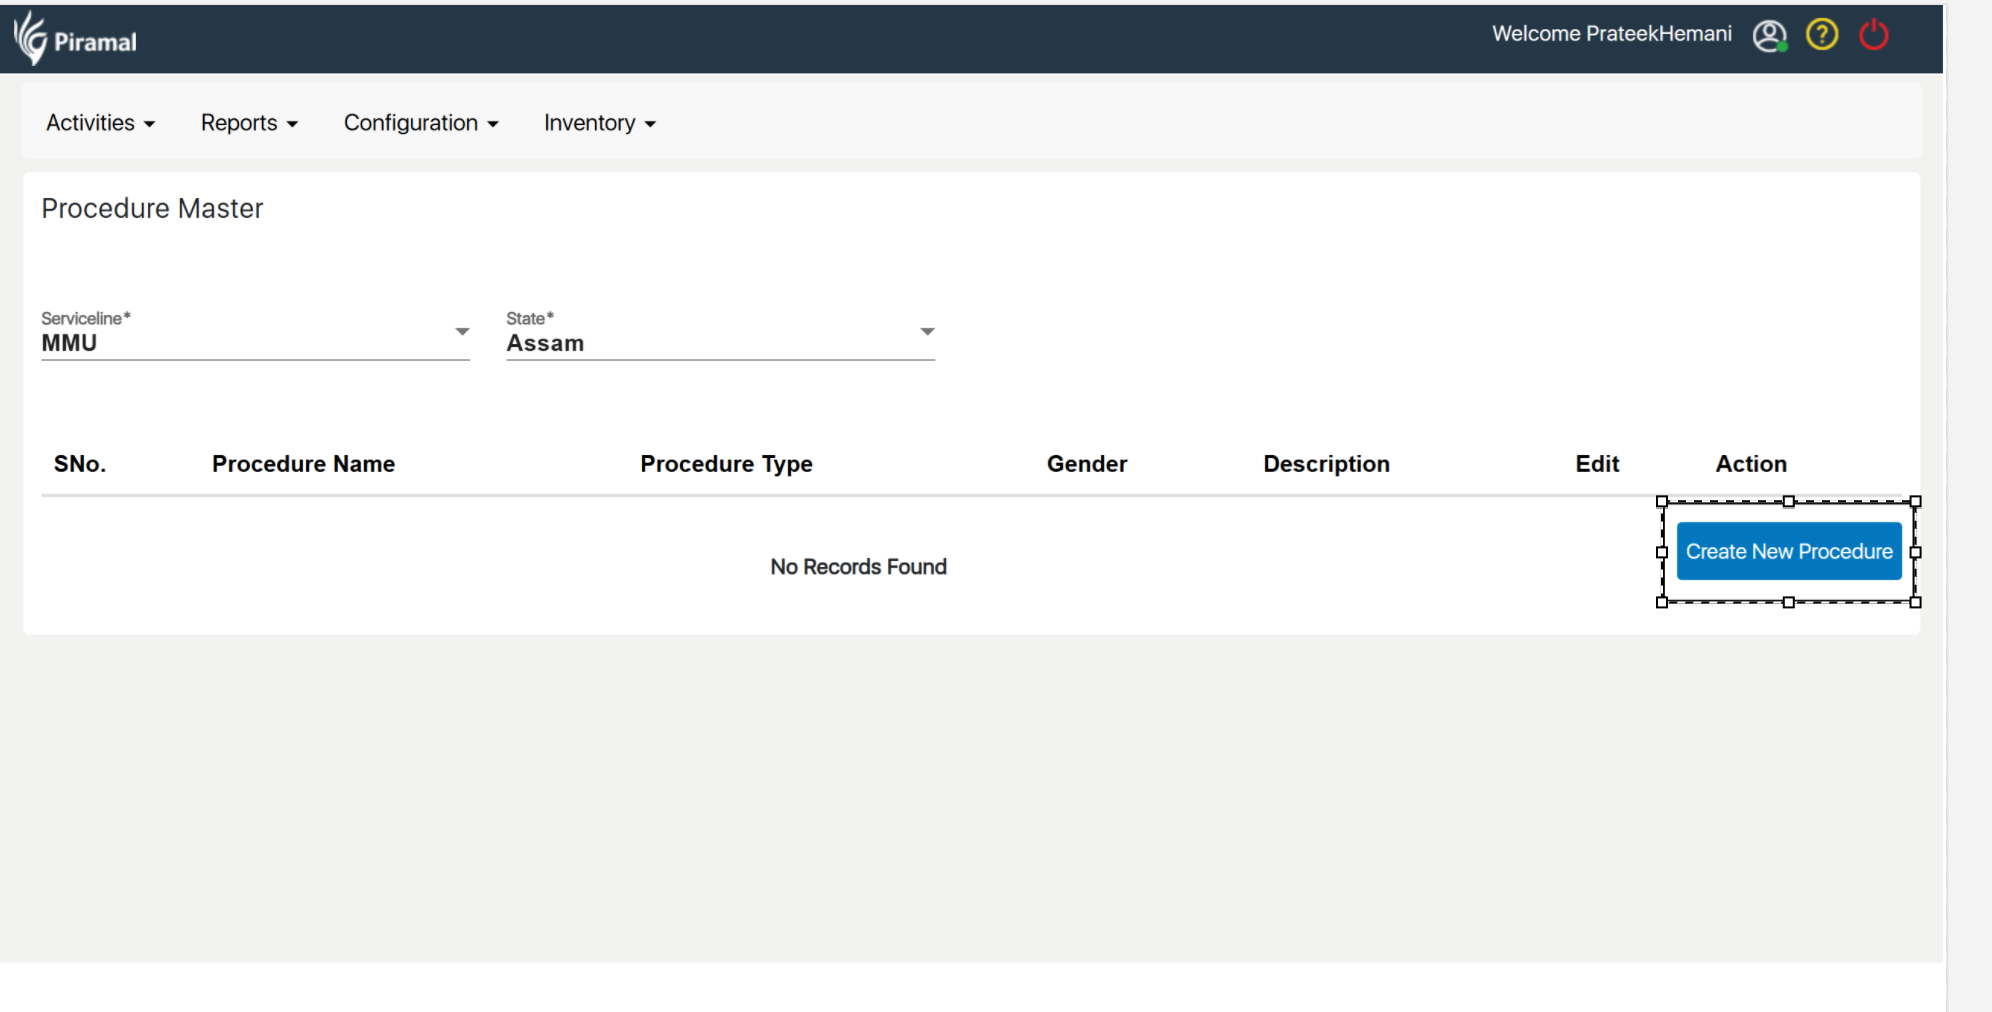
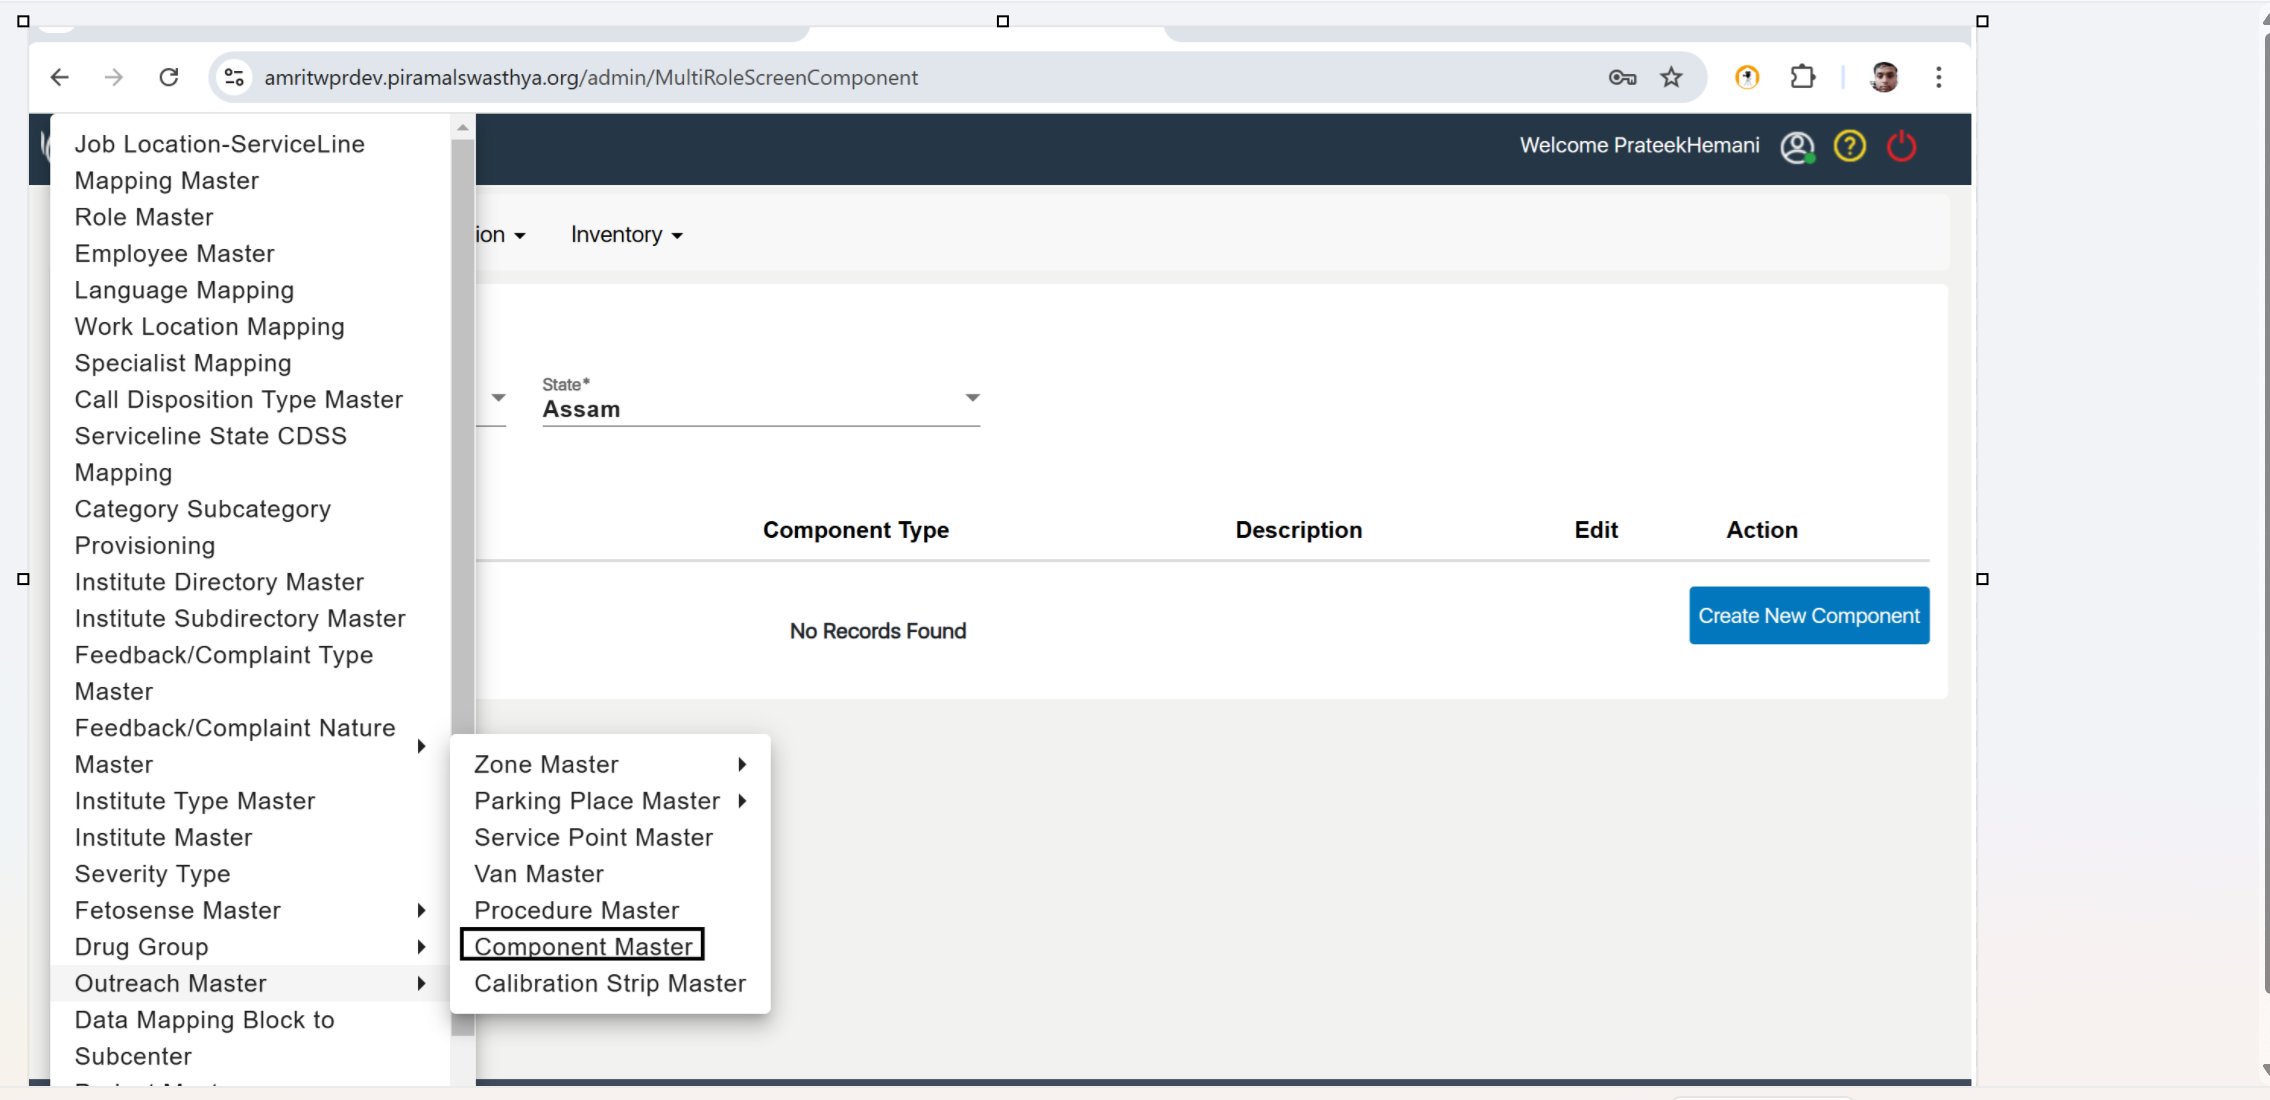
- Click on Procedure Master: Select "Procedure Master" to manage procedures.
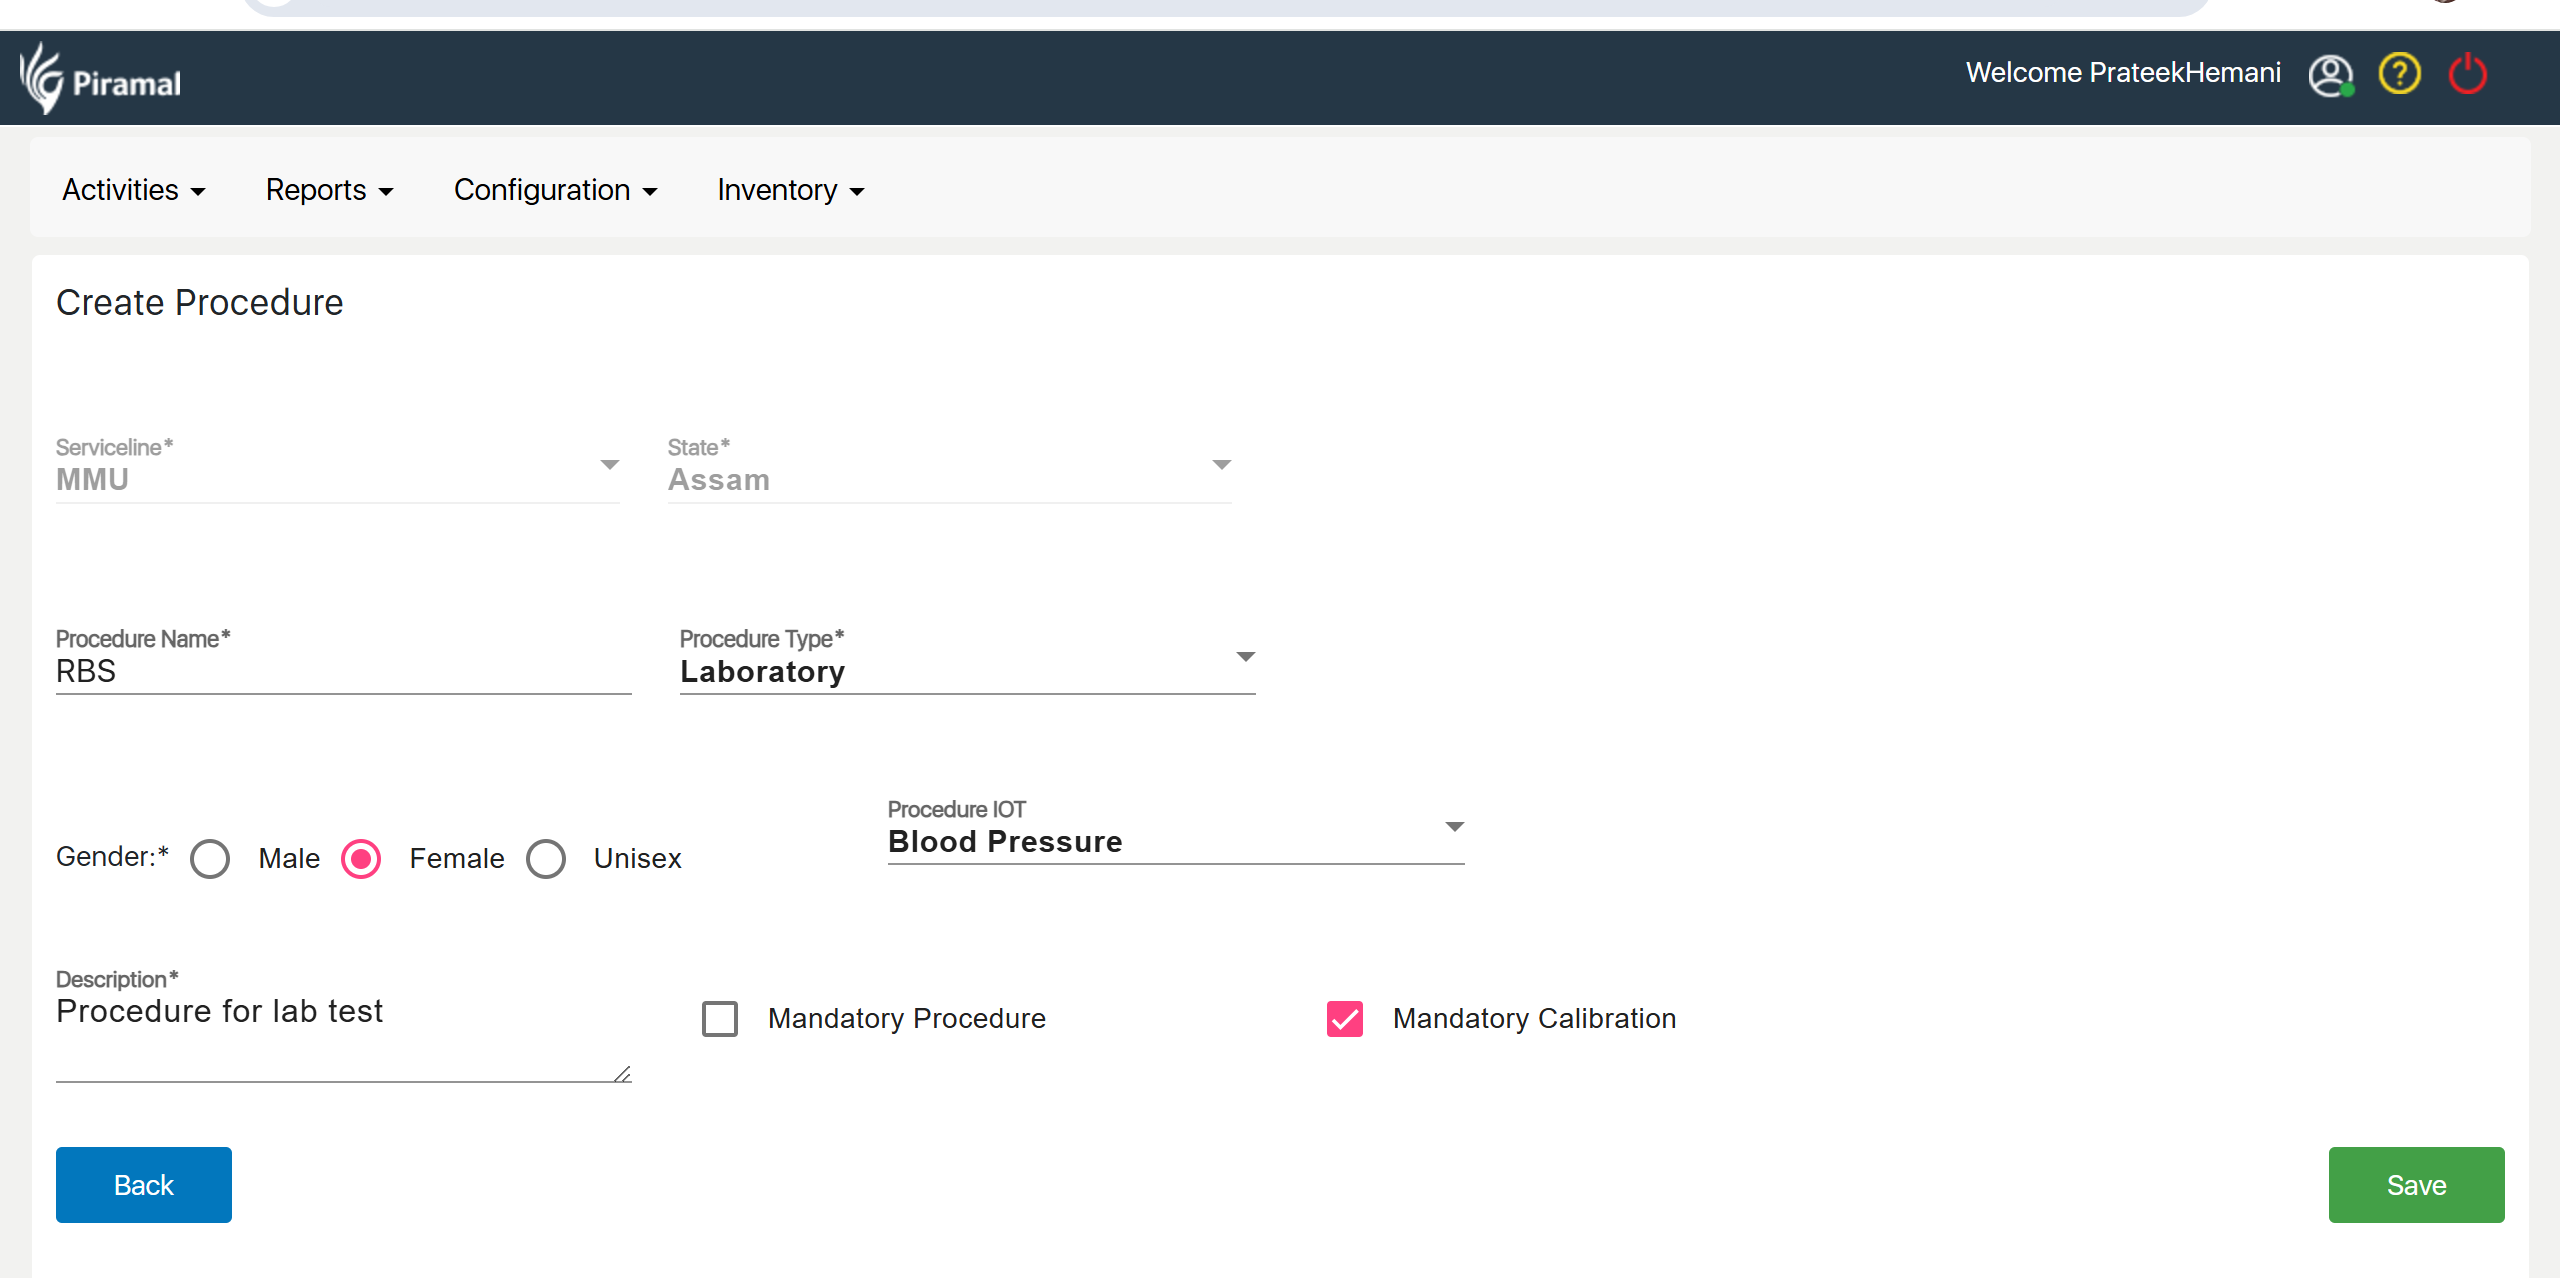
- Add New Procedure: Click "Add New Procedure" and enter the required details to create lab tests associated with HWC (Health & Wellness Centers), MMU (Mobile Medical Units), and Telemedicine service lines.
- Save Procedure: Click "Save" to store the new procedure for the respective service lines.
Procedure Component Mapping
...
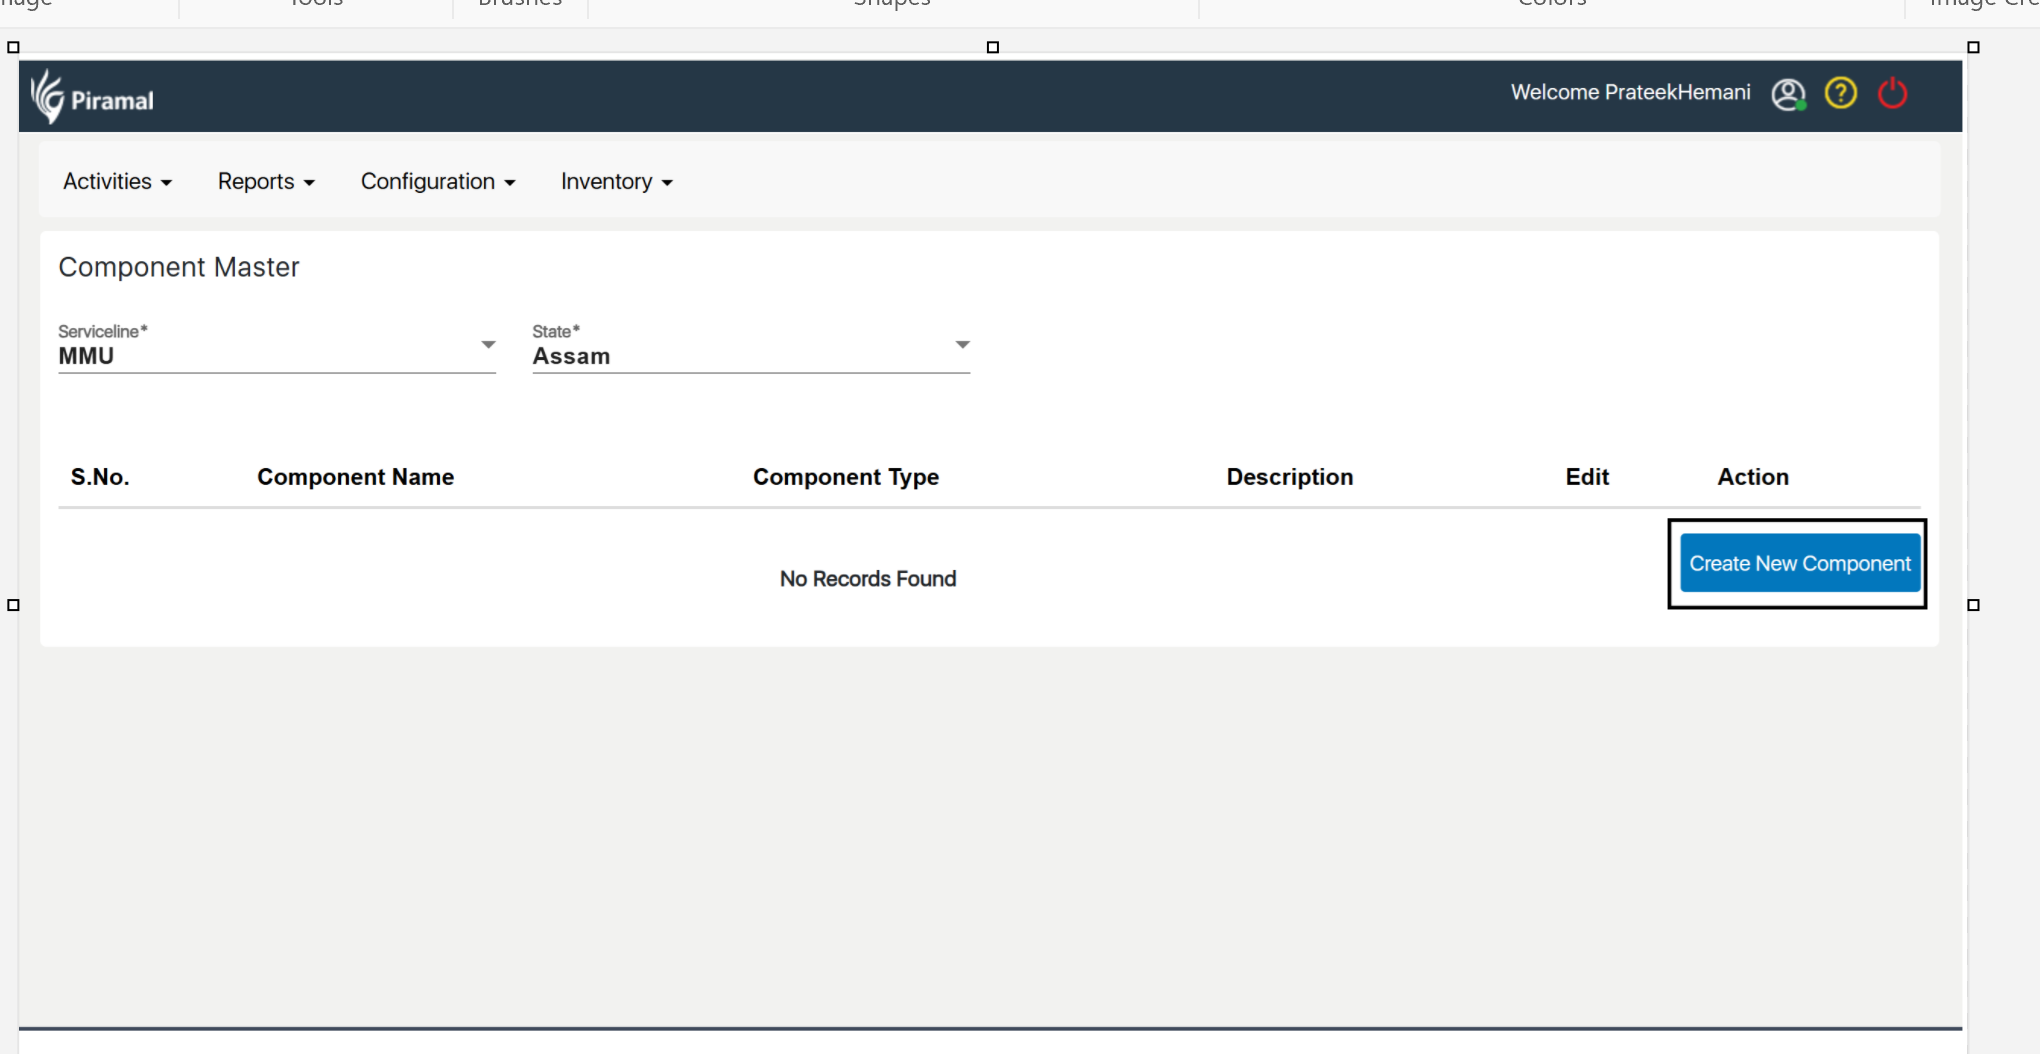
- Click on Procedure Component Mapping: Under Outreach Configuration, select "Procedure Component Mapping."
- Add New Mapping: Click "Add New Mapping" to start the process.
- Enter Mapping Details: Choose the relevant procedure and the corresponding components for HWC, MMU, and Telemedicine service lines.
- Save the Mapping: Click "Save" to store the procedure-component association.


